
Proxy, system integration, and MCP
Network proxy settings control online connections. System integration provides entries such as editing from a file's context menu. MCP lets a client running as the same system user connect to the running Snow Shot app. Configure and troubleshoot each separately.
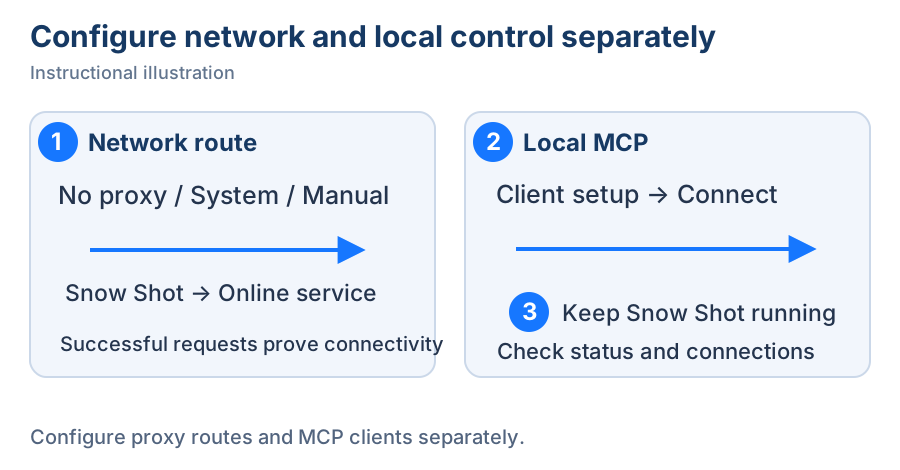
Instructional illustration. ① Choose the network route, ② configure the local client, ③ keep Snow Shot running.
Set the network proxy
- Open Settings → Network & connections → Network proxy. Under Proxy, choose No proxy, Use system proxy, or Manual configuration. The initial choice is No proxy; check the current choice in an existing configuration.
- Choose No proxy for direct connections or Use system proxy to follow the operating system. HTTP/HTTPS proxy becomes editable only with Manual configuration. Enter your actual proxy address, for example
http://127.0.0.1:7890, using the port your service provides. This field uses an HTTP proxy for both HTTP and HTTPS requests; it does not accepthttps://or SOCKS proxy addresses, other paths, queries, or fragments. Press Enter or click another control to finish editing. Correct any field error before treating the address as saved. - Return to the online operation that failed and submit it again. Judge recovery by the actual result; successfully saving a proxy address does not prove the connection works.
- For a timeout or connection failure, check that the proxy service is running and the destination is reachable. When returning to a network that needs no proxy, select an appropriate mode.
The full edition also offers a server address for Snow Shot's built-in online services. It does not affect application updates. Configure third-party translation and custom AI endpoints and keys separately under service configuration; a proxy field does not replace an API endpoint.
Windows context menu and administrator mode
Under Settings → General, choose the Windows context menu mode in system integration: image files only, image and document files, or disabled. Once enabled, right-click a supported file in the system file manager and select Edit with Snow Shot to enter its pinning/editing workflow. For keyboard access, configure a single-letter or digit access key under Settings → Application shortcuts → Windows context menu.
On Windows, the standalone installer and portable package also offer an administrator-startup setting and a restart-as-administrator action; Microsoft Store installations hide both options. Use them when the task needs those privileges and follow the system prompt. Finish current editing or recording first because restarting changes the running application process. Administrator mode is not a general fix for network, encoding, or image-format errors.
On macOS, startup is managed through system login-item settings, separately from Windows context-menu and administrator options. See installation and startup for startup and update settings.
Windows also offers Toggle always on top for the window under the cursor under Global shortcuts → Other. Assign a shortcut, move the pointer over a target window, and invoke it to switch that real window between always-on-top and ordinary states. Invoke again to restore it. This differs from creating a pinned image from a screenshot. Target-window and system permissions affect control; test with an ordinary application window first.
Scheduling and memory policies
These options are under Settings → General. Change one at a time when investigating responsiveness, restart when required, and repeat the same short task for comparison.
Connect an MCP client
- Open Settings → Network & connections → MCP and find Enable MCP integration. It is initially off; turn it on when you need to connect a client and wait for Running, meaning the local service has started. Snow Shot must remain open.
- Inspect the generated configuration under MCP connection and client setup, then click Copy configuration.
- Add it to your MCP client's configuration. If other services already exist, merge server entries instead of replacing the whole configuration. Use the locally generated program path.
- Restart or reconnect as required by the client. Return to Snow Shot and inspect Connected clients. Running with a count of 0 means the service has started but no client is connected. The count increases when a client connects successfully.
- Disable integration when no longer needed. For a failed connection, check that Snow Shot is running, integration is enabled, and configured paths still exist, then restart the client.
Full and Mini configurations contain their respective command names. Copy the configuration again after changing installation location. The page also shows the local endpoint descriptor location, used for discovery rather than a public browser API.
Preserve connection errors and collect diagnostics through log export.
Related: shortcuts, cloud upload, and storage and backups.