
Speech and thought bubbles
A bubble combines explanatory text and a pointer in one element, useful for explaining a button or person. Its body and tail are independently adjustable. Use Text for a plain label without a pointer.
Create a pointed explanation
- Finish selecting the screenshot region and click Speech bubble in the main toolbar.
- Choose the body shape and stroke/fill colors. For readable explanations, use a background that contrasts with the text.
- Hold the left mouse button in an empty area and drag out the body. Release to create the bubble and tail.
- Enter the explanation in the text area that appears. Press Esc to commit and finish input, then check the text layout and body bounds.
- Switch to Select elements, select the bubble and drag the tail-tip handle toward the target. Deselect to inspect it, then copy or save.
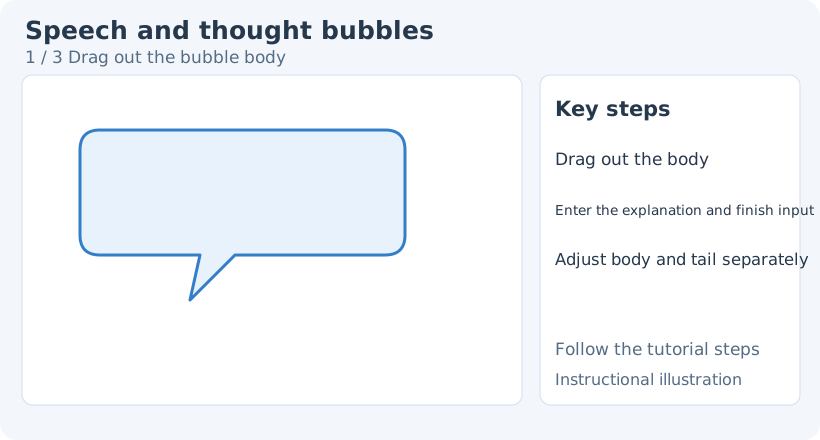
1. Drag out the bubble body
To change an existing object’s tool-specific style, switch back to Speech bubble, then click the object to select it again. Select elements provides general transforms, stacking and opacity. Switching drawing tools clears the previous selection, so select the object again.
Body shapes and thought bubbles
The style toolbar offers rectangles, ellipses, diamonds and Thought bubble. A thought bubble has a cloud-shaped body. Choose the shape before drawing, or switch to Speech bubble and select an existing bubble before changing it.
Rectangles usually accommodate long explanations more easily; ellipses and diamonds have less usable text space. When adding text, widen the body or reduce the font size and check that the last line remains complete.
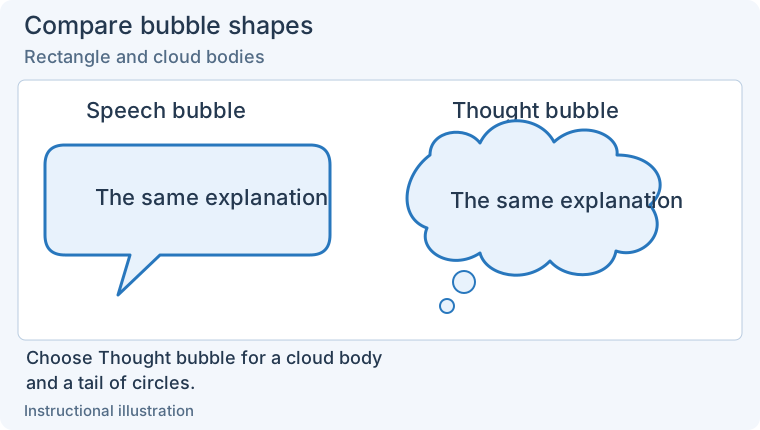
With Speech bubble active, select the existing bubble and choose Thought bubble. Its body becomes a cloud and the tail becomes a trail of circles. Enlarge the comparison.
Adjust the tail
Select the bubble with the selection tool to reveal body and tail control points. Drag the tail tip to change its target; drag the tail-base handles to change its width and connection position. Avoid the body’s resize handles unless you intend to resize it.
Drag the body to move the bubble or its edge/corner handles to resize it. After changing the pointer, check that the tail does not cover important content. For a distant target, consider an arrow with separate text.
Edit text and appearance
In text-editing mode, choose a font, size, text color and alignment. Press Esc to finish input, return to Speech bubble, and click the body to select it before changing stroke, fill or rounded corners. Text style and body background are different controls: fill color is not text color.
The bubble’s dimensions are affected by its text layout. Long lines need enough width; wrapped text needs enough height. Check the text when shrinking a bubble, as well as its border.
Cancel and correct
In screenshot capture, the default Esc cancels the whole capture, with a confirmation dialog first if enabled; it does not merely discard an unfinished bubble. In the image editor, Esc can cancel the bubble body before you release to commit it. If text input has started, Esc commits the text and ends input. Undo a finished bubble or delete it with the selection tool. If a tail adjustment points the wrong way, undo the last drag and drag the tip again.
Cannot enter the text: select the bubble first, then click its text area instead of repeatedly creating bubbles on empty canvas.
Changing shape only affects new bubbles: check that selection handles appear on the existing bubble before changing its style.
Related: Text · Shapes · Arrows · Element editing.