
Split images and edit cut lines
Image splitting cuts one long or large image into separate files. Smart splitting finds likely boundaries; equal and precise splitting create lines from counts or dimensions. Inspect every result before exporting.
Import and create a split
- Search Split selected images in the main window's Search function, select the result, and click the action row to open Image splitting. Click Select image or drag in one image file. Each window handles one image.
- Wait for the image, then choose Split direction: Vertical makes vertical cuts and left/right pieces; Horizontal makes horizontal cuts and top/bottom pieces; Grid cuts both axes. For a long article, start with Horizontal and divide at blank lines.
- With Vertical or Horizontal selected, choose Smart split, Equal split, or Precise split under Split type. Smart split shows a search state before its lines appear. Grid hides Split type and uses row and column counts directly.
- Check the image count and cut positions. Zoom in to ensure no line crosses essential text or objects.
- Adjust lines, click Save all, select a destination folder, and wait for every image to save.
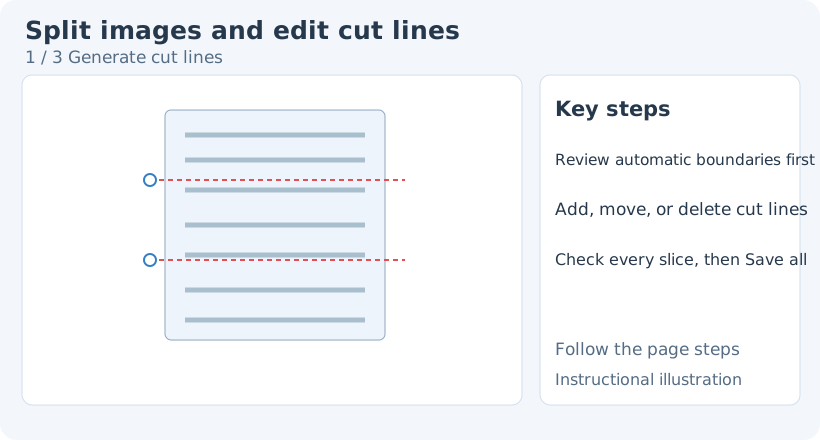
1. Generate cut lines — Select a splitting method and inspect its proposed boundaries.
- — Select a splitting method and inspect its proposed boundaries.
- — Add or move cut lines with the ruler.
- — Check the slices, then save them or arrange them as a PDF.
Paste from the clipboard or replace the image
- Open the original in an image viewer and copy its image content. Return to Image splitting, finish editing numeric or text fields, then click the preview; in an empty window, click the image-selection area first. Press Ctrl+V (Command+V on macOS) and wait for the image.
- When the clipboard provides readable local image file paths, only the first supported image is loaded. The list does not create one window per file. If that first image cannot be read, correct the input and retry.
- With an image already open, wait for the new image to load, then review the replacement confirmation. Cancel retains the original and current splits. Accepting loads the new image and resets old cut edits and undo history. Save the old result first if needed.
- Check the content and dimensions at the bottom, then inspect the new cut lines. If a file icon appears, use Select image, drag in the original file, or copy image content from a viewer before pasting again.
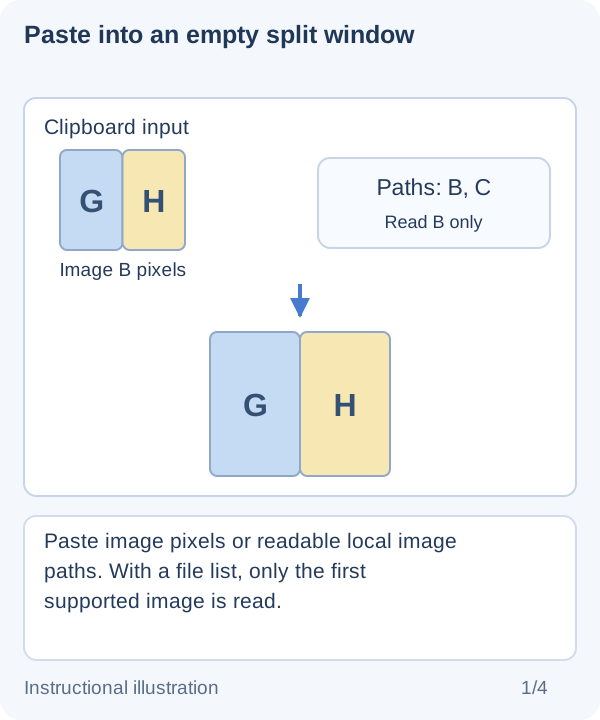
1. Paste into an empty split window — Paste image pixels or readable local image paths. With a file list, only the first supported image is read.
- — Paste image pixels or readable local image paths. With a file list, only the first supported image is read.
- — The current image has a manual cut at x=120. Pasting a new image asks whether to discard those edits.
- — Cancel replacement. The 300×200 image, manual cut at x=120, and current layout remain.
- — Accept replacement to load the 200×160 input. Old split edits and history are reset; check the new cut lines.
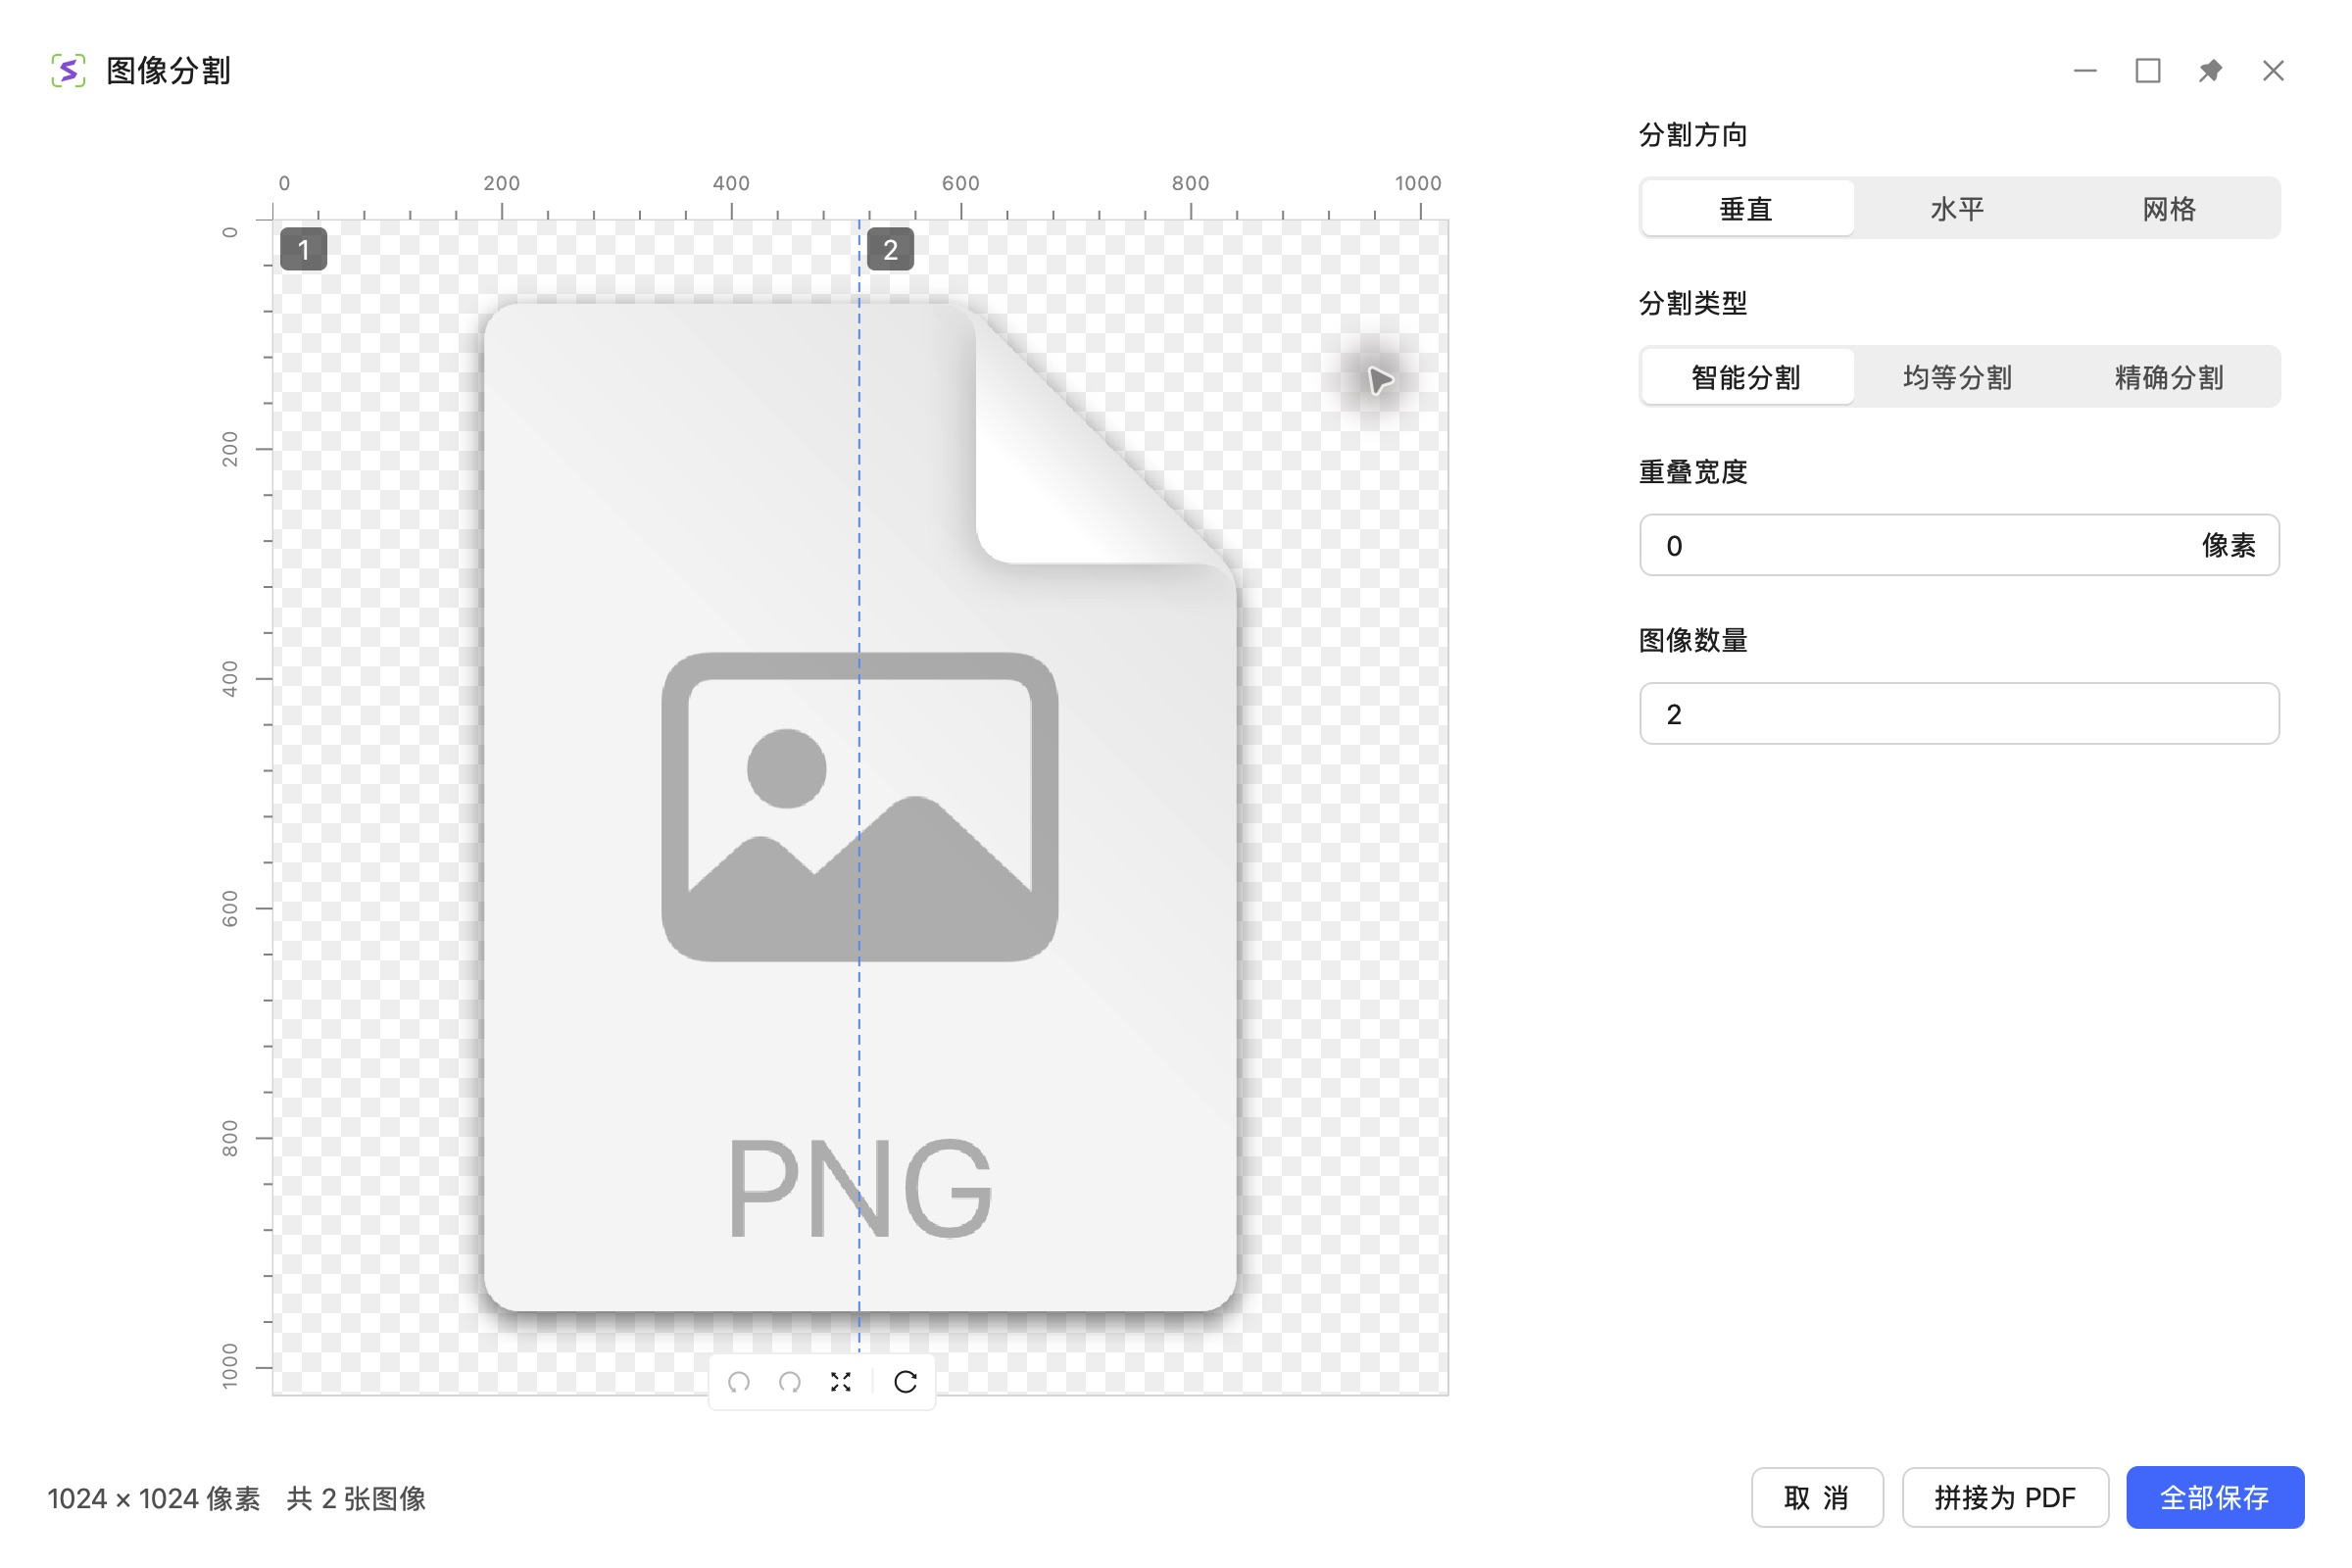
1. Identify what was pasted — This is a 1024×1024 PNG file icon, not the intended 100×100 image. Do not export it as the source image.
- — This is a 1024×1024 PNG file icon, not the intended 100×100 image. Do not export it as the source image.
- — Open the original in a viewer and copy its image content, then paste and accept replacement. Image A appears at 100×100.
Start from selected files
Find Split selected images under Global shortcuts and assign a nonconflicting combination. There is no preset binding; the screenshot shortcut does not substitute for it. Return to the file manager, select one or more images, and invoke the action. Each image opens in a separate splitting window.
With no images selected, an empty window opens where you can add one. On macOS, follow any request for Finder Automation access and retry. See Shortcut settings.
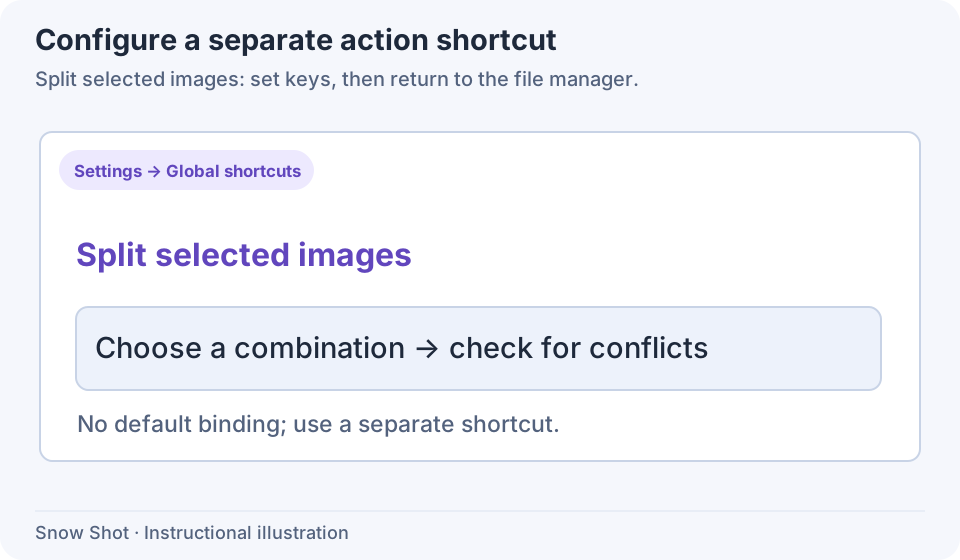
1. Configure the action — Assign a nonconflicting global combination; there is no default binding.
- — Assign a nonconflicting global combination; there is no default binding.
- — Keep the source selection and file-manager focus, then invoke the action.
- — Stitching uses one session; editing and splitting use one independent window per image.
Split by content, count, or dimensions
Precise Pixels accepts whole numbers of at least 16 px. Percentage accepts 5%–100% of the source width or height, not its displayed preview size. The last piece retains the remaining pixels and may be shorter; 100% produces one piece. Equal counts and grid dimensions must leave at least 1 px per piece on each axis. Resolve field errors before checking the preview.
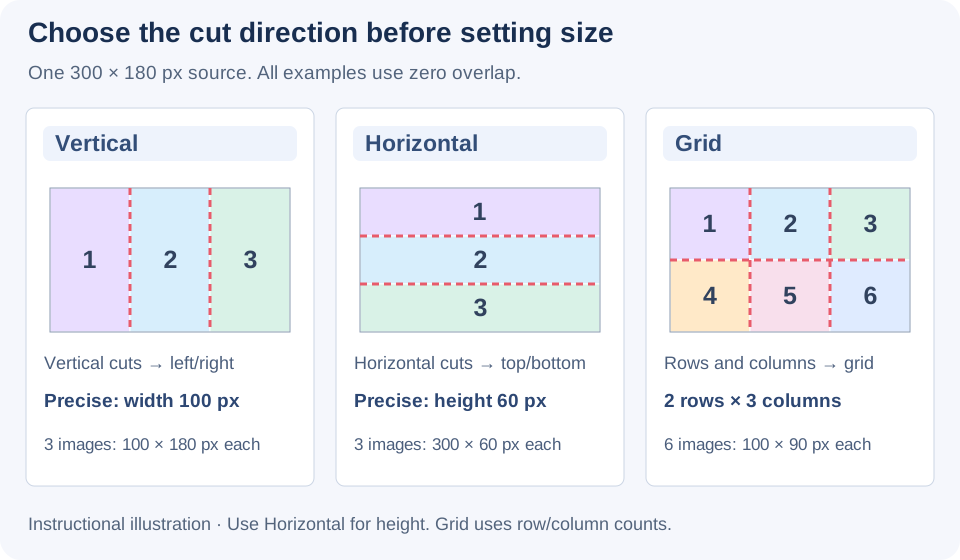
Instructional illustration. Direction names describe cut lines. Choose Horizontal to divide a long image by height.
Compare the three directions using the same 300×200 px image with Overlap width 0. Each pair first shows the controls on the right, then the preview on the left. Use the full-size image link when you need the complete window context.
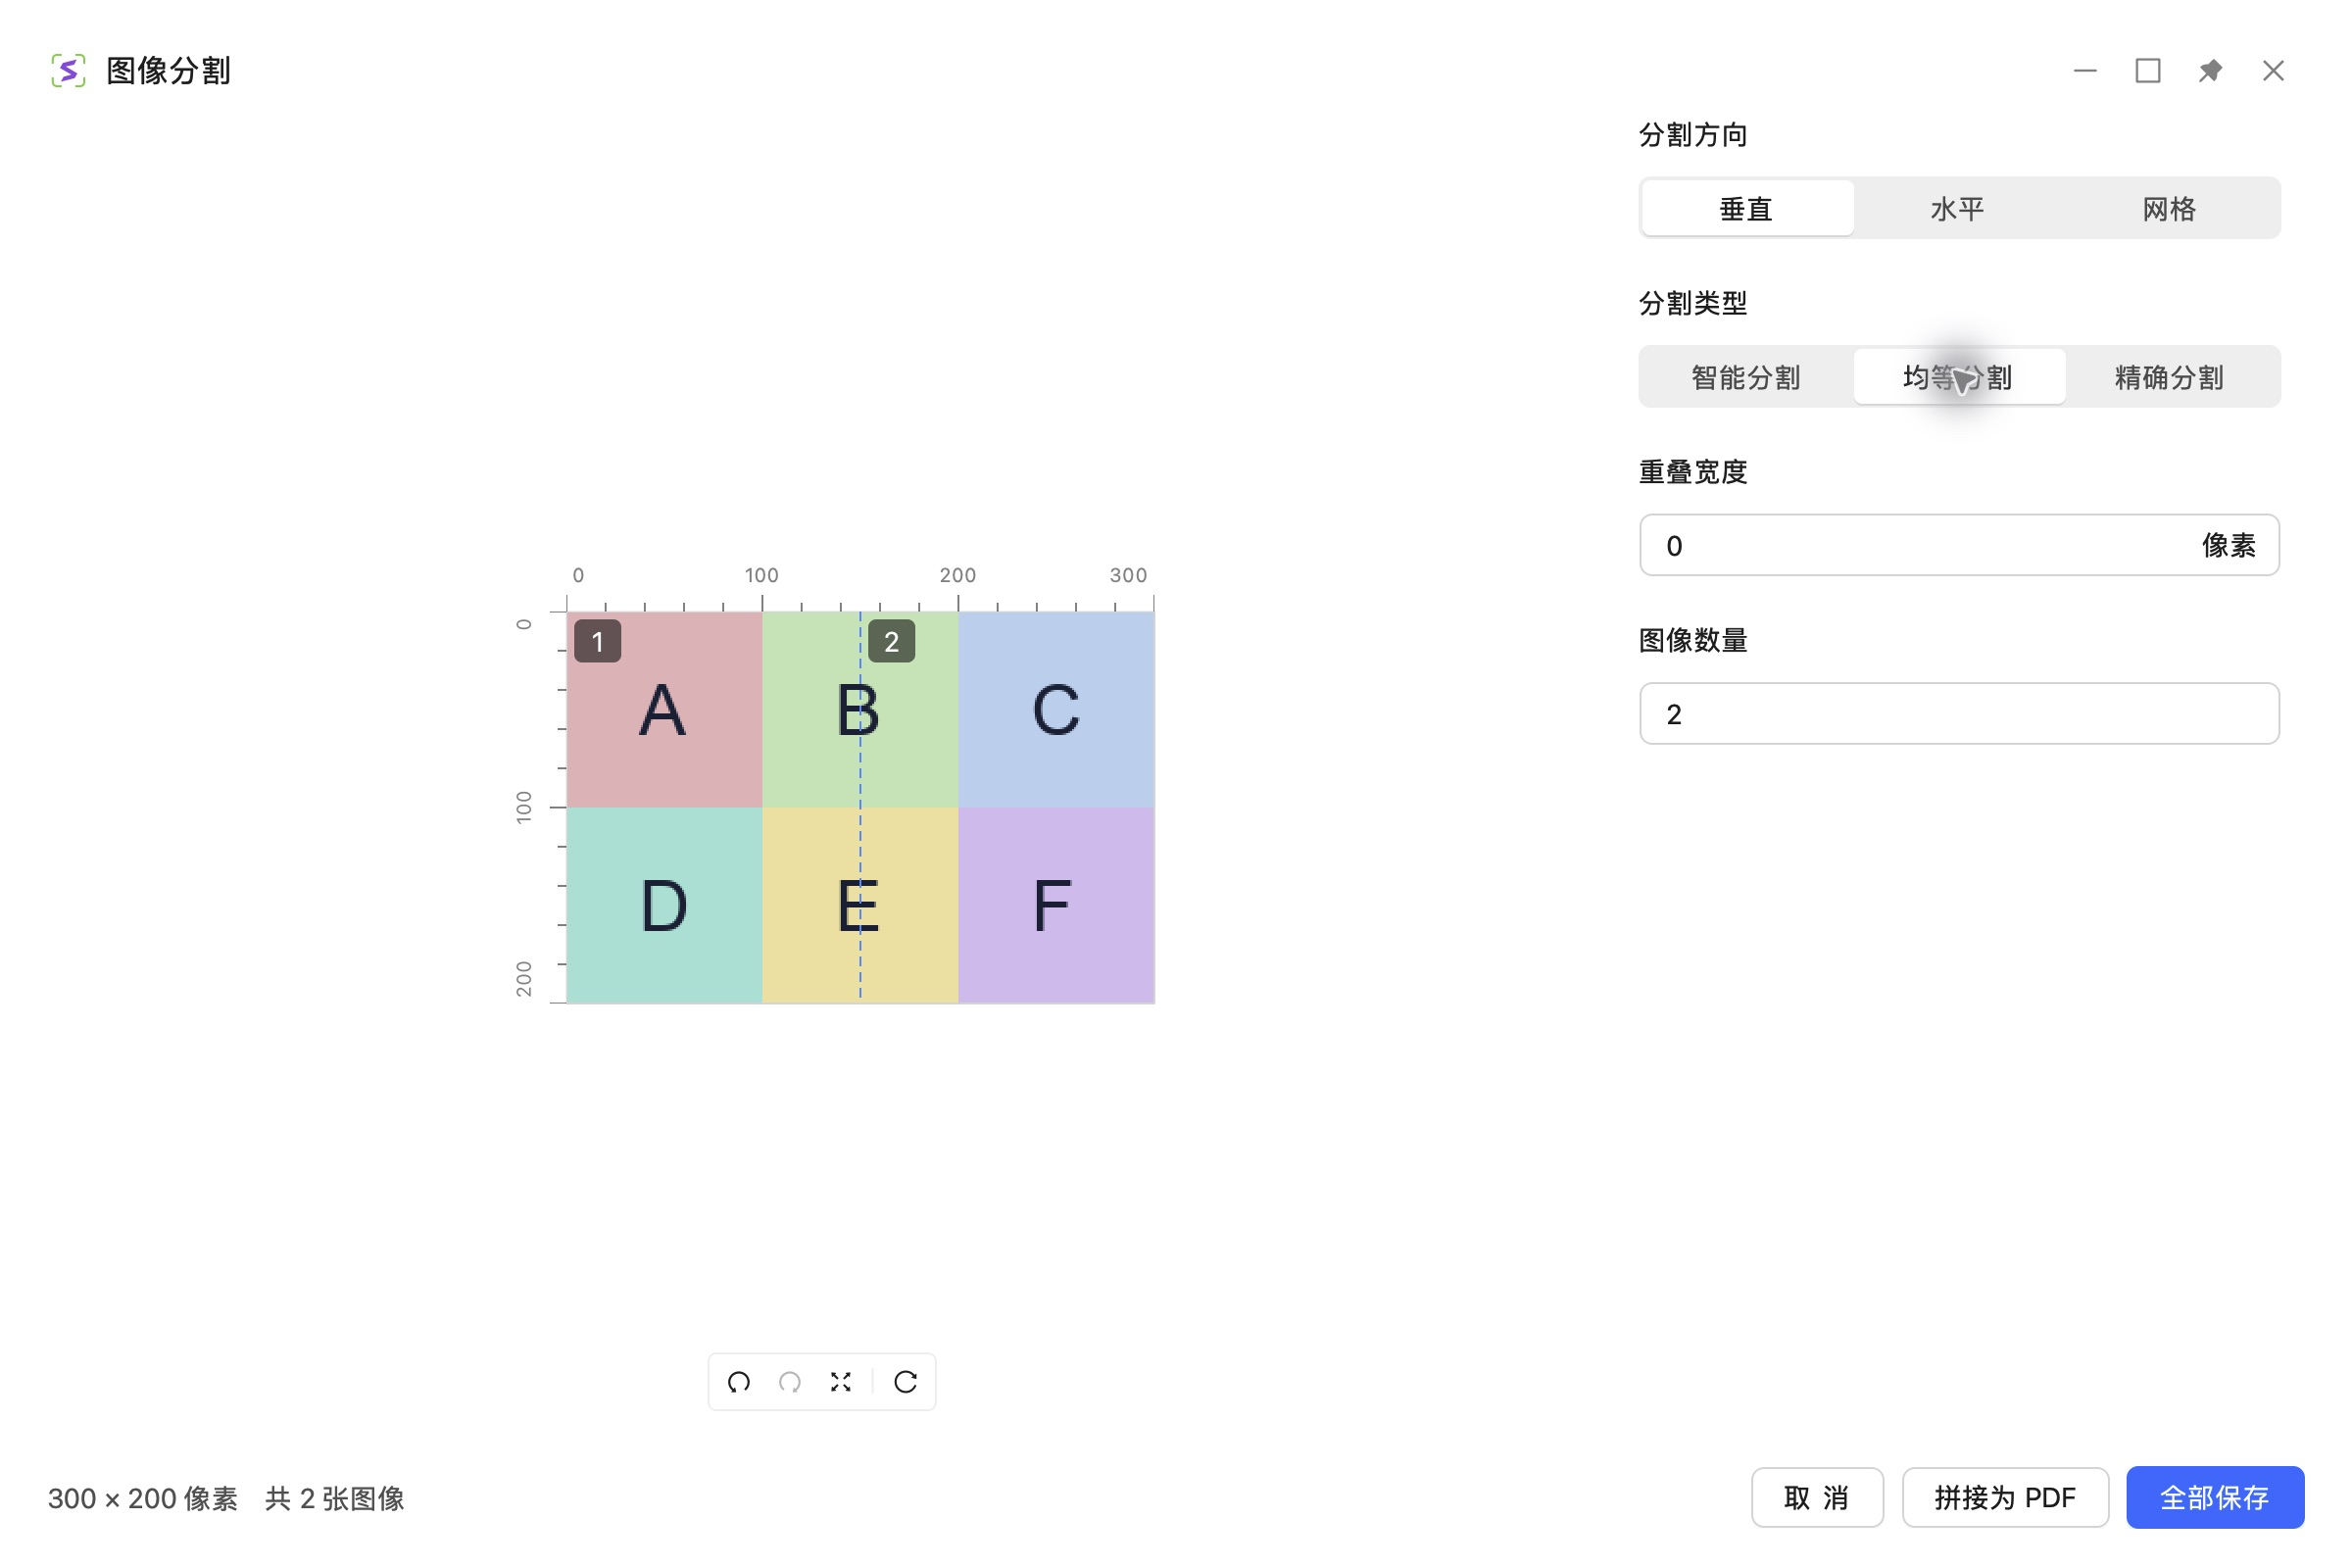
1. Set Vertical and Equal split — On the right, choose Vertical and Equal split. Set Number of images to 2 and keep Overlap width at 0.
- — On the right, choose Vertical and Equal split. Set Number of images to 2 and keep Overlap width at 0.
- — The left preview has one vertical cut at the width midpoint. Saving produces two 150×200 px images, left then right.
- — Choose Horizontal. Keep Equal split, Number of images 2, and Overlap width 0.
- — The left preview has one horizontal cut at the height midpoint. Saving produces two 300×100 px images, top then bottom.
- — Choose Grid and set Rows to 2 and Columns to 3. Split type is hidden; Overlap width remains 0.
- — The preview has six cells. Saving produces six 100×100 px images, ordered left to right across the first row, then the second.
Correct cut lines with rulers
- Click a target position on the top ruler to add a vertical cut, or on the left ruler for a horizontal cut. Only cuts allowed by the current direction can be added; Grid allows both.
- Hold the left button on an existing line and drag while watching its coordinate. Avoid text and object centers, then release to apply. Press Esc before releasing to restore its position before the drag.
- Click a line to select it and press Delete / Backspace to remove it.
- Middle-drag to pan and scroll to zoom. Click Fit to canvas to regain the full view.
Retain sensible smart-generated lines and add or move others. Automatic results still require checking.
Overlap and undo
Overlap width accepts nonnegative whole pixels. Each slice extends that far past each cut, clipped to the source edges. At 10 px, the two neighboring slices each gain 10 px past the cut, normally sharing a 20 px band. Grid extends both axes. Zero adds no overlap; changing overlap does not move your manual cut lines.
Use Undo / Redo after cut-line edits. Reload opens image selection to reselect or replace the source. Decide whether you need to retain manual edits first. Replacing prompts that current splitting edits will be discarded; read it before confirming.
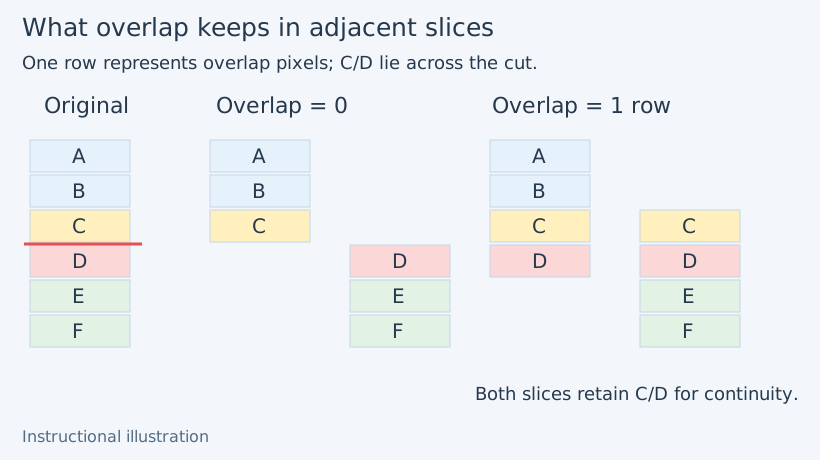
Instructional illustration. A row represents a band of overlap pixels. View the overlap diagram at full size.
Save or create a PDF
Click Save all and choose a parent folder. Snow Shot creates a subfolder beginning with Split Images_ and writes 1.png, 2.png, and so on. Progress shows “Saving images: completed / total.” After saving, open the parent folder you chose in your file manager, then enter the newly created subfolder. Check the file count, order, and content near each cut.
For partial saving, inspect failures and existing files before retrying. A retry uses a new output subfolder; do not combine partial batches and assume they form one complete set. Closing or clicking Cancel asks whether to discard the current splits; cancel that prompt to continue editing.
Click Stitch to PDF to send slices into PDF layout. Check page order and paper in the new preview before exporting; see Images to PDF. If image stitching is busy, wait for its current task and retry.
Related: Image editing, Scrolling screenshots, and Image collage.