
Image and clipboard pins
Pin to screen keeps a reference image, error message, or text beside your work. Full and Mini can both create pins. For a continuously updating source, use Live window pins; an ordinary image pin retains content already captured.
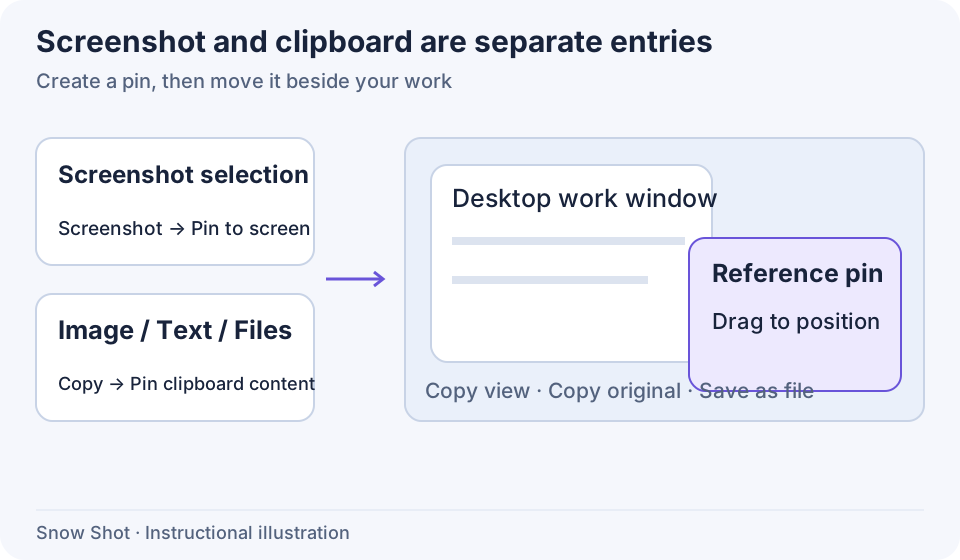
Instructional illustration. The three entries show a screenshot selection, clipboard content, and an independent desktop window.
Create your first pin
- Capture with your screenshot shortcut—F1 on Windows or Control+1 on macOS by default—and select the reference. Finish any needed redaction or annotations first.
- Click Pin to screen in the screenshot toolbar. The screenshot session ends and the selection becomes an independent desktop pin.
- Hold the left button on a draggable area, move the pin beside your work, and release. Avoid edge resize handles and upper-right controls. Over selectable text, finish text editing and unlock first, then hold Alt (Option on macOS) and left-drag the content to move the window without selecting words.
- To resize the window, point at an edge or corner and drag when the resize cursor appears. For proportional viewing, use Scale in the context menu.
An ordinary pin does not update with its source application. Capture again or replace its content when the source changes.
Start from the clipboard or a file
Copy an image or text in another application, then invoke Pin clipboard content to screen—F3 on Windows or Control+3 on macOS by default. This is separate from pinning a screenshot. For customized bindings, use the keys shown under Settings → Global shortcuts.
The main-window action is named Pin clipboard content to screen. Without a shortcut, search that name in Search function, select the result to locate its row, and click the title or empty row area. The shortcut or “Not set” button configures keys; you can click the action without configuring one first.
The clipboard may contain plain text, rich text, or file URLs together. Snow Shot creates pins from readable content. You can also copy a local image file and invoke the same action. Start with an ordinary PNG to confirm the flow. See Animated image pins for animation-specific controls.
Pin selected files
You can read a file-manager selection without copying files first:
- Find Pin selected files to screen under Global shortcuts and assign a nonconflicting combination. New configurations have no default binding; configure one before using its keyboard path.
- Select supported image or document files in Windows File Explorer, macOS Finder, or the desktop. Keep the file manager focused and invoke the action. Snow Shot reads the selection and creates pins from readable content.
- Confirm one ordinary image matches its source before trying multiple files or documents. For unreadable files, check the message and retry with supported content. Duplicate-content rules below also apply.
- If macOS denies Finder access, allow Snow Shot under System Settings → Privacy & Security → Automation. Return to Finder, select again, and invoke the action. For timeouts or unavailable Finder, confirm Finder is running and can display the selected files before retrying.
On macOS, you can keep the Finder selection, return to Snow Shot, locate Pin selected files to screen with Search function, and click its action row. It queries Finder's selection. On Windows, Explorer or the desktop must remain in the foreground when invoked, so use the configured shortcut. Clicking from Snow Shot's main window cannot capture the previous foreground file-manager target.
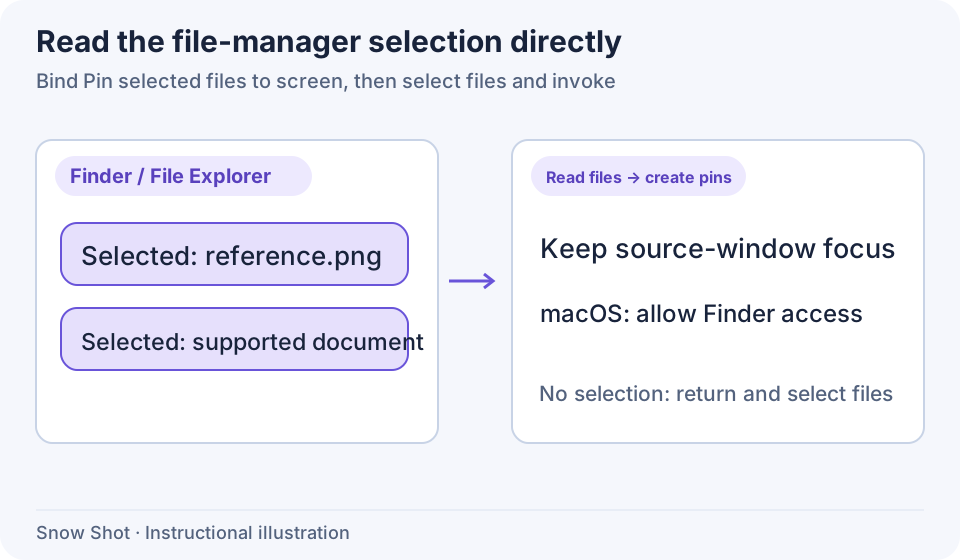
Instructional illustration. This reads the file-manager selection without first copying files to the clipboard.
Pin from an image editing window
For an existing image file, you can open the image editor and pin its result:
- Search Edit selected images in the main window's Search function, select the result, and click the action row. With no usable selected files, an empty editing window opens.
- Click Add images and choose an ordinary PNG or JPEG in the file dialog. You can also drag image files into the empty window. Multiple images open in separate editing windows.
- After loading, annotate as needed and click Pin to screen in the toolbar. Check the independent pin's content and visible area.
- To try opening files without loading one, click Cancel in the file dialog or close the empty editor. Copy or save from the pin to keep output. Loading an image does not automatically overwrite its original file.
See Image editing for editing steps.
Copying and editable annotations after screenshot pinning
Under Settings → Screenshots → Interaction, Copy after pinning to screen controls whether creating a screenshot pin also copies its result. Enable it, pin a practice image, and paste elsewhere to confirm. When disabled, copy explicitly from the pin.
Keep annotations editable after pinning to screen controls whether editable screenshot objects travel into the pin. Enable it to continue editing arrows or text, then inspect the original objects in annotation mode. When disabled, annotations are flattened into the image and cannot be adjusted with their original handles. Preserving editable objects retains the original region layout instead of compacting multiple regions. It controls the screenshot-to-pin handoff; it cannot restore flattened objects from an ordinary image file.
Replace current content
Right-click an ordinary pin and open Pin to screen management → Load new content:
- Choose Image file, select a supported file, and wait for the current pin to display it.
- Choose Clipboard to replace it with current clipboard content. Copy the intended source again first.
This replaces the current window's material. Save the previous content or create another pin if you need both. Live window pins do not provide the same replacement flow; convert to an image or select the source window again.
Copy, save, and close
Paste into the intended destination once to check whether it receives text, an image, or files. Applications accept different clipboard formats.
Drag into another application
- Return to the ordinary image view; leave click-through and text-result display. If several windows are selected, deselect the other windows first. With two or more selected, the same drag can move the group.
- Hold Ctrl (Command on macOS) and left-drag from the image content to an application that accepts images or files. Avoid edge handles and window buttons. Keep the left button held while the drag preview is prepared.
- Release over the destination, then inspect the received image or file. Press Esc before dropping to cancel. If the destination cannot accept the drop, copy or save instead.
This exports the current visible content; a cropped view and current edits can affect its extent. Ctrl/Command plus a short click toggles window selection; Ctrl/Command plus a drag exports content. Check whether multiple windows are selected before starting.
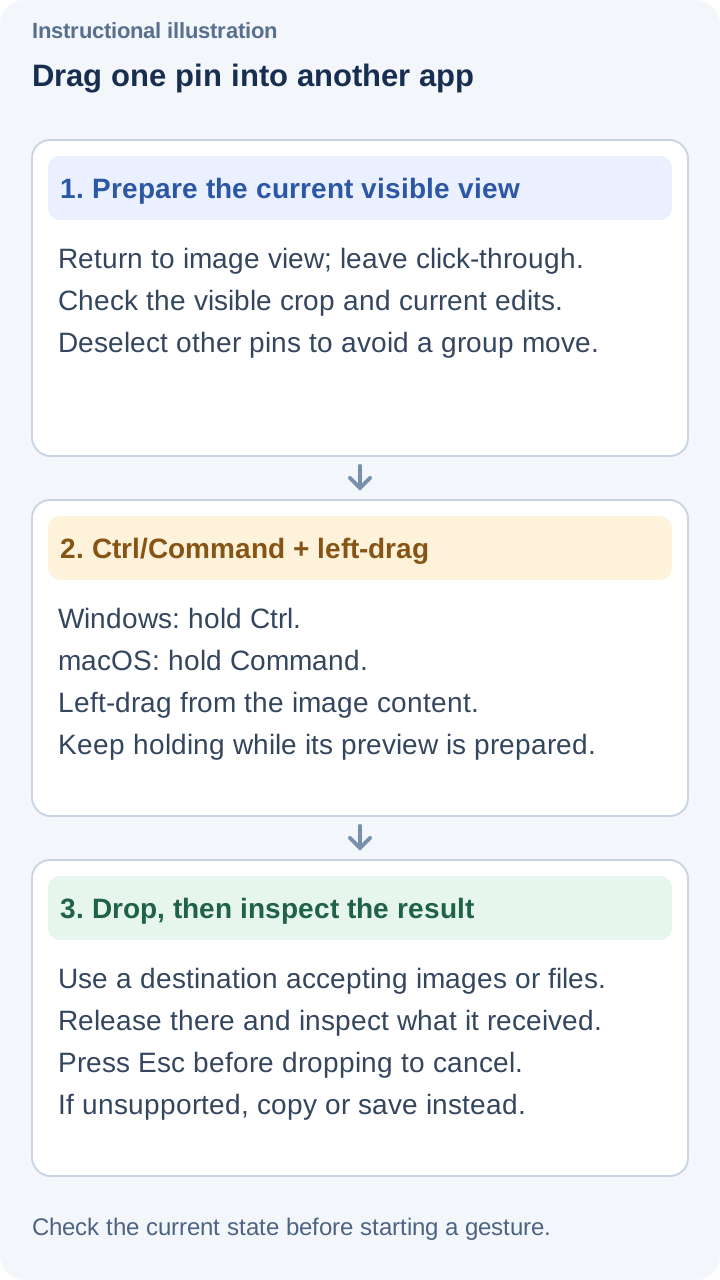
Instructional illustration. Hold the left button until the destination, then release and check the result. Esc abandons the drag.
On macOS, non-live pins also have AirDrop in their context menu, including animated pins. See saving and sharing for choosing a recipient or canceling.
Continue in an editor or splitting window
Right-click Process image → Image editing, inspect the image in the opened editor, then follow Image editing to change and export it. To make slices, choose Process image → Image splitting, check its input preview, then follow Image splitting to set directions and Save all. These open separate workflows from Annotation mode inside the pin.
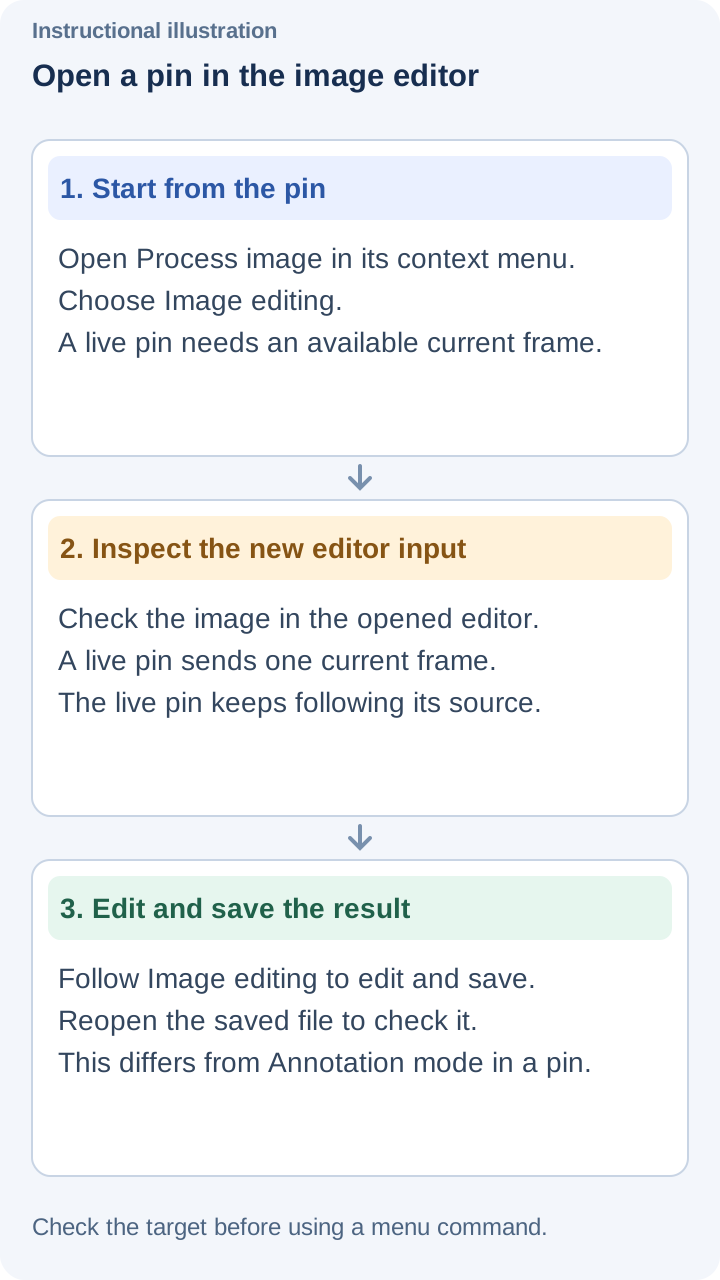
Instructional illustration. A live pin sends one frame while the original pin keeps updating.
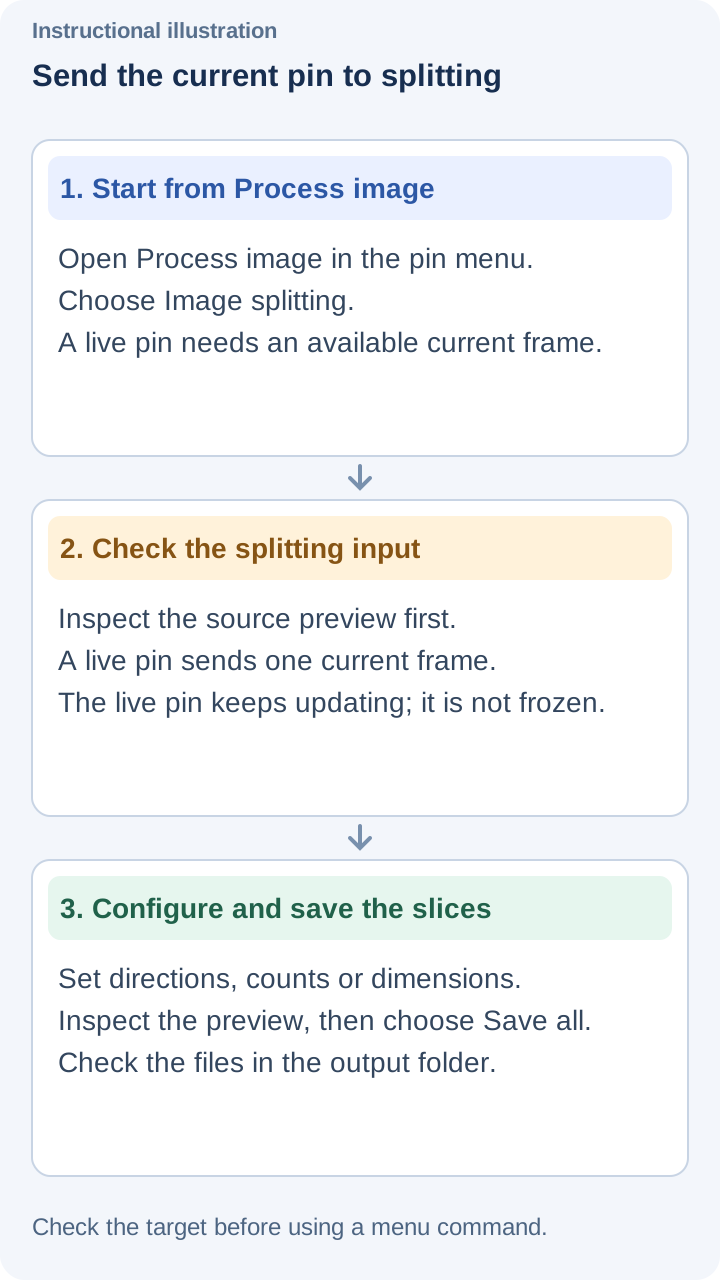
Instructional illustration. Inspect the splitting input before choosing a splitting method.
Duplicate content and entry settings
Pinning identical clipboard content or files may bring back an existing window instead of creating another. Under Settings → Pin to screen, check When pinning duplicate content. Options include no action, shaking the window, restoring the last closed window, or repeating the action. Configure your preferred behavior and test with the same image.
The same page controls Show window buttons and confirmation before closing or destroying. Context menus remain available when upper-right buttons are hidden.
Continue with Transforms and cropping, Text and annotations, or Groups, batch management, and recovery.