
Pin transforms and cropping
Zoom, rotate, or make a pin translucent to compare it with a design or another window. Cropping has two stages: narrow the visible view, then Apply crop. Decide whether you only want to hide part temporarily or crop the pin's current content.
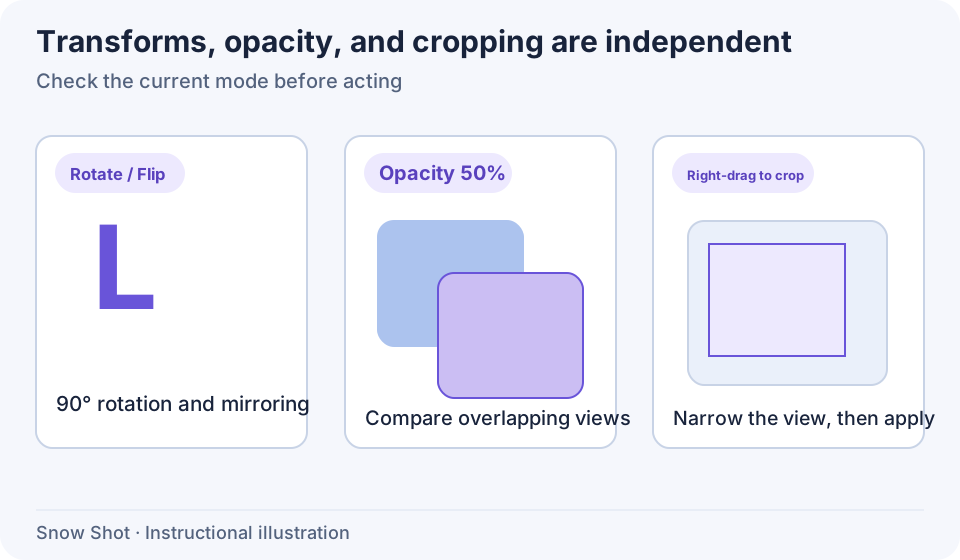
Instructional illustration. Display scale and window opacity do not rewrite the source file.
Zoom and anchoring
Right-click and open Process image → Scale. Choose 25%, 50%, 75%, or 100%, or use Increase 10% / Decrease 10%. The “Current” item shows the existing scale.
In ordinary image mode, scrolling over the pin also changes display scale. In recognition or annotation mode, the wheel may control that mode's content. Return to ordinary image mode or explicitly use the context menu to adjust the entire pin.
Under Settings → Pin to screen, use Mouse wheel zoom step to adjust each increment and Mouse wheel zoom mode to choose the anchor: pointer position, any corner, or center. Use pointer position to keep a detail aligned, or a corner to keep that edge steady. Test with a distinct corner after changing the setting. Display scale ranges from 10% to 500%; further scrolling stops at those limits.
Opacity, rotation, and flipping
Process image → Opacity offers 25%, 50%, 75%, 100% and 10% increases or decreases. Try 50% for comparison and restore 100% for normal reading. A translucent window does not mean the saved image has a transparent background.
In ordinary image view, hold Ctrl (Command on macOS) while scrolling to adjust window opacity. Scrolling without that modifier changes scale. Configure each increment under Settings → Pin to screen → Mouse wheel opacity step; opacity stays within 25%–100%. Finish annotation editing before adjusting window opacity.
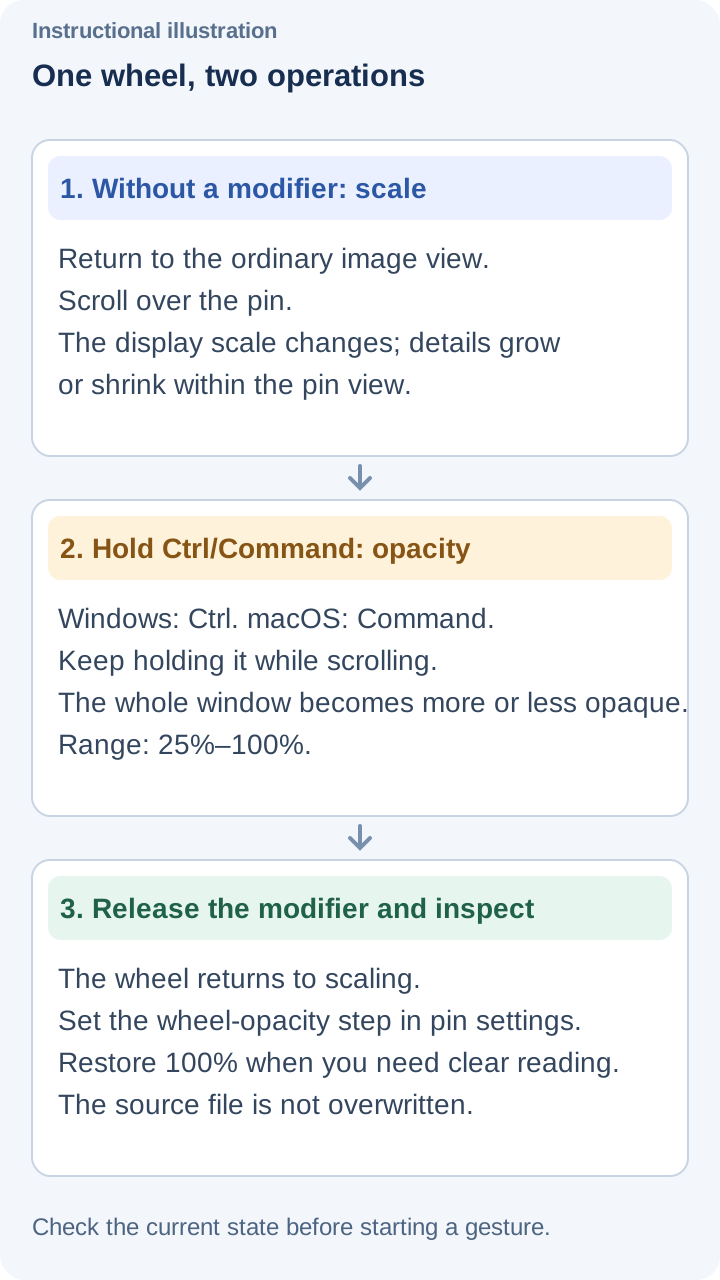
Instructional illustration. This changes the whole window display without overwriting the source file.
Under Process image, Rotate clockwise and Rotate counterclockwise change orientation by 90° each time. Flip horizontally and Flip vertically mirror the image. Reset transform restores rotation and flipping; zoom and opacity have their own menu values and are not reset by that command.
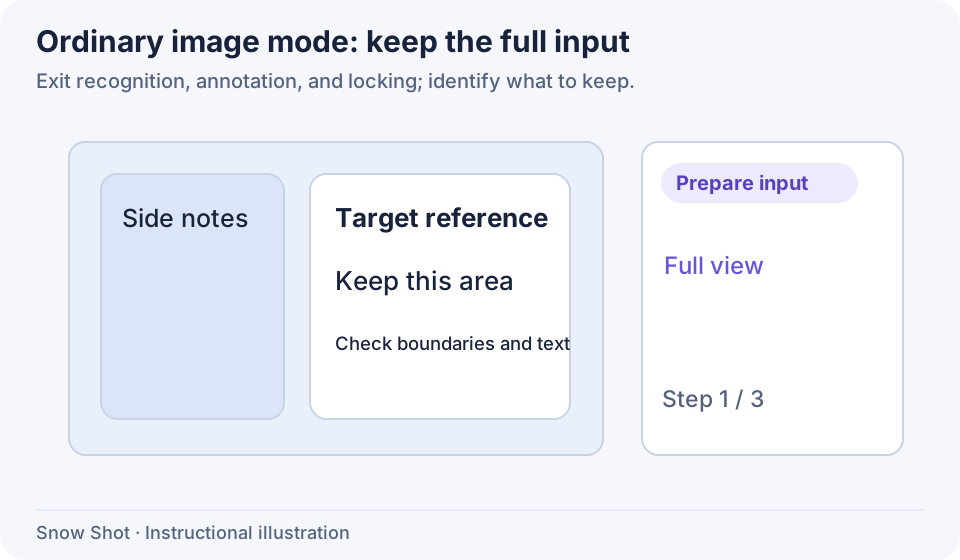
1. Return to image mode — Exit recognition, annotation, locking, and other special modes; retain the full original view.
- — Exit recognition, annotation, locking, and other special modes; retain the full original view.
- — Hold the right button and drag corner to corner. Releasing narrows the current visible view.
- — Confirm the range, then choose Apply crop. The pin retains only the selected area.
Crop a pin
A right click opens the menu; a right drag selects a crop view. These gestures have different results.
- Exit annotation, recognition, locking, click-through, thumbnail, and top-hide states to return to an ordinary pin.
- Hold the right mouse button inside the image and drag between opposite corners of the area to retain. Inspect the rectangle. Press Esc before releasing to cancel the gesture.
- Release to narrow the window to the selected view. Very small movements are treated as a context-menu click, so drag a clear rectangle.
- To crop the content to that range, right-click Apply crop and wait. Copy original content or save another copy first if you need to retain it.
After applying the crop, the pin's image contains only the selected area. For an incorrect crop, use Load new content to reload the source file or original clipboard content. Cropping does not directly overwrite the source file. Choose a new filename when saving to retain both the original and cropped result.
Borders and shadows
Under Pin to screen management in the context menu, Show border and Show shadow toggle the current window's decorations. Try a light-colored image and compare its outline. These are window decorations, not shapes drawn into the image.
Set new-window defaults under Settings → Pin to screen → Window interface:
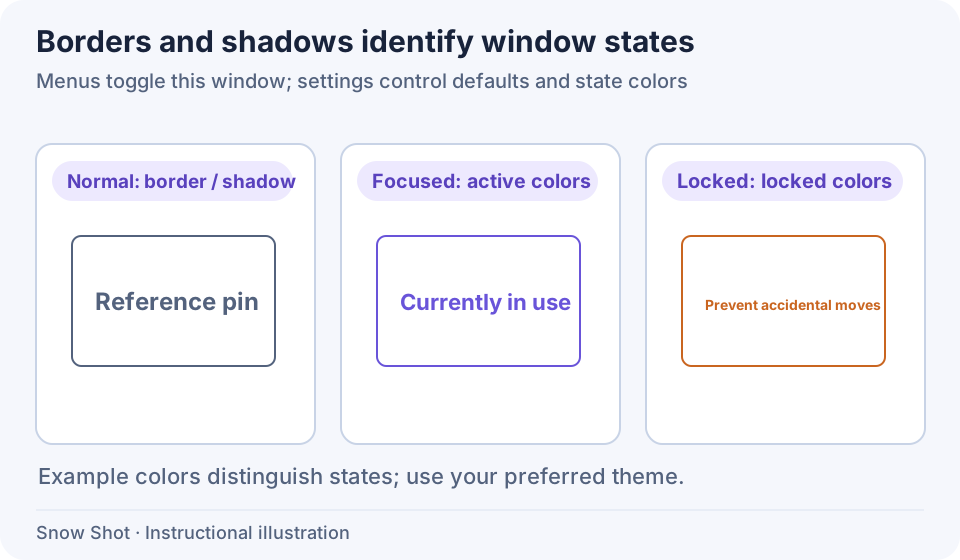
Instructional illustration. Colors distinguish states and do not represent application defaults.
Automatically resize window on the same settings page keeps new pins, such as long screenshots, within the monitor. Enable it and create a long-image pin to check its initial size. Zoom or adjust the visible range for detail; this does not delete source-image pixels.
Avoid obstruction and accidental changes
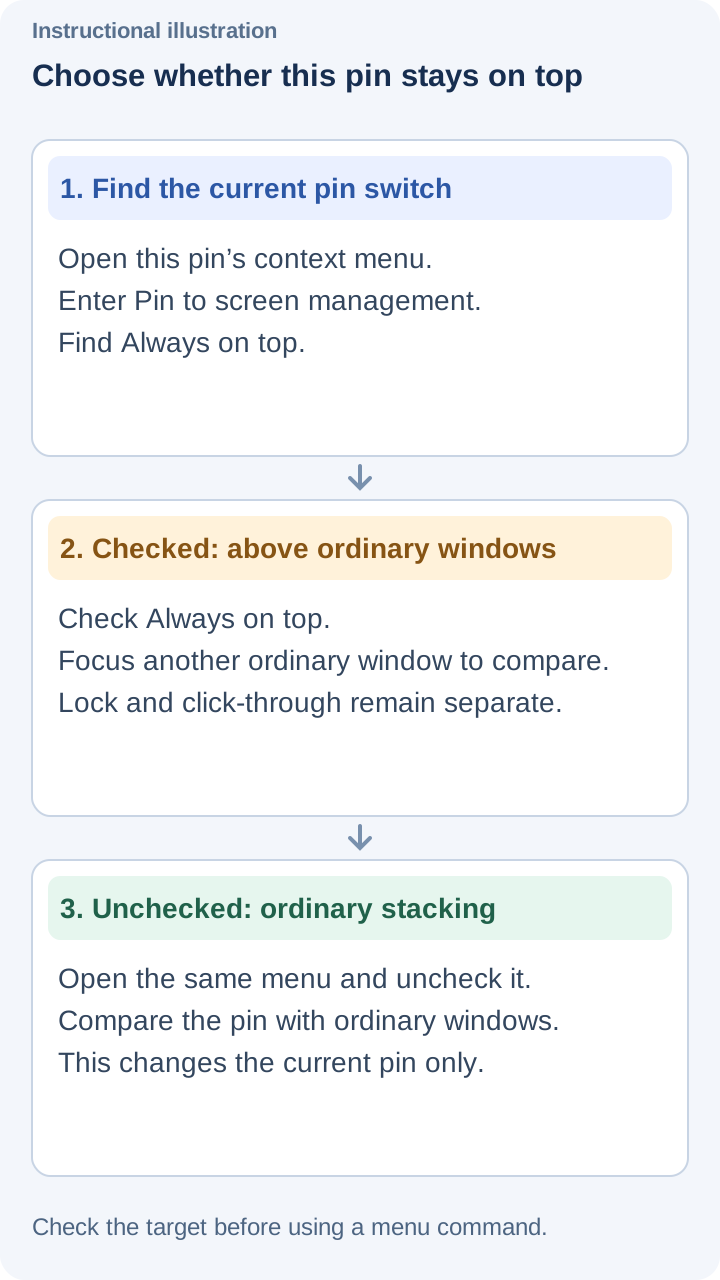
Instructional illustration. Always on top changes this pin’s stacking; lock and click-through are separate.
With click-through active, right-clicking the image no longer opens its ordinary menu; use the auxiliary exit button first. To hide many windows, use Groups and batch operations. Live windows offer only their supported modes.
Double-click and middle-button actions are separately configurable—for example, reset zoom, thumbnail, hide at top, show recognition results, close, or destroy. Another user's double-click behavior is not a fixed gesture for every configuration.
Continue with Image pins, Text and annotations, or Live window pins.