
Polyline, curve and freehand selections
When a rectangle includes too much background, trace the content to make an irregular region. This defines a capture selection, rather than a polyline annotation drawn over an image. Only content inside the final region is retained.
Switch the region type
In the capture interface, use the Move style bar to select Rectangle region, Polyline region, Curve region or Freehand region. Before confirming a selection, you can also cycle region types: Control+Tab by default, or Control+Shift+Tab in reverse. On Mac these use the physical Control key, rather than Command. The region-type hint updates as you switch.
Switching the type while drawing cancels the unfinished draft. Choose a type before starting so you do not lose a partially traced boundary.
Polyline: click points and close the boundary
- Select Polyline region and click the first boundary point. Moving the pointer previews the next connecting segment.
- Continue clicking along the boundary. Each click fixes a corner. Three points on one straight line are insufficient; the region needs area.
- Double-click the final point to finish. The path closes, its interior is retained and the toolbar becomes available for working with the result.
- If a point is wrong, press Backspace while still constructing the boundary to remove the last vertex. Press Esc to cancel the unfinished draft.
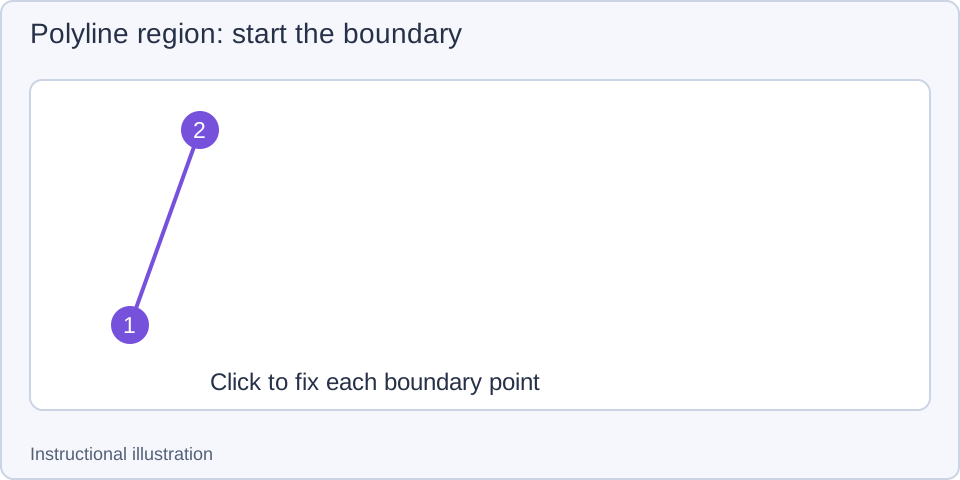
1. Start placing points — Each click fixes a point. Move the pointer to preview the next segment.
- — Each click fixes a point. Move the pointer to preview the next segment.
- — Continue around the outline, then double-click the final point to finish.
- — Confirm it encloses a valid area, then copy or save the retained content.
Curve and freehand regions
Curve region also uses successive points, but connects them with curves. It suits softer outlines. Place points around the contour, then double-click the final point to finish. You do not need closely packed points to imitate every pixel.
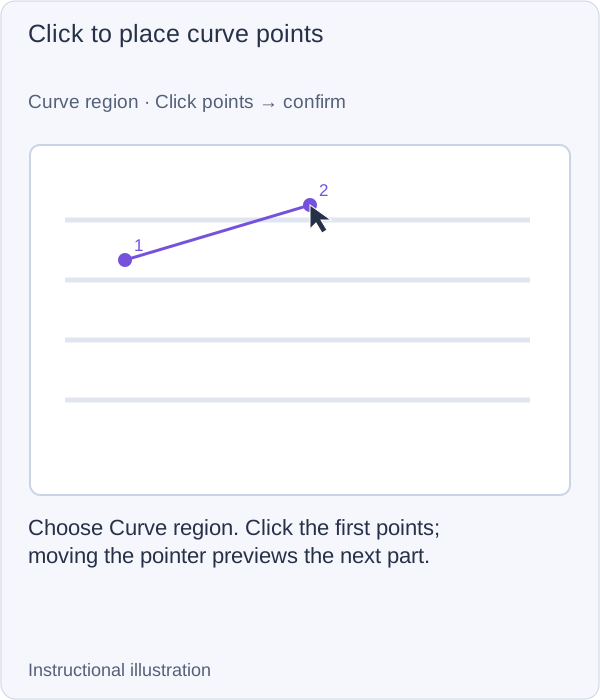
1. Click to place curve points — Choose Curve region. Click the first points; moving the pointer previews the next part.
- — Choose Curve region. Click the first points; moving the pointer previews the next part.
- — Continue clicking around the outline. The hollow endpoint is a preview, not a committed point.
- — Double-click the preview endpoint to complete the closed capture region.
For Freehand region, hold the left mouse button and drag along the outline. The path appears as you drag; releasing forms the region. If the path does not enclose valid area, no exportable selection results. Trace a complete outline and release again.
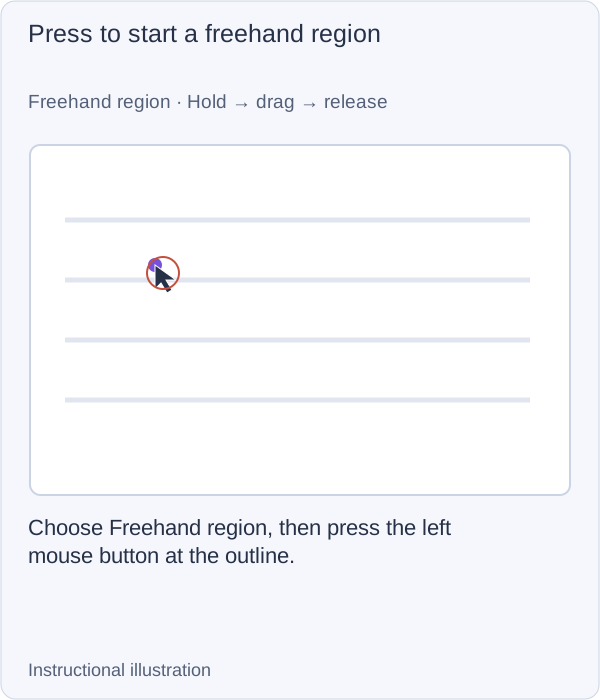
1. Press to start a freehand region — Choose Freehand region, then press the left mouse button at the outline.
- — Choose Freehand region, then press the left mouse button at the outline.
- — Keep the button held and trace around the content. A visible draft is still unfinished.
- — Release after tracing a valid area. Inspect the closed boundary before copying or saving.
For either type, inspect the final closed boundary. Do not assume every indentation is preserved exactly because the pointer passed through it, especially in a fast freehand gesture.
Add to a selection or cut out part of it
With an existing selection, click Add screenshot region or Subtract screenshot region, then choose polyline, curve or freehand. Completing the boundary immediately updates the retained area. Esc first exits an unfinished local operation.
For combining and arranging regions, see multiple regions. Custom regions do not use the rectangular Corner radius option. To show a rounded box while retaining the whole screenshot, use a shape annotation.
Obtain the result
Check that the toolbar has returned and no boundary segment awaits completion, then use Copy to clipboard or Save as file. For transparent areas, choose a format that supports transparency and inspect it in the receiving app. An ordinary saved image contains the combined result, without editable selection vertices.
For an empty selection, check whether the path is just a line, all content has been subtracted or the draft is still unconfirmed. To start again, cancel the draft with Esc, choose the region type and redraw.
Related: Basic capture · Exact selections · Saving formats.