
Region capture and Smart Selection
Use the ordinary Screenshot action when you want to annotate before exporting. To immediately capture an entire window or the current display, use direct capture. The keys below are defaults. Check the capture entry binding under Global shortcuts and local Move or annotation bindings under Settings → Application shortcuts. See shortcut settings for configuration.
Start with a region capture
- Display all the content you need, then press the screenshot shortcut: F1 on Windows or Control+1 on macOS by default. The capture interface freezes the current screen, and selection and color hints follow the pointer. Without a configured key, find Screenshot on the main window's Global shortcuts page and click its title or empty row area. The key button on the right only configures the binding.
- Hold the left mouse button at one corner and drag to the opposite corner. Watch the dimensions and bright region as you drag. Release to confirm the region and reveal the screenshot toolbar.
- To reposition it, switch to Move and drag inside the selection. To resize it, drag an edge or corner. Dragging the canvas while an arrow or text tool is active does not perform the same selection move.
- Check that the edges do not cut off text, then use Copy to clipboard or Save as file. Paste the copied image into your destination app, or open the saved file to check it.
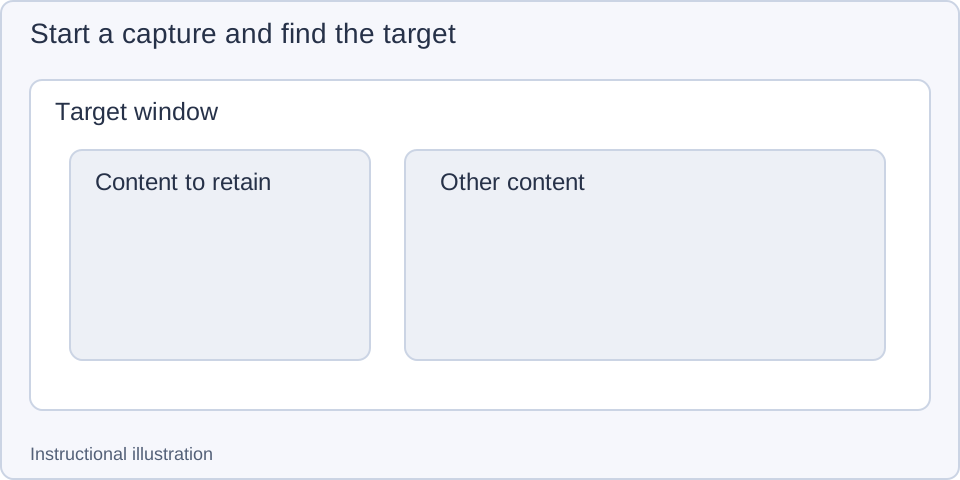
1. Prepare the content — Display the target and press the screenshot shortcut: F1 on Windows or Control+1 on macOS.
- — Display the target and press the screenshot shortcut: F1 on Windows or Control+1 on macOS.
- — Hold the left button and drag between opposite corners, watching the bright preview.
- — Use the toolbar after releasing. Edges and corners remain adjustable.
Use Smart Selection for windows or child elements
With Smart Selection enabled, start a capture and move the pointer over the target window. Inspect the candidate border, then click when it covers the right content. To target a button, panel or other child element, use Tab by default to switch between window and child-element targets. Inspect the border before clicking.
Before confirming a rectangular Smart Selection, use Tab to switch to child-element mode, then keep the pointer over the target and scroll to cycle the detected candidate bounds at that position. Reverse scrolling to go back, inspect the border, then click to confirm. Here the wheel chooses a candidate; after confirmation, scrolling with Move adjusts the selection bounds instead.
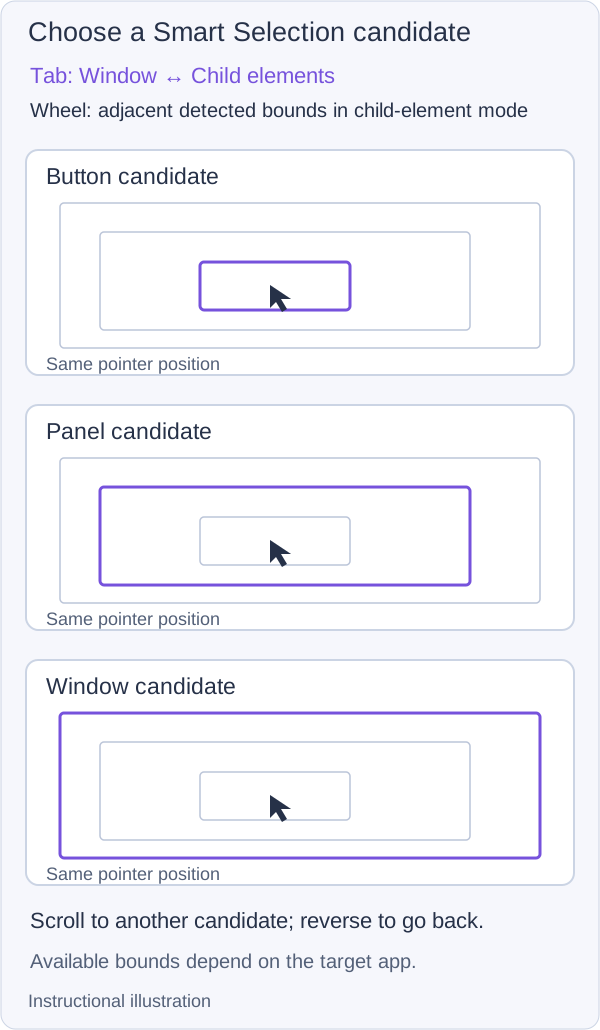
Instructional illustration: Tab changes between window and child-element modes; the wheel selects detected candidates within child-element mode.
Smart Selection depends on the window and control information exposed by the target app. It cannot subdivide every screen into individual buttons. If the candidate is wrong, drag out a manual selection instead of repeatedly accepting it.
To select a whole display, keep Move active without dragging and press the system Select All keys: Ctrl+A on Windows or Command+A on Mac. The first press selects the display under the pointer. If the confirmed selection already covers an entire display, another press expands it to the whole multi-display desktop. You can still annotate and export; this differs from the Current monitor action, which skips editing.
Refine, reselect or refresh
For numeric values, ratio locks, appearance and presets, see exact selections. To keep separate pieces or remove part of a selection, use multiple regions without first saving and combining them in another app.
Capture settings and common problems
Use Settings → Screenshots for Smart Selection, color picker display, guides and capture preferences. The arrow keys and WASD shortcuts move the pointer one pixel at a time; they do not resize the selection. Enter numeric values for an exact region.
Adapt mouse interactions
- Open Settings → Screenshots → Interaction. Change one option, start a new capture and inspect the selection or toolbar.
- Smart Selection offers window child elements, windows or disabled. Choose windows for whole-window candidates, child elements for finer boundaries, or disabled to select manually.
- Double-click action and Middle mouse button action determine their corresponding actions in selection or annotation states. Choices include Copy to clipboard, Save as file, Quick save, Pin to screen, Text recognition, Copy after text recognition, Cancel screenshot, and None. The defaults are copy on double-click and pin on middle-click. Try a small selection after changing these settings, since they can finish the capture immediately.
- Quick selection modification allows edge resizing even with a tool other than Move active. Turn it off when drawing near the edge if accidental resizing is a concern, then explicitly switch to Move for adjustments.
- Shutter sound notification applies to direct current-display or focused-window captures. Screenshot sound notification applies when starting a screenshot. Set them separately according to the feedback you need.
- Enable Confirm before exiting screenshot via shortcut to avoid accidental exits. The cancel shortcut then asks for confirmation; read the dialog before choosing to exit or return to editing.
For copying while pinning and preserving editable annotations, see image pinning. For automatic actions after recognition and automatic QR recognition, see text recognition and barcode recognition.
On Windows, Screenshot capture API offers Auto, DXGI, WGC and GDI. Auto chooses a path based on display conditions. If the result is abnormal, compare methods using the same content and retain a stable option. macOS does not show this Windows API selector; check screen recording permission first.
Windows also offers UIA and MSAA under Window element API for child-element detection. This matters only for Smart Selection in child-element mode. Restore original screen colors reverses supported full-screen color filters; it cannot fix every color difference. Change one option at a time and compare the same window.
Use a manual region if Smart Selection detects the wrong bounds. For black or missing content, compare an ordinary window and check whether the target app restricts capture. For stale content, end the capture and prepare the new view, or retake the screenshot. When display scaling differs across monitors, confirm the current unit and display before entering coordinates.
Related: Annotation basics · Color picking · Saving and copying.