
Rectangle and brush highlights
Highlights emphasize content while preserving the original text. Rectangle highlight covers an area; Brush highlight creates a highlighted segment between a start and endpoint.
Highlight a paragraph
- Open Highlight in the screenshot toolbar and choose Rectangle highlight.
- Choose a highlight color with suitable contrast; avoid an overly dark color that obscures the content.
- Hold the left mouse button at the paragraph’s top-left corner and drag to its bottom-right. Check the preview, then release.
- Switch to Select elements and adjust the highlight’s position or bounds so the first and last characters are included.
- Deselect, check readability, then copy or save.
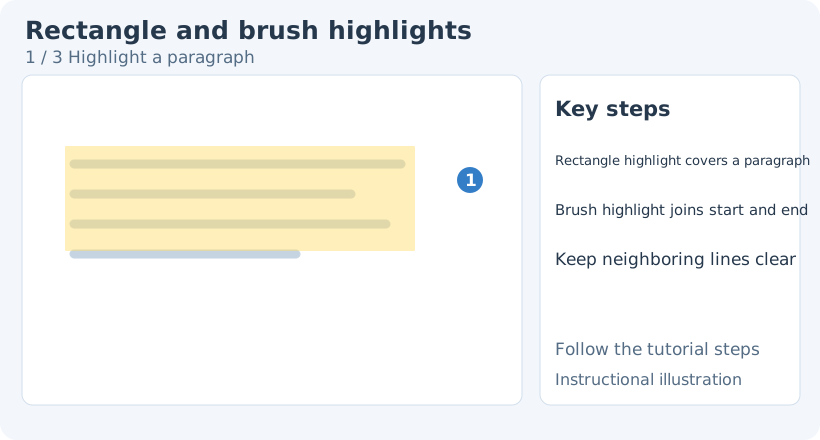
1. Highlight a paragraph
To change an existing object’s tool-specific style, switch back to Rectangle highlight or Brush highlight, then click the object to select it again. Select elements provides general transforms, stacking and opacity. Switching drawing tools clears the previous selection, so select the object again.
Highlight a single line with the brush
- Choose Brush highlight and set its color and stroke width.
- Hold the left mouse button at one end of a text line, drag to the other end and release.
- Hold Shift while dragging to align the segment in 15° increments, useful for horizontal bands.
Brush highlight uses its endpoints to form a segment; it does not follow arbitrary curves like a freehand brush. Use Brush or several separate highlight segments for a winding outline.
Adjust appearance and bounds
Rectangle highlights have highlight color, outline color and outline width. Borders distinguish adjacent areas; width 0 adds no outline. Brush-highlight width determines the covered height: too wide affects neighboring lines; too narrow misses the tops or bottoms of characters.
To edit an existing highlight’s style, return to the matching tool and select it again. Corner handles change a rectangle’s bounds; endpoints change a segment’s length and direction. To give several highlights the same opacity, multiselect them and use the selection toolbar’s opacity control.
Avoid repeated coverage
Overlapping highlights may look darker. Use Select elements to check for overlap, delete an extra layer and then adjust color. If text is hard to read, lower opacity or choose a lighter color, and check for a solid-filled shape above it.
Undo an incorrect stroke. Delete one highlight with Select elements or Element eraser. To brighten one area while dimming everything else, use Spotlight.
Related: Brush · Shapes · Spotlight · Element editing.