
Take your first screenshot
Open the app you want to capture and show the entire target content. Practice with non-private text or a webpage. On Mac, complete permission setup before the first capture.
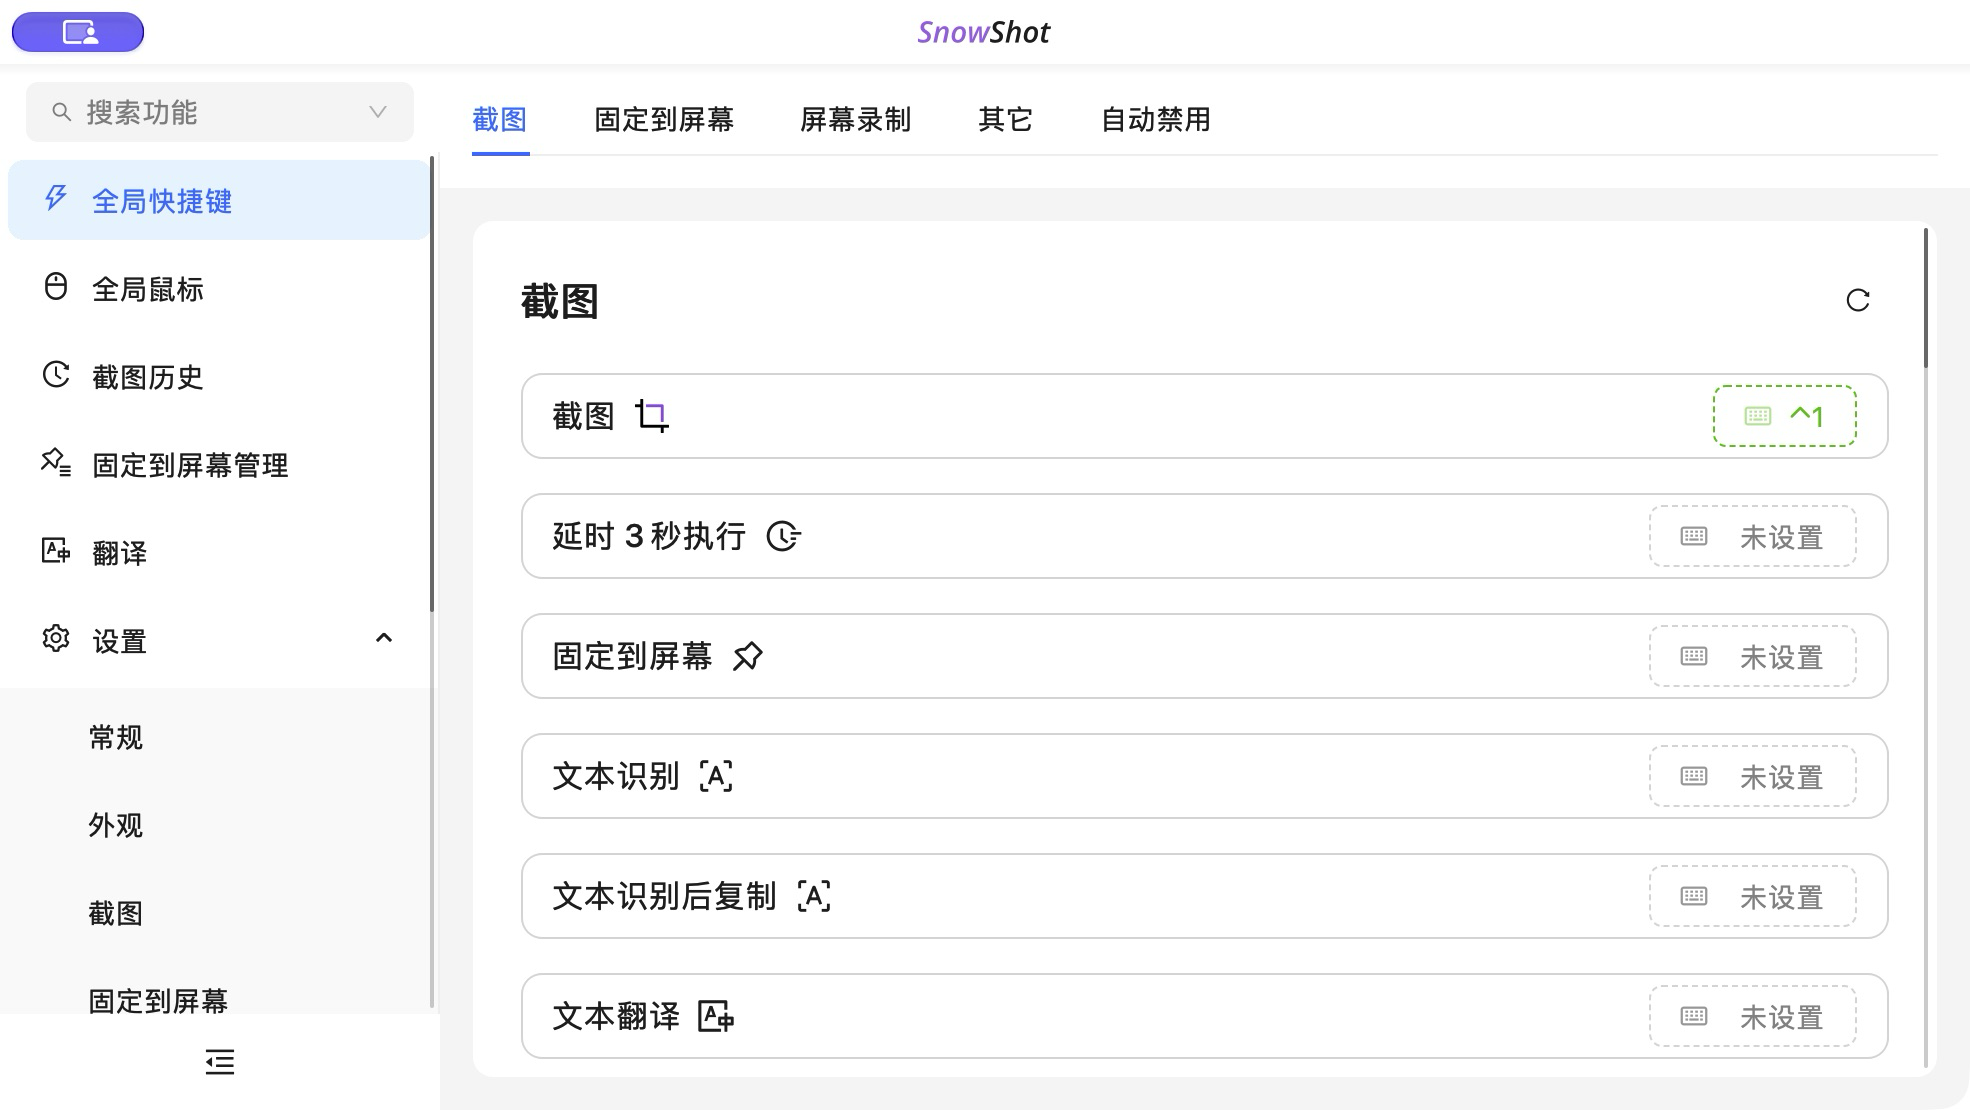
The image shows this computer's shortcut configuration. Use your own settings for customized bindings.
Select the content to retain
- Start Snow Shot and press the capture shortcut: fresh defaults are Windows F1 and macOS Control+1. Capture mode opens with magnified color and coordinate information near the pointer. Some Windows keyboards need Fn+F1. For customized bindings, use the value shown under Global shortcuts in the main window. You can also find Screenshot on that page and click the action row's title or empty area to start. The key button on the right configures a shortcut.
- Place the pointer at the target area's upper-left corner. Hold the left button, drag to the lower-right corner, and release. The bright area is the retained selection; the capture toolbar appears beside it.
- If the area is wrong, switch to Move, drag inside to reposition, or drag a border/corner to resize. Click the selection's dimension numbers to enter exact dimensions; see precise selection.
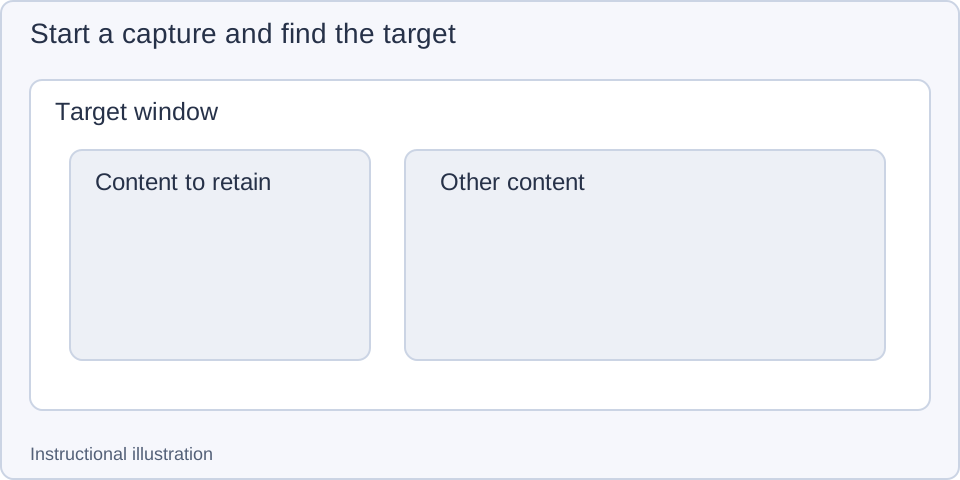
1. Locate the target — Display all content you need before starting the screenshot.
- — Display all content you need before starting the screenshot.
- — Hold the left button and drag from start to end while checking the boundary.
- — Release the left button, check the selection and toolbar, then add annotations.
Add explanations and make corrections
- Click Arrow on the capture toolbar and choose Straight arrow in the style bar. Drag from the explanation toward the target; release to keep the arrow on the canvas.
- Click Text, click its position in the image, type a short explanation, and press Esc to finish typing. The text stays on the image; you can now switch tools to continue annotating.
- Click Undo for a mistake. To move an annotation, switch to Select elements, click the object, and drag after its control points appear. Moving a selection and moving an annotation use different tools.
See arrows for curvature, endpoint symbols, and later editing, or text annotations for font size, stroke, and layout.
Choose where the result goes
For selecting and copying directly, use the global Copy to clipboard action: fresh defaults are Windows Ctrl+F1 and macOS Control+2. It copies after selection confirmation, unlike the ordinary screenshot workflow with its full editing toolbar.
First-use troubleshooting order
If the shortcut does nothing, confirm Snow Shot is running, then check Fn, conflicts, and global-shortcut state. If capture opens but the image is wrong, check screen-recording permission on Mac. On Windows, inspect the capture method in screenshot settings; see basic capture.
Retrieve an earlier capture from screenshot history. History and exported files are independent: deleting an exported image does not clear its history record.
Choose your next task: scrolling screenshots · recognize image text · desktop pinning · screen recording.