
How to Convert a Screenshot of a Table to Excel
Capture the complete table, select Table recognition, and check the resulting cells before exporting the table as an .xlsx file. Snow Shot preserves the rows and columns so you can correct cell values or merge and split cells before opening the result in Excel. This feature requires the full edition and an available recognition service.
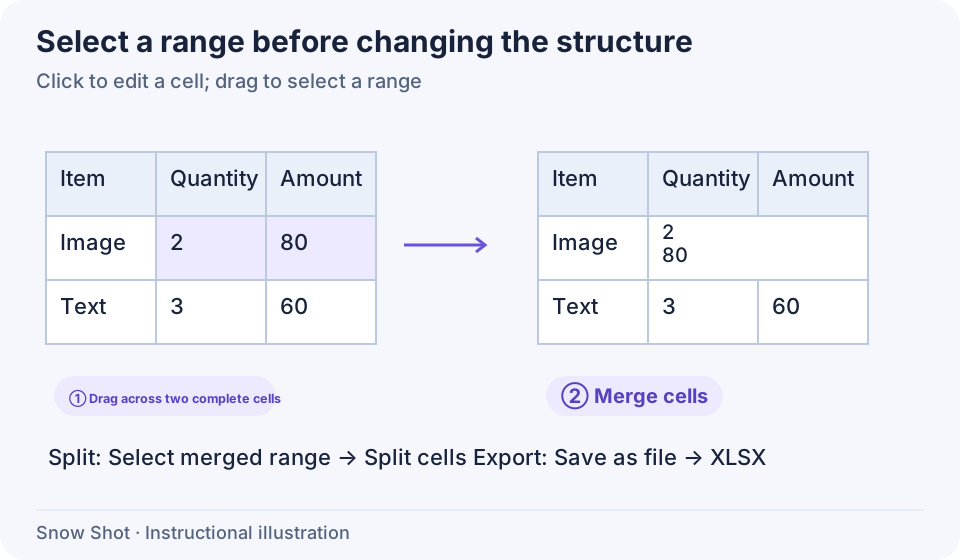
Instructional illustration. Select a rectangular range before merging. Split applies to cells that are already merged.
Recognize a table
- Display the entire target table clearly. Capture with the configured shortcut—F1 on Windows or Control+1 on macOS by default. Include headers, every required row, and complete boundaries; exclude adjacent tables.
- Select Table recognition in the screenshot toolbar. It shares a group with Barcode recognition; the group may show the last-used tool. Expand its options and check the tooltip before choosing Table recognition.
- Watch the recognition status. Vision models may show a table preview that fills in progressively. Wait for completion before editing; a preview still being generated is read-only.
- Compare row and column counts and merged ranges first, then check each number. Click Show original image in the result toolbar to inspect the input temporarily, then click it again to return to the table before editing.
Select a recognition model
Under Recognition model, choose the Table-specific model or an available vision model. The dedicated model uses a separate table-recognition service; “dedicated” does not mean offline.
Vision models can be available Snow Shot models or configured custom models that actually accept images. Choosing one takes effect immediately without another confirmation; wait for its result. Switching back to a previously used model may restore its existing result and edits rather than recognize again. Retry as instructed if the service list or configuration changes. If the dedicated model reports an image larger than 4K, reduce the selection or recognize successive groups of rows.
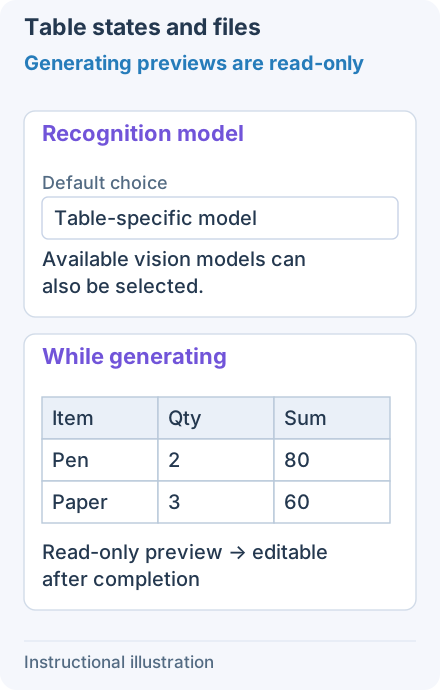
Choose the dedicated table model or an available listed vision model. Vision generation may show a read-only preview; wait for completion before editing or treating missing rows as final.
Correct cells
- Click a cell once to edit its text. You can also double-click, or navigate to the cell and press F2 or Enter.
- Correct the content. Enter commits and moves down; Shift+Enter moves up. Tab commits and moves right; Shift+Tab moves left.
- Press Esc to cancel uncommitted input in the current cell. For committed changes, use Undo; Redo restores an undone change.
Dragging a multi-cell selection differs from clicking to edit. For range operations, drag from one cell to another, release, and confirm the whole range is selected before using tool buttons.
While typing inside a cell, its context menu operates on text. To return to table-range operations, press Esc to cancel uncommitted input. To keep the edit, press Enter to commit it, then Esc to leave the next cell that opens. Right-click the target cell directly. A menu containing Merge cells and Split cells is the table-range menu.
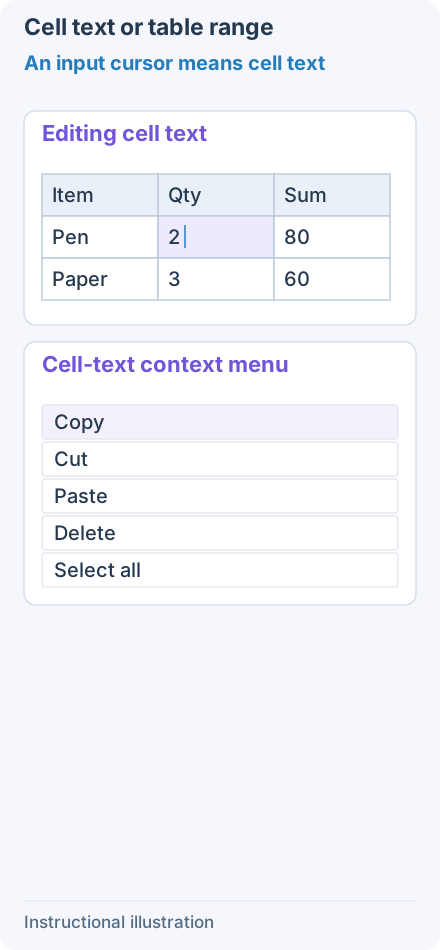
1. An input cursor means cell text — Clicking a cell enters text editing. Cut, Paste and Delete in this menu affect cell text, not a rectangular table range.
- — Clicking a cell enters text editing. Cut, Paste and Delete in this menu affect cell text, not a rectangular table range.
- — Change quantity 2 to 4. Enter commits and opens the next row; Esc leaves that next uncommitted editor while keeping 4. Right-click the target cell directly for range commands.
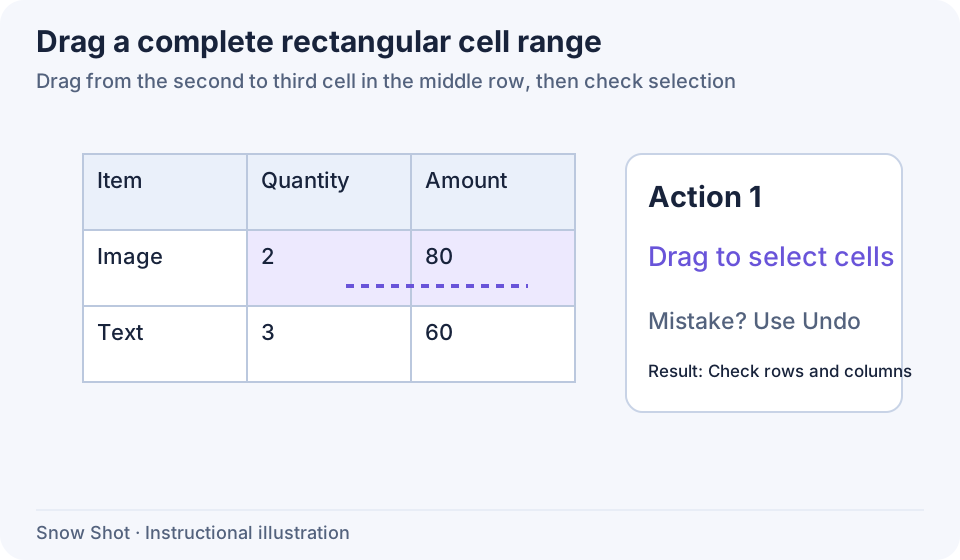
1. Select a rectangle — In the completed result, drag across two adjacent cells and check the selected range.
- — In the completed result, drag across two adjacent cells and check the selected range.
- — Click Merge cells and inspect the combined text and boundaries.
- — Select the merged range and click Split cells. Text stays in the upper-left cell; use Undo to restore the original distribution.
Merge and split
Merge cells: drag a complete rectangular range, then click Merge cells in the property bar or choose the same command from the selection's context menu. The range becomes one merged area. Check its contents before and after merging; undo if necessary.
Split cells: select an already merged cell and click Split cells. This restores boundaries within that area; it does not invent rows or columns. Merging joins nonempty content in row-major order with line breaks. After splitting, that combined text remains in the upper-left cell and the other split cells are empty. To restore the original text distribution completely, use Undo.
If a button is unavailable, check that recognition has finished, the selection is valid, and you have exited cell text editing. Leave the text cursor and drag-select again.
Copy, paste, and export
With no cell selection, toolbar copying includes the whole table. While editing cell text, Select all, Copy, Paste, and Delete / Backspace affect only that text. Return to table-range mode to copy cell structure or clear multiple cells.
The source can be copied spreadsheet cells or text with tabs between columns and line breaks between rows. Commas alone do not create separate columns. The paste range is determined by the starting cell and source dimensions. If it exceeds the table, reduce the source or choose an earlier starting cell. It cannot partially cover a merged cell: the source dimensions must cover that entire merged area, or you must split the target first. Selecting the whole merged cell alone does not expand a one-cell source. Check the pasted selection and contents; use Undo for a mistake.
Successful saving ends the screenshot. Canceling the save or replacement prompt keeps the table available for editing. Reopen XLSX in a spreadsheet application and check text, merged ranges, rows, and columns. To retain only part of the table, copy that range and save it in the destination application.
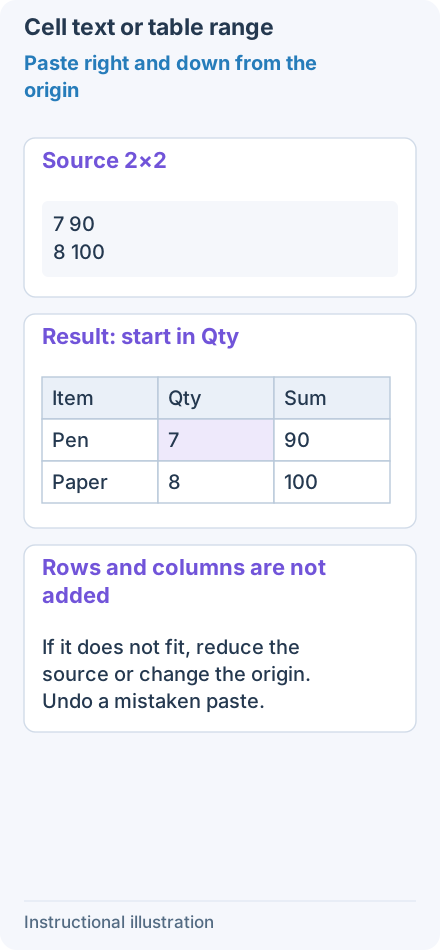
1. Paste right and down from the origin — The source is 2×2 cells. Right-click the destination quantity cell and Paste; it replaces a 2×2 rectangle to its right and below, leaving Item unchanged. Plain text uses tabs for columns and line breaks for rows.
- — The source is 2×2 cells. Right-click the destination quantity cell and Paste; it replaces a 2×2 rectangle to its right and below, leaving Item unchanged. Plain text uses tabs for columns and line breaks for rows.
- — Another example: Qty and Sum are merged but the source is one cell. Selecting the whole merged cell does not enlarge the source. Cover its complete dimensions or split the target before pasting.
- — For this exercise, Reset to the initial table. Leave cell editing, press Ctrl+A (Command+A on macOS) to select all cells, then right-click Copy inside the selection. Paste into a spreadsheet and check its three rows and columns.
- — In table-range mode, select the lower-right 2×2 numeric cells and use Clear contents or Delete/Backspace. The three rows, three columns, and Item text remain; only selected cell contents disappear.
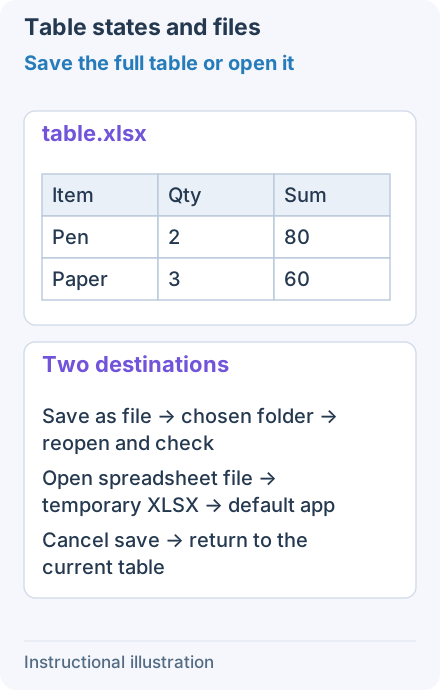
Save as file exports the entire current table as XLSX, not just selected cells. Cancel keeps edits; success ends capture. Open spreadsheet file creates a temporary XLSX for the default app; save a lasting copy there.
Restore and retry
- Reverse one unsuitable operation with Undo; restore it with Redo.
- Click Reset to discard the current cleanup and return to the initial recognized table. Reset is itself undoable.
- If no cells are recognized, capture a table with clearer boundaries and exclude large blank areas and surrounding explanations. A vision model returning prose, invalid table structure, or an oversized result can also produce no editable cells; choose another available model or recognize a smaller table section.
- For unavailable services, invalid models, or network errors, check Models and services, then click Retry in the result. Repeated clicks cannot supply missing credentials.
- If Open spreadsheet file fails, save XLSX with Save as file and confirm an application is installed to open it.
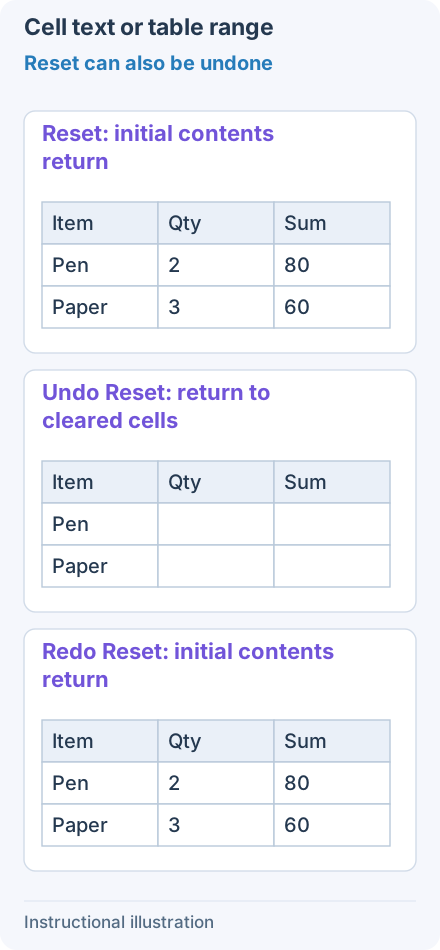
Reset the cleared table to restore its initial contents. Undo that Reset to return to the cleared-number state. Redo that Reset to restore the initial contents again. These operations do not recognize the image again.
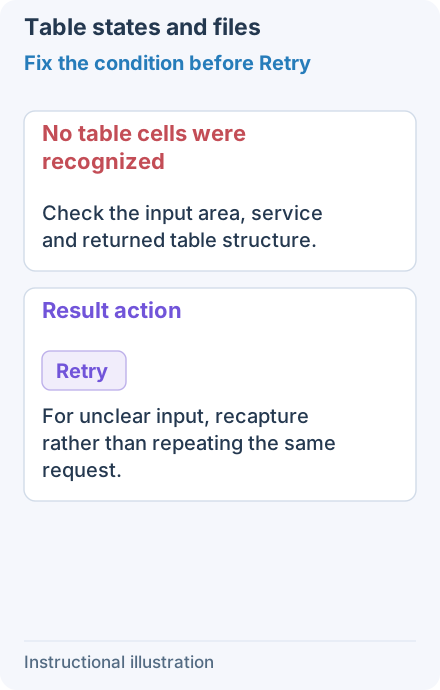
For no valid cells, an unavailable model, or a network error, read the message, check the model/service, then Retry. Model changes apply immediately; a previously used model may restore its edits.
Click Cancel screenshot to stop recognition or leave table cleanup. Obtain any content you need before exiting.
Continue with Text recognition, LaTeX recognition, or Markdown and HTML conversion.