
Rectangles, ellipses and diamonds
Use a shape to frame a button, paragraph or region while keeping the original text visible. Shape provides rectangles, ellipses and diamonds. Constrain proportions to make squares and circles.
Outline your first region
- Finish the screenshot selection and click Shape in the main toolbar.
- Choose Rectangle. Set a transparent fill, then choose a contrasting stroke color and width. Transparent fill preserves the content inside.
- Hold the left mouse button at one corner and drag to the opposite corner. Release to finish the previewed shape.
- Switch to Select elements and click the border. Drag the shape itself to move it; drag an edge or corner handle to resize it.
- Click empty space to inspect the result, then copy it to the clipboard or save it as a file.
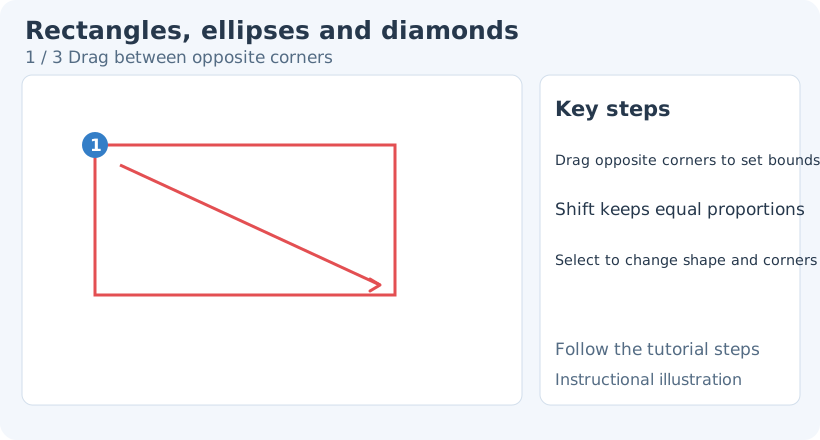
1. Drag between opposite corners
To change an existing object’s tool-specific style, switch back to Shape, then click the object to select it again. Select elements provides general transforms, stacking and opacity. Switching drawing tools clears the previous selection, so select the object again.
Ellipses, diamonds and constrained drawing
Choose Ellipse or Diamond in the style toolbar, then drag to create it. To convert an existing rectangle to an ellipse, switch to Shape, click the object and then change its shape; otherwise you may only change creation defaults.
- Shift keeps equal proportions while drawing: rectangles become squares and ellipses become circles. Release Shift to adjust width and height independently again.
- Alt (Option on macOS) expands outward from the initial press position, useful for marking around a center point.
- Alt + Shift draws from the center with equal proportions. Check the preview, release the mouse to finish, then release the modifier keys.
Borders, interiors and rounded corners
Stroke color and width control the border. Solid lines mark definite boundaries; dashed or dotted lines indicate a region. Architect, Artist and Cartoonist change the drawing appearance.
Fill color determines whether the interior covers the image. Use transparent fill to outline a point of interest, or solid color for an information card. Fill styles include solid, diagonal hatching and cross-hatching; check that they do not make text harder to read.
Corner radius applies to rectangles. Adjust its value in the style toolbar or drag a rounded-corner handle on a selected rectangle. Corners can be configured separately; watch whether all four change together. Ellipse and diamond geometry does not behave like rectangle rounding.
Adjust a finished shape
Switch to Select elements, select the shape and use handles to resize or rotate it. Dragging its body changes position; dragging a handle changes geometry. Zoom in first if a rotated border is difficult to hit.
To add a description, choose Text and type inside the shape. Press Esc to commit and finish input, then check the text’s bounds. See Text for input and layout. Use Arrows to connect a shape to another object.
Fix an incorrect or invisible shape
The shape covers the original text: return to Shape, click the shape’s border to select it, then make the fill transparent. Reducing stroke width does not remove an opaque interior.
The outline is too faint: check stroke color, width and object opacity; use a solid line if needed.
Dragging creates another shape: the starting point did not hit the existing object. For geometry, switch to Select elements and select it first. For specific styles, return to Shape and click its border before editing.
Undo a completed shape or select it and choose Delete selected elements. Export combines it with the rest of the image. See Element editing for more operations.