
Sequence numbers and step descriptions
Sequence numbers mark the order of several locations in a screenshot. Each placement creates an independent badge: continue numbering automatically or edit one badge individually.
Place a series of steps
- Click Sequence number in the screenshot toolbar.
- Choose badge appearance and number format, such as a filled circle with Arabic numbers, then set font size and color.
- Click the first location to place a badge, then click the second and third locations to place subsequent numbers.
- To change the next starting value, adjust the current number in the value control before placing another badge.
- Switch to Select elements, move badges away from button labels, check the order and copy or save.
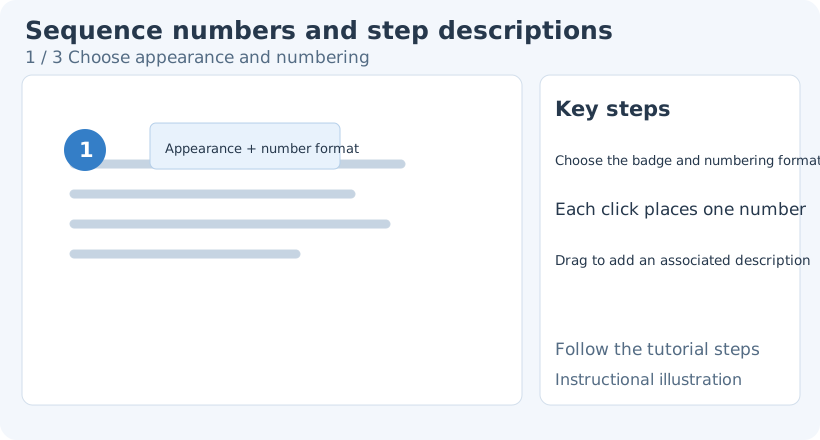
1. Choose appearance and numbering
To change an existing object’s tool-specific style, switch back to Sequence number, then click the object to select it again. Select elements provides general transforms, stacking and opacity. Switching drawing tools clears the previous selection, so select the object again.
Appearance and numbering formats
Badge appearance includes outlined circle, filled circle, outlined square, filled square and Circle. The first four display numbers. Circle is an unnumbered marker; number format, value and font controls are disabled for it. Outlined styles preserve more background; filled styles suit complex images. Keep text and background sufficiently distinct.
Number format includes Arabic numbers, Roman numerals, lowercase letters, uppercase letters and Chinese numerals. Choose one consistent scheme for the task rather than mixing formats within a series.
Scroll the value control to adjust the current number. To change an existing badge, return to Sequence number, click it and adjust the value while watching that badge. Before continuing automatic placement, deselect and check the current creation value.
Right-click truly empty canvas with Sequence number active to reset the next value in the current numeric format to 1. Existing badges remain unchanged. Right-clicking an old object temporarily selects it instead; unnumbered Circle does not use this reset.
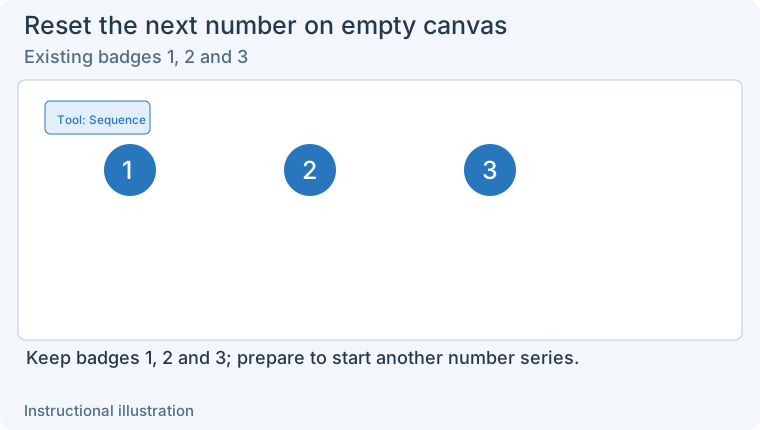
1. Existing badges 1, 2 and 3 — Three badges already exist in the current format. Start a new series without changing them.
- — Three badges already exist in the current format. Start a new series without changing them.
- — Keep Sequence number active and right-click where there is no object. The next value resets to 1; old numbers stay unchanged.
- — Click another location to place the new 1. Right-clicking an existing object selects it instead of resetting the next value.
Drag out an associated description
When placing a number, hold the left mouse button and drag from the badge position toward the desired description location. Release to enter associated text. Type a short explanation and press Esc to commit and finish input; badge and description together explain the operation at that location.
Click without dragging if you only need a number. Existing associated text can be edited through the corresponding text operations. See Text for fonts and layout.
Color and size
The style toolbar sets number color, font, size, background and applicable strokes. Font size affects badge size. If a badge covers a button, move it beside the button before reducing its size. Multiselect badges to give them a consistent appearance.
The badge background is not the source image. Select the badge before changing its colors; without a selection, settings affect future badges.
Correct a misplaced number
Select the badge and drag it into place, or choose Delete selected elements. Deleting a number from a continuous sequence shifts later numbers of the same format down to close the gap. For example, deleting 2 from 1, 2, 3, 4 leaves 1, 2, 3. Existing gaps separate sequences. If several badges share a number, its gap closes only after the last one is deleted. Undo accidental deletion.
To insert a step, adjust the value, place a new badge and check the existing numbers and step order individually.
If a click creates unwanted associated text, undo and use a press followed immediately by release without dragging. Check that every badge leaves important content visible before exporting.
Related: Text · Element editing · Annotation templates.