
Mouse, click, and keystroke effects
When viewers need to see where the pointer is, what you clicked, or which keys you pressed, configure effects before recording and check a short test clip. These effects become part of the output, separate from screenshot annotation tools.
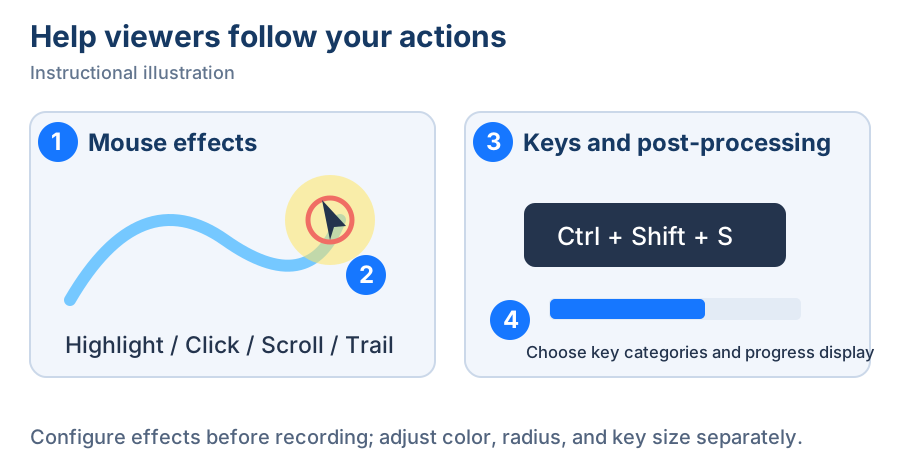
Instructional illustration. ① Locate the pointer, ② indicate clicks, ③ show shortcuts, ④ show playback progress.
Show pointer position, clicks, and scrolling
- Open Export settings on the recording toolbar. Click Show cursor in recording to control whether the pointer appears in the result. Operation tutorials usually need it visible.
- Hover over the cursor button to expand mouse options. Enable Mouse highlight for a highlighted area around the pointer, Record mouse clicks for effects at click positions, and Record mouse scrolling to indicate scrolling.
- Click Settings at the end of Export settings to open Effect settings, then find Mouse highlight color and Mouse highlight radius. Choose a color contrasting with the captured page and a radius of 8–128 px. Check that it locates the pointer without covering the target control.
- Adjust Mouse trail color and Mouse click color in export settings. Set Mouse trail duration in effect settings from 100 to 2000 ms; its step controls change the value by 100 ms. Color opacity also affects visibility; a fully transparent effect will be difficult to see.
- Move, click, and scroll in the preview area to check colors and sizes before recording. If the result looks crowded, shorten the trail duration or disable unnecessary indicators.
Changes in Effect settings update the preview directly; closing the window does not revert them. Click OK when finished. To undo a setting change, reopen it and restore the previous value. Configure cursor, keyboard, webcam, and post-processing options before starting capture.
Display only the keys you need
Enable Show keystrokes in recording, then hover over its button to open these key categories:
For a shortcut tutorial, reduce ordinary input categories while retaining control keys and shortcuts. These options determine which input is displayed. Check the preview and a short clip before the actual recording; do not enter sensitive information as a test.
In Effect settings, set Keyboard size (32–128 px), Keyboard background color, and Keyboard foreground color. For light recorded content, try a dark background and light text. If keys cover the content, reduce their size and inspect the final recording.
On macOS, displaying global keystrokes requires Input Monitoring permission. If keyboard recording fails, check Input Monitoring under Settings → App permissions, then retry. An enabled button alone does not prove that input was captured.
Add playback progress
In export settings, enable Post-processing effects, then hover to choose either Show progress bar or Show playback time. The bar indicates playback progress; playback time gives timing information. Adjust Progress bar color in effect settings and check contrast in the preview.
Post-processing can be combined with cursor and key indicators. Check the preview before recording and play the output afterwards. Resolve any preview error first, then verify the output with a short recording. Disable effects individually when they distract from the lesson.
Continue with audio and webcam or trimming, speed, and export.