
S3 cloud upload and links
Cloud upload writes the current screenshot or pinned image to your own S3-compatible storage, then copies the object link to the clipboard. Prepare a writable bucket, service endpoint, signing region, and credentials. Snow Shot does not create a storage account or bucket for you.
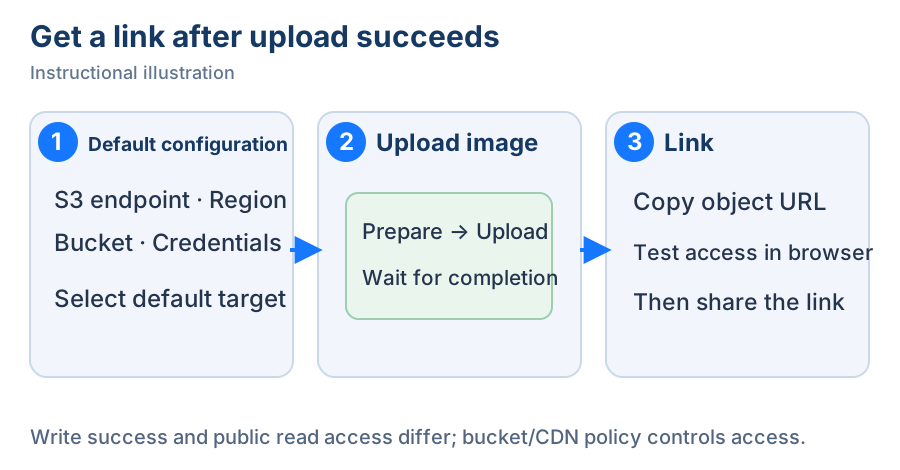
Instructional illustration. ① Configure the target, ② upload the image, ③ obtain the link. Read access follows the storage policy.
Create and select an upload configuration
- Open Settings → Export & storage → Image export → Cloud upload and click Add configuration. The S3 configuration form opens.
- Enter a unique Configuration name and select S3 as the protocol. Copy the following values from your provider's console; the bucket's web-console page is not a service endpoint.
- Click Save. Correct any missing fields, invalid URL, or duplicate name reported by the form. Resolve local configuration-storage errors before retrying a save. Cancel closes the form without saving the draft or changing an existing configuration.
- Back in the list, select this configuration as the default target. The first usable configuration is selected automatically; still check the default target. None means no upload target is selected.
Edit changes a configuration. Copy creates a differently named copy for another prefix or bucket. Delete removes the local configuration. Deleting the default clears that selection; it does not delete cloud images.
Upload a screenshot or pinned image
- Finish selecting and annotating the screenshot, or open the pinned image. Find Upload to cloud on its action toolbar. Restore a hidden button in toolbar settings.
- Click upload. The image is prepared and encoded, then sent. Watch Preparing cloud upload and the percentage progress. Do not submit the same upload repeatedly while waiting.
- After Uploaded to cloud. Link copied to clipboard, paste into a text editor or destination message and check the link. A failed upload shows an error; an old clipboard link is not this upload's result.
- Open the link in a browser to confirm it is readable before sharing. Public access follows bucket/CDN policy. A successful write does not establish that the recipient can read it.
Troubleshoot a failed upload
- Unavailable button: select a default other than None, fill required fields, and wait for any current output or upload task to finish.
- HTTP error: check endpoint, signing region, bucket, addressing style, and credentials. Pay particular attention to expired temporary credentials or a missing session token. Correct the configuration, then upload again.
- Network error or timeout: check service reachability and Settings → Network & connections → Network proxy, then retry after restoring the connection.
- Upload succeeds but the link fails: check that the public/CDN base URL points to the bucket root and inspect cloud read policy. Repeated uploads will not fix access policy.
Continue with network proxy, local saving, or configuration backups.