
Images to PDF and paper layout
PDF output arranges images on paper for card fronts and backs, scanned material, and printable screenshots. Snow Shot exports PDFs through Image stitching; it does not edit arbitrary existing PDF text.
Enter PDF mode from images
- Search Stitch selected images in the main window’s Search function, select the result to locate its row, then click that action row to open Image stitching. Click Add images or drag in sources and wait for loading.
- Change Image type from Static image to PDF document. Preview and settings switch to paper layout.
- Choose a Stitching method: page-based or template stitching.
- Set paper size, orientation, and margins. Check page count and image placement.
- Choose an export mode, then click Save at the bottom. Combined export asks for a PDF path; Per-page export asks for a destination folder. Wait, then inspect the files. A successful export closes the layout window. PDF mode has no bottom Copy button.
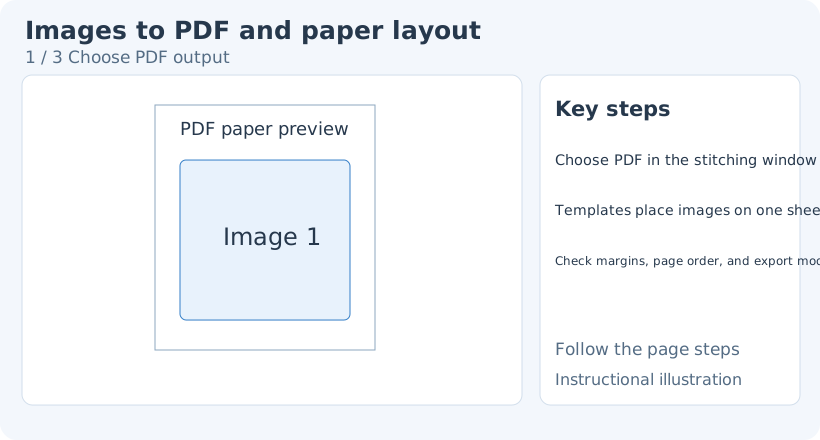
1. Choose PDF output — Change Image type to PDF document.
- — Change Image type to PDF document.
- — Select a layout and inspect image placement.
- — Check paper settings, then export the complete document.
Page-based and template stitching
Page-based stitching gives each image one page, fitted proportionally and centered in the usable paper area. A long image still occupies one page; it is not automatically divided. Split it first when you need several pages. Drag one page card onto another to swap order. Use the card’s icons to rotate, flip, or delete; check their tooltips first.
Template-based stitching fills each page’s cells in image order, adding pages when there are more images than the template holds. Templates include two through nine images and ID card. The last page can contain empty cells. Check each image’s orientation and visible range.
For front and back card images, confirm their order before choosing ID card. Adjust position and scale within cells if sources contain blank borders.
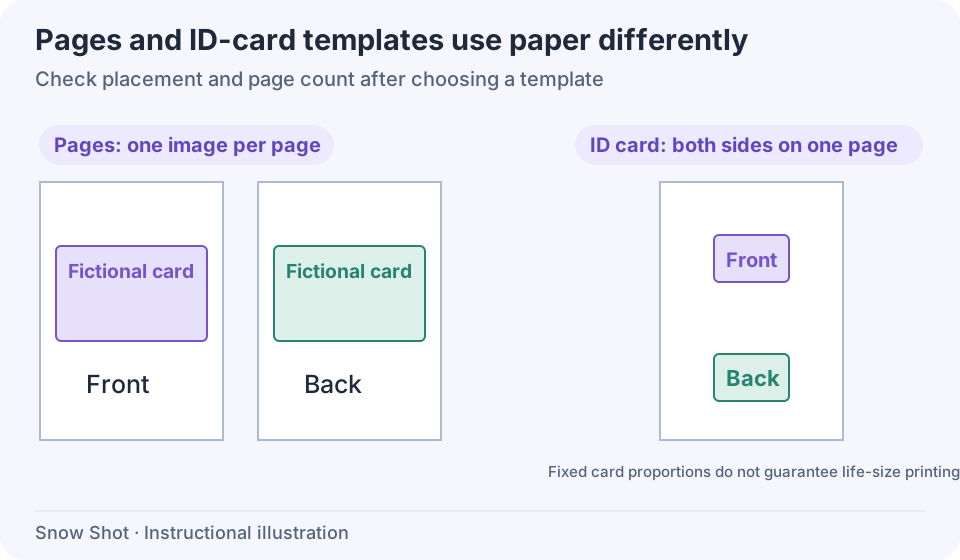
Instructional illustration. Card areas preserve a specific aspect ratio within paper and cell limits; this does not guarantee life-size printing.
Paper, orientation, and margins
Paper options include A3, A4, A5, B5, Letter, Legal, Custom, and Image size in applicable modes. Custom paper accepts width and height. Portrait / Landscape changes orientation, and Margins sets whitespace around paper edges.
Dimensions and margins use millimeters. Excessive margins can leave insufficient placement space. Resolve field errors before checking the preview. In Page-based stitching, Image size uses each image’s dimensions and hides orientation and margin controls. In Template-based stitching, that choice still uses A4 paper; select a fixed paper size or Custom for another size.
Template mode also provides Image spacing. Margins and image spacing must be nonnegative and leave usable content space; Custom paper width and height must be positive. Image spacing separates cells, while margins separate content from paper edges.
Adjust images on a page
In Template-based stitching, click an image to show its handles. Drag the body to position it within the cell, or a handle to scale proportionally from the center; release to apply. Press Esc during the drag to cancel that gesture. Releasing the body over another occupied cell swaps the images, so avoid that target when you only want to reposition one. Swapping resets both images’ within-cell position and scale to their automatic layout, while retaining rotation and flipping. Recheck clipping afterwards.
Use clockwise/counterclockwise 90° rotation, horizontal/vertical flipping, or Reset image for the selected image. Reset clears its rotation, flipping, within-cell position, and scale together. Enlarged content outside its cell is excluded from output; keep text and card edges visible. Scroll to zoom the page and middle-drag to pan. Use page navigation or Page Up / Page Down to inspect other pages.
Page-based stitching does not offer those within-cell position and handle-scale gestures. It fits each image using paper and margins. Use a template or edit the source image first when you need a local crop.
Preview the original and return
Use Preview original image in the image actions to check whether an edge or fine text is already missing in the source. Close that viewer to return to the layout; opening it does not export the current crop.
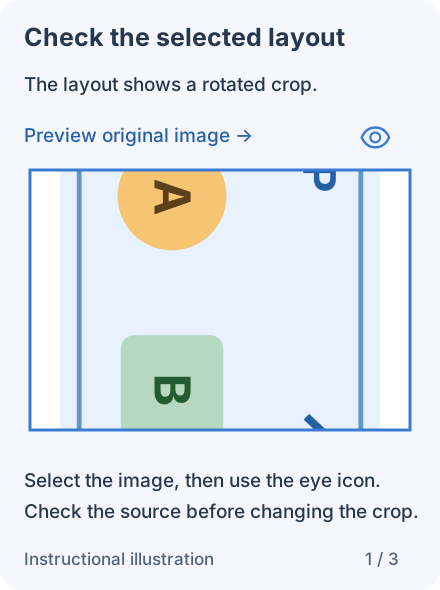
1. Select the image and use the eye icon — The selected layout image has a rotated crop. Use Preview original image in its action bar.
- — The selected layout image has a rotated crop. Use Preview original image in its action bar.
- — Compare the complete source with the layout. Rotation and cropping from the layout are not applied here.
- — Close the original-image viewer. The earlier crop and rotation remain; continue editing or export from the layout.
Rotation corrects orientation; flipping mirrors text and can be inappropriate for documents. After each transform, check other pages or cells to ensure you did not change the wrong source through an order or selection mistake.
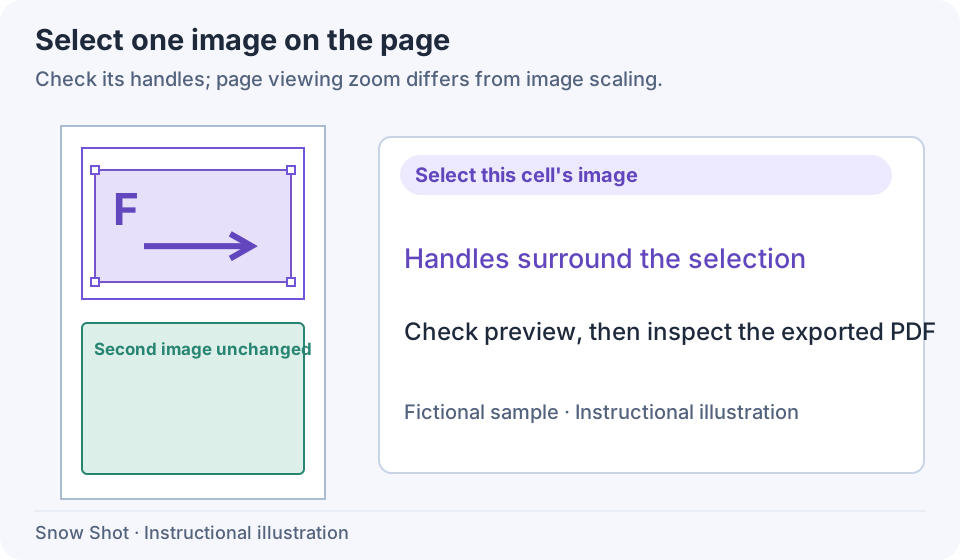
1. Select one image — Click the target and confirm handles and selection bounds.
- — Click the target and confirm handles and selection bounds.
- — Drag a handle to scale around the center. Content beyond the cell provides context but is not all exported.
- — After rotating or flipping, inspect edges and text; reset the image if needed.
Combined or separate-page export
- Combined export writes every page into one PDF for continuous material.
- Per-page export writes a separate PDF per page and asks for a folder, suitable for independent distribution.
Canceling the file or folder chooser returns to the layout with its images intact. Export shows page counts and progress. To stop an active export, click Cancel at the bottom of the stitching window and wait for cancellation to finish. Images and edits remain so you can adjust and retry. Check saved files and missing pages; existing partial files are not a complete document.
For failure, keep the layout window, check the destination, free disk space, and error message, then retry. For partial success, inspect existing files first. Reopen the finished PDF and check page order, orientation, edges, and small text.
Related: Image collage, Image splitting, and Copying and saving.