
Theme, fonts, and background skins
Appearance settings change the application interface. Start with theme, font, and toolbar size to make controls easier to identify. Add background images afterwards using skin and mask settings.
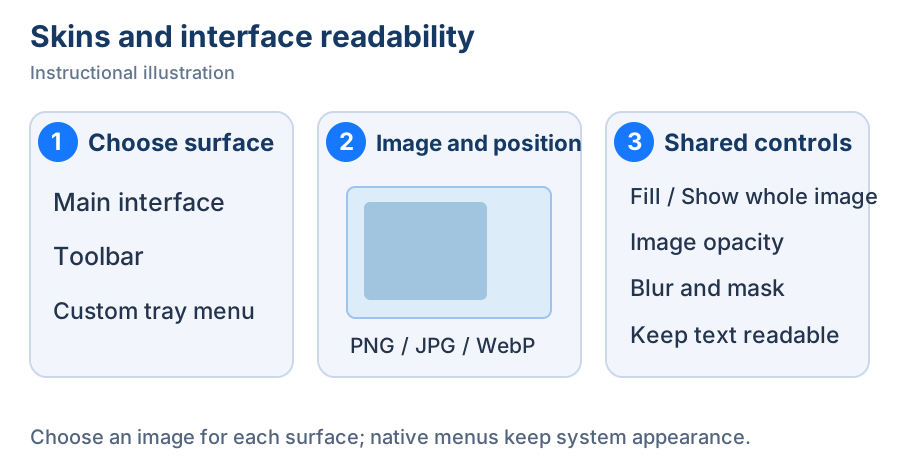
Instructional illustration. ① Choose the surface, ② choose its image and alignment, ③ adjust shared readability controls.
Change theme and interface size
- Open Settings → Appearance and choose Follow system, Light, or Dark for the theme. Check the main window's text and background contrast in your current environment.
- Choose Theme primary color and inspect buttons and selected states. It controls the application accent, rather than the color of every annotation.
- Choose App font, then adjust Font size. Check long settings entries and the history page to ensure text remains readable.
- Set Toolbar size to Small or Normal. Reopen a screenshot or the relevant toolbar to inspect its buttons. Try Small when you need more room.
Set app language separately under Settings → General. Annotation text has its own font and size in the text tool; the app font does not replace those settings.
Dropdown choices commit when selected. Font-size and skin sliders commit when you finish dragging, and colors commit when you finish choosing. There is no page-wide OK or Cancel button. Select the previous value to reverse one change. To restore theme, accent, and font settings, click the circular-arrow Reset beside Theme configuration and check the section name in the confirmation. This restores Follow system, System default font, and 14 px font size. Toolbar size and skins have separate reset scopes.
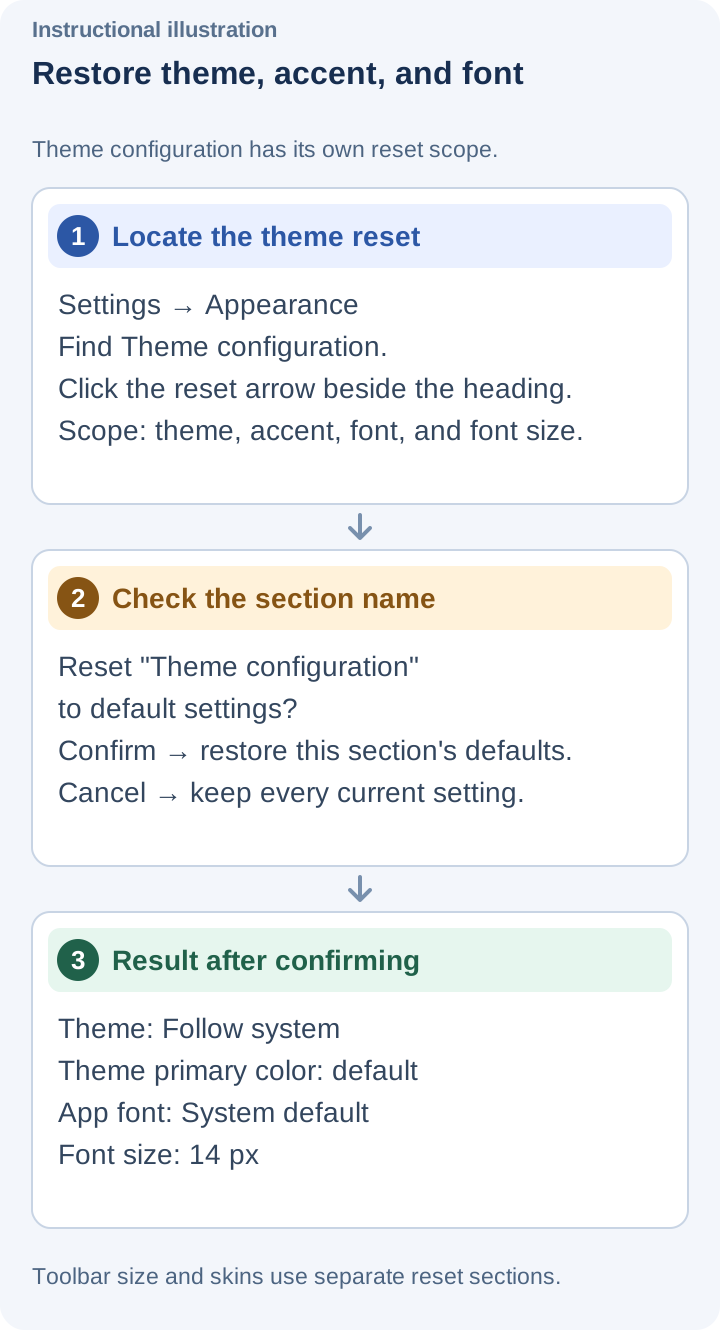
Instructional illustration. Confirming resets the theme, accent, and font settings together. View full size.
Choose an image for each surface
In the appearance skin section, choose local PNG, JPG/JPEG, or WebP images:
- Click Browse for the appropriate path, select an image, and inspect that surface after returning. Canceling the file chooser keeps the previous path.
- Use its skin-position control to align top-left, top-center, top-right, center-left, center, center-right, bottom-left, bottom-center, or bottom-right.
- Clear a path to remove that surface's skin. After typing or deleting a path manually, press Enter or click another control to finish editing. The other surfaces keep their own paths.
Skins reference image files by path. Select a valid file again if you move or delete it. For a busy background, adjust the shared controls below to keep buttons and text readable.
Display mode, blur, and mask
The three surfaces share these controls:
- Overlay fills the surface and may crop the image edges. It suits textures or images whose entire subject need not remain visible.
- Contain shows the whole image. Check the remaining space and control positions after selecting it.
- Skin opacity makes the image fainter when reduced, helping limit distraction.
- Skin blur level softens background detail so foreground text stands out.
- Mask opacity adjusts the theme-colored layer over the image to preserve contrast for text and buttons.
After changing a parameter, inspect the main window, screenshot toolbar, and custom tray menu separately. An image looks different on a wide toolbar and a large window. Check both themes if you use light and dark. To remove one surface's background, clear only its path. To restore every skin setting, click Reset beside Skins and check the section name before confirming. This clears all three paths and restores alignment, display mode, opacity, blur, and mask defaults. Canceling the confirmation keeps the current settings.
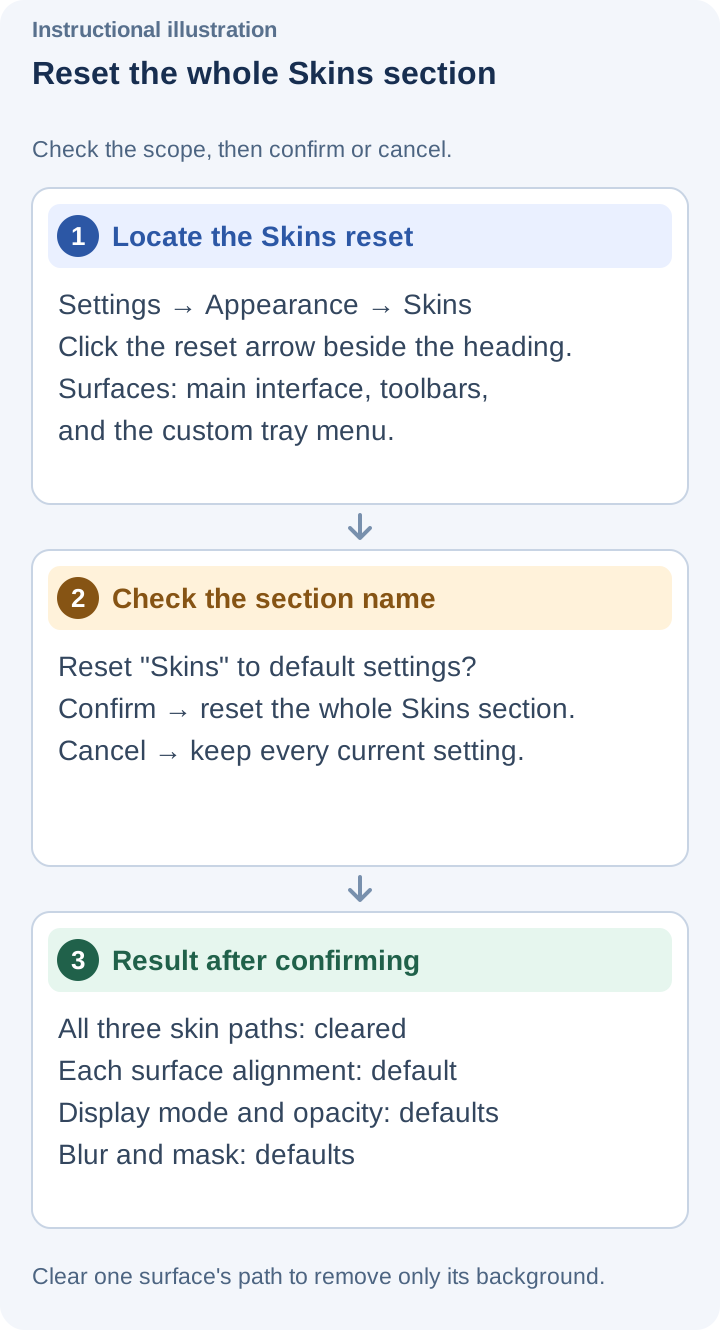
Instructional illustration. Confirm resets the whole Skins section; Cancel keeps its current paths and values. View full size.
The background has not changed
Check that you changed the intended surface, that the image exists and uses a supported format, and that image opacity is not too low or the mask fully covering it. Native system tray menus do not use custom skins. To change the tray icon itself, use tray and toolbar settings, rather than the tray-menu background.
Related: toolbar layout and storage and configuration backups.