
Image collage and layout
Collage arranges separate images into one result for tutorial steps, comparisons, or reference collections. Prefer Scrolling screenshots for a continuous page or chat; collage lays out images you already have.
Combine your first images
- Search Stitch selected images in the main window's Search function, select the result to locate its row, then click the action row to open Image stitching.
- Click Add images to choose multiple files, or drag images into the window. Wait for loading.
- Under Image type, choose Static image to preview the composition.
- Under Layout direction, choose Vertical or Horizontal. Check output width, height, and image count to confirm every source was added.
- Adjust order and spacing, then click Copy or Save at the bottom of the window. Successful copying closes the window; paste in the destination app to check the result. Save opens save options: choose a format and path, then inspect the file. Canceling the save options returns to the current collage with its images intact.
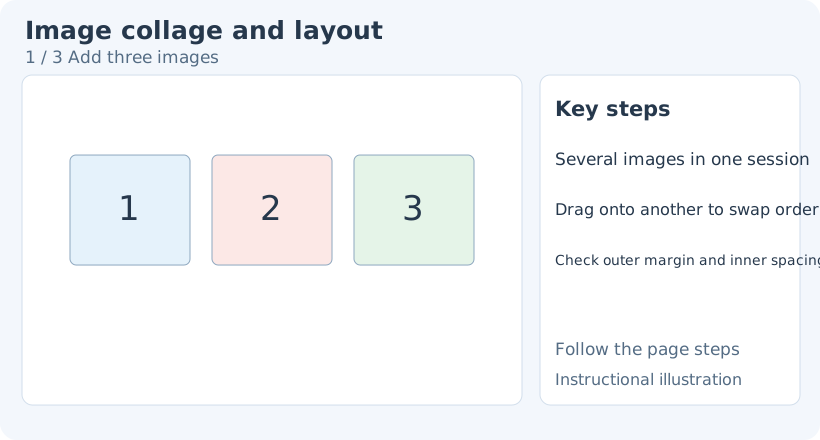
1. Add three images — Add the source images to the composition.
- — Add the source images to the composition.
- — Drag one thumbnail onto another to exchange positions.
- — Check spacing and background before copying or saving.
Append images from the clipboard
To append from the clipboard, copy the image content in an image viewer, then return to the stitching window. Finish editing numeric or text fields, click the preview to focus it, and press Ctrl+V (Command+V on macOS). Wait for the new image in the thumbnail strip; let any current import or export finish first. Paste appends: existing images keep their rotation, flipping, and placement rather than being replaced.
When the clipboard provides readable local image file paths, they are appended in list order, including duplicates. If some files cannot be read, check the error list and the images that were added. Paste also appends in PDF document mode while retaining existing transforms; recheck page order and cells afterwards.
Check the appended content and its dimensions before exporting. If it is a file icon, use Add images or drag in the file, or open the original in an image viewer and copy its image content before pasting.
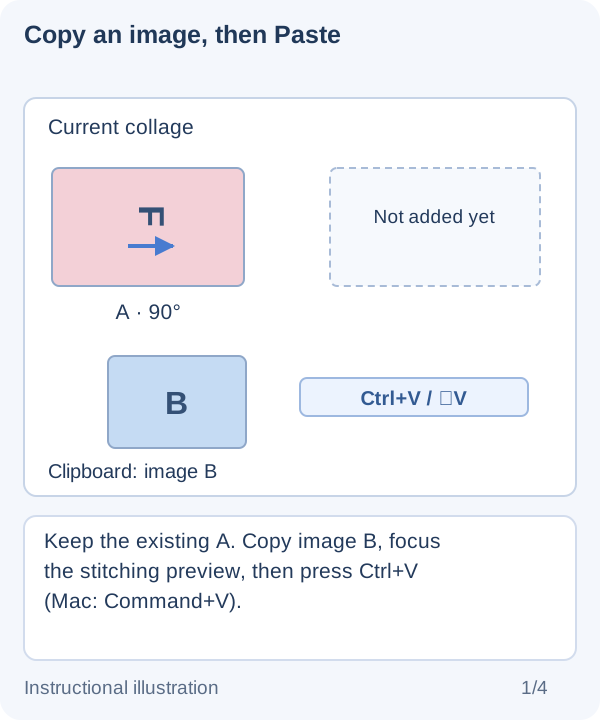
1. Copy an image, then Paste — Keep the existing A. Copy image B, focus the stitching preview, then press Ctrl+V (Mac: Command+V).
- — Keep the existing A. Copy image B, focus the stitching preview, then press Ctrl+V (Mac: Command+V).
- — B is appended. The existing A and its rotation remain. Paste does not replace the selected image.
- — When the clipboard provides local image paths B, C, B, Paste appends them in order and keeps duplicates.
- — In a two-image PDF template, Paste fills the next cell. The existing A keeps its rotation and placement.
Start from selected files
Assign a nonconflicting global shortcut to Stitch selected images under Global shortcuts. It has no preset key, so do not substitute the screenshot shortcut. Return to the file manager, select multiple images, and invoke the binding. All images enter one stitching window.
With no images selected, an empty window opens for adding files. On macOS, grant any requested Finder Automation access, then retry. See Shortcut settings for configuration and conflicts.
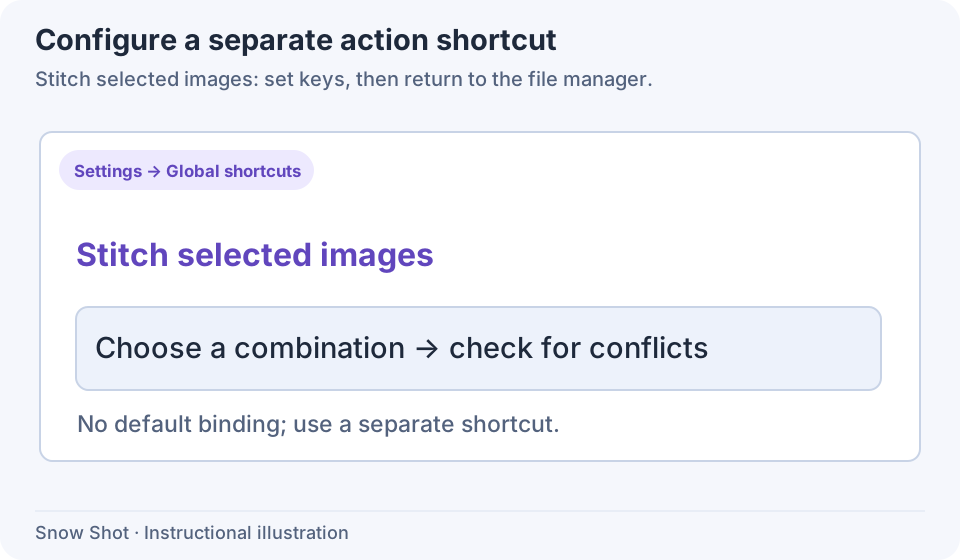
1. Configure the action — Assign a nonconflicting global combination; none is supplied by default.
- — Assign a nonconflicting global combination; none is supplied by default.
- — Keep the selection and focus in Finder or File Explorer, then invoke the action.
- — Stitching combines selected images in one session; editing and splitting use separate windows.
Vertical, horizontal, and custom grids
Vertical arranges images top to bottom for step-by-step long images. Horizontal suits before/after comparisons. Custom exposes positive whole-number row and column counts. If the grid cannot hold every image, its column count grows. Removing images does not automatically remove empty cells; recheck the resulting counts and whitespace.
After changing rows or columns, check every image occupies the intended cell. Uniform size makes a regular arrangement; Original size organizes original dimensions. With differing aspect ratios, choose a suitable direction before deciding on cropping within cells.
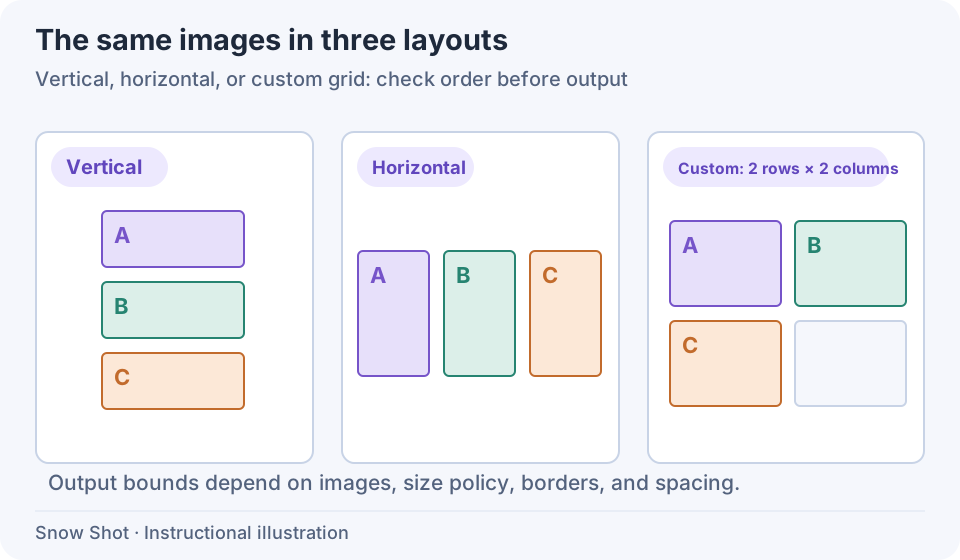
Instructional illustration. Only direction changes; check order and empty cells.
In automatic vertical layouts, Uniform size scales each image proportionally to the first transformed image's width. Horizontal layouts use the first image's height. Original size retains dimensions and centers narrower or shorter images on the cross axis. Keep order and direction fixed when comparing size policies.
For Custom grids, Uniform size uses the first transformed image’s width and height as the cell dimensions; other images fit proportionally and are centered. Original size takes the maximum width and height across all images for the cell dimensions, retaining and centering each image’s own size. Empty space can come from aspect-ratio differences rather than a missing image.
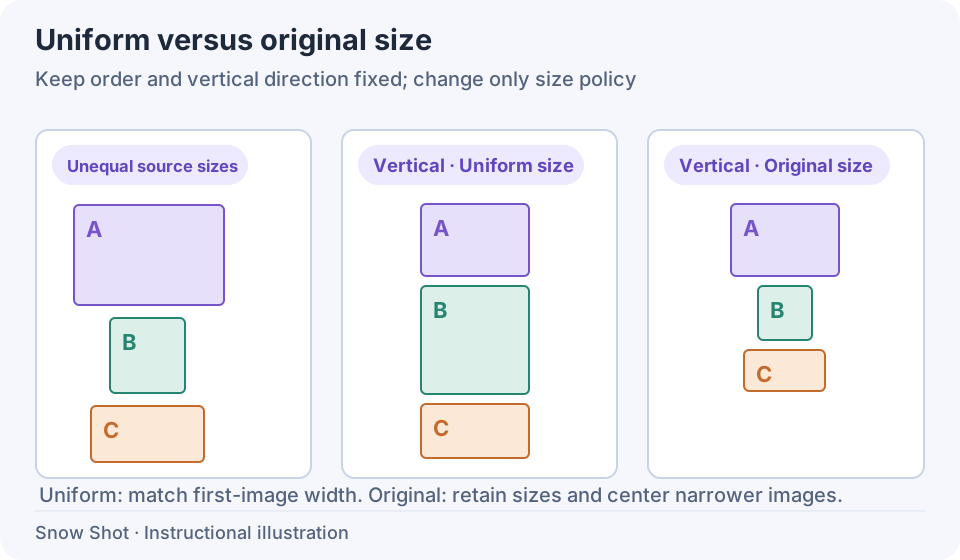
Instructional illustration. B and C scale relative to the first image while preserving aspect ratio.
Border, spacing, and background
Outer border is whitespace around the whole result; Image spacing separates neighboring images. Both accept nonnegative values in pixels or percentages. A percentage refers to the widest sized image in Vertical layout, the tallest in Horizontal layout, or the cell width in Custom layout. For a 1000 px reference width, 10% means 100 px. Switching units converts the displayed value; inspect the preview and output dimensions after editing it.
Background color fills whitespace and uncovered areas and can be transparent. Save in a transparency-capable format and inspect the export; an opaque format cannot retain transparent background.
Reorder and transform individual images
Click a bottom thumbnail to locate its image. Drag a thumbnail onto another and release to swap their positions; Reverse image order reverses the complete sequence. Swapping resets both images’ within-cell position and scale; reversing resets these for images that change places. Rotation and flipping remain, so recheck clipping after reordering.
Click an image in the preview to show its action bar. Hover to identify each icon. Available actions include:
- Move or swap: drag within its cell to position it, or toward another image to swap.
- Scale: drag a selection handle to scale around the center. Enlarged content outside the cell is clipped, letting you emphasize a detail.
- Rotate: use clockwise or counterclockwise 90° actions.
- Flip horizontally / vertically: mirror orientation; text is mirrored too.
- Reset transforms: restore that image's transforms before arranging it again.
Release the left button to apply a body or handle drag. Press Esc before releasing to cancel that gesture and retain the previous layout. After applying a transform, select the image and use Reset transform to restore it.
The preview wheel changes viewing zoom; middle-button dragging pans. Neither is the same as layout scaling of an individual image. Click Fit to canvas, or press F / Home while the preview has focus, to see the whole composition again.
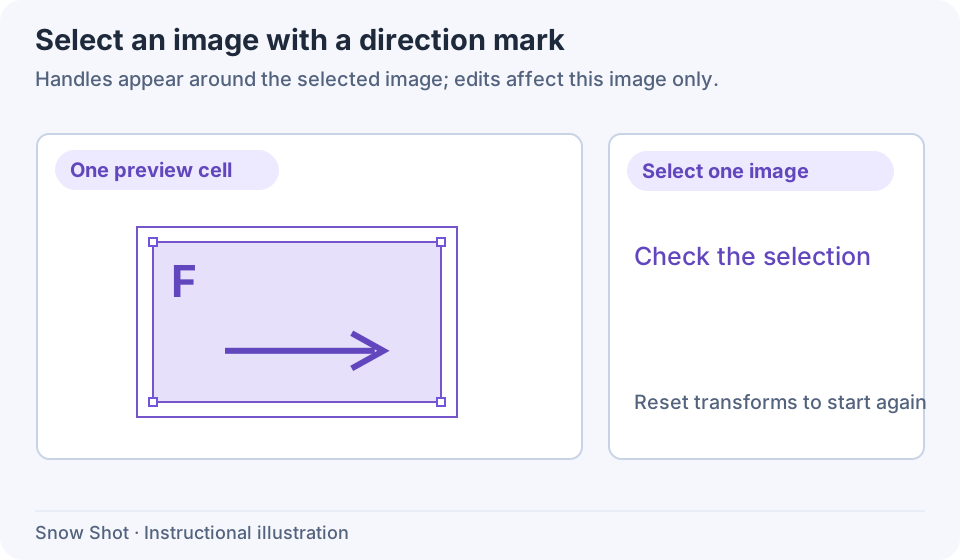
1. Select one image — Click the target and confirm the handles belong to that image.
- — Click the target and confirm the handles belong to that image.
- — Drag a handle for proportional center scaling; overflow outside the cell is excluded from output.
- — Drag the body to change visible content. Dragging onto another image may swap them.
- — Use directional marks to distinguish rotation from horizontal flipping and avoid mirrored text.
Preview the original and return
Select the image, then use the eye icon for Preview original image in its action bar. Check the source, then close the viewer to return without changing the layout.
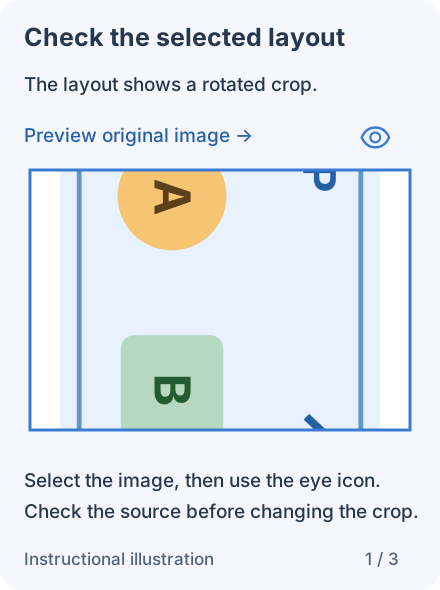
1. Select the image and use the eye icon — The selected layout image has a rotated crop. Use Preview original image in its action bar.
- — The selected layout image has a rotated crop. Use Preview original image in its action bar.
- — Compare the complete source with the layout. Rotation and cropping from the layout are not applied here.
- — Close the original-image viewer. The earlier crop and rotation remain; continue editing or export from the layout.
Replace, remove, and clear
Hover over a thumbnail to reveal the Replace image and Delete image icons; check their tooltips before acting. Click Replace image to choose a new file. Canceling the file chooser or failing to read the new file keeps the original. A successful replacement resets that image’s rotation, flipping, position, and scale; adjust and inspect it again. Delete image immediately removes the item and resets the position and scale of subsequent items. Recheck order, grid, and clipping.
Clear all asks for confirmation and removes the current composition. Save it first if needed. Closing the window or clicking the bottom Cancel asks whether to discard a session containing images; cancel that prompt to continue arranging them.
For unreadable files, inspect the error's file list and add usable files again. For oversized compositions or export failures, keep the window, reduce the number of sources or output scale, and retry. For paper documents, use Images to PDF.