
Extract Text from Screenshots with Local OCR
On Windows and macOS, use Snow Shot Text recognition to extract copyable text from screenshots or existing images. Recognize the text, check it against the source, then copy it; image-editor recognition can also save TXT directly. Ordinary OCR runs locally, but its components may need preparation on first use. Mini hides Text recognition from the default screenshot toolbar; launch the main-window action, add it to the toolbar, or assign a separate shortcut. See OCR models and offline preparation.
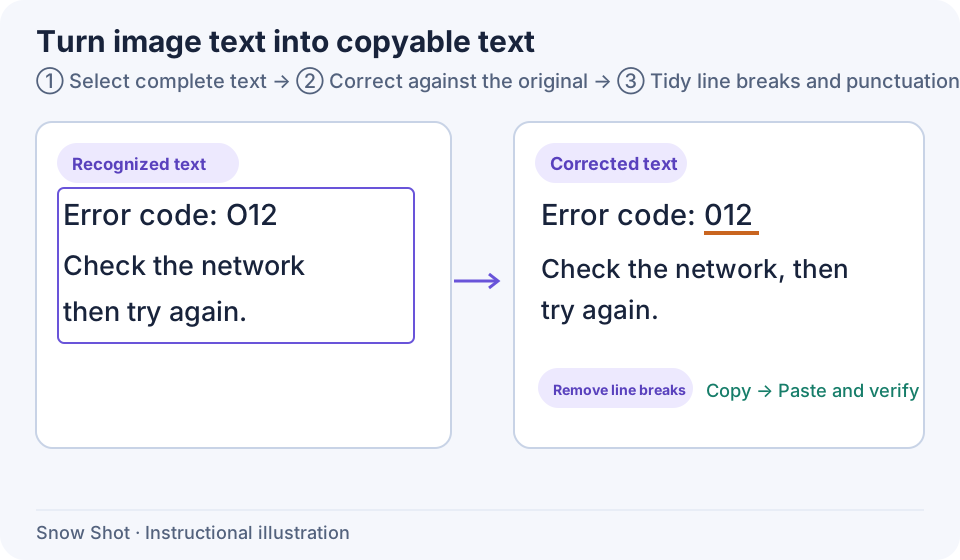
Instructional illustration. The source says 012. The left side was recognized as O12; the right side corrects it to 012 before cleaning up line breaks.
Extract a passage
- Display all the text you need. Start a screenshot with the configured shortcut—F1 on Windows or Control+1 on macOS by default—and drag a selection around the text. Include complete lines without cutting through characters.
- Find Text recognition in the selection toolbar. If its group or position has changed, hover over icons to read their tooltips. Click it to enter recognition mode.
- If “Preparing text recognition components” appears, stay online and wait for preparation to finish. Prepared components can recognize immediately. Check the result before copying it to another application.
- To copy only a few lines, select them in the result. For the whole passage, clear the partial selection and use Copy to clipboard in the toolbar.
You can also launch OCR without assigning a separate shortcut. In the main window, enter “Text recognition” in Search function and choose the matching result. This locates the Text recognition action under Global shortcuts. Click the action row's title or empty area to start a screenshot; confirming the selection starts recognition directly. The dashed button showing a shortcut or “Not set” configures keys. Selecting a search result only locates the action; it does not launch recognition.
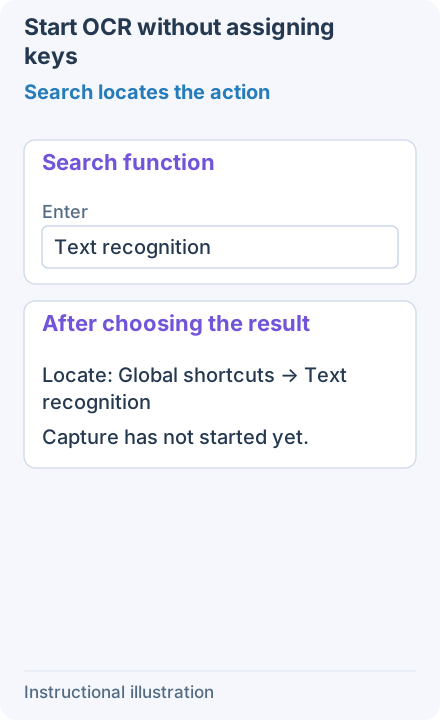
1. Search locates the action — Search for Text recognition in the main window and choose the result. This locates its Global shortcuts action row; selecting the search result does not immediately capture.
- — Search for Text recognition in the main window and choose the result. This locates its Global shortcuts action row; selecting the search result does not immediately capture.
- — Click the Text recognition row title or its blank area to capture, then confirm the selection to recognize it. Not set on the right records a shortcut; it is not needed just to try OCR.
- — To reveal Mini's hidden Text recognition button, edit the screenshot toolbar for screenshots and the Pin to screen toolbar for the image editor. Drag it from Hidden tools to a visible position; the layouts are separate.
Do not repeatedly click while components are downloading. Use Cancel screenshot to end the session. Start again with a smaller, clearer selection if you need a different input.
Recognize an existing image and save its text
For an image file you already have, extract text directly in the image editor. First check that the image is clear and contains complete text. Open the original in your system image viewer as well if you want to compare it beside the result.
Mini hides the image editor's Text recognition button by default. After loading an image and focusing the canvas, use Ctrl+D (Command+D on macOS) to recognize it directly. To show the button, open Settings → Pin to screen → Action toolbar → Pin to screen toolbar settings and drag Text recognition from Hidden tools to a visible position. This layout is separate from the screenshot toolbar.
- Enter Edit selected images in the main window's Search function, choose the result to locate its action row, then click the row's title or empty area. An empty image editor opens when no usable selected file is available.
- Click Add images, choose one image in the file dialog, and open it. Wait for loading and confirm that the intended image appears on the canvas. Canceling the dialog leaves the new file unloaded.
- Click Text recognition in the image-editing toolbar. On macOS, the default is also Command+D while the image canvas has focus. Local tool shortcuts may not respond while you are typing in a text field; use the toolbar button in that case. Wait for the recognized text to appear.
- The result enters text editing automatically. Compare it with the image, select the text you want to change, and type its replacement. Practice by changing
TargettoGoalin this example; when proofreading your own image, make the result match the original. In macOS text editing, Command+Z undoes the change and Command+Shift+Z redoes it. - Select the required text and copy to use only that part. To copy everything, select all first, then copy. On macOS, use Command+C to copy and Command+A to select all. Paste into a text editor and check whether you have the intended selection or the complete passage.
- Keep the text-recognition result active and click Save as file in the toolbar. Choose a folder, enter a filename, and save as .txt. This saves text rather than the original image. Canceling the dialog retains your text edits so you can keep editing or save again.
- Reopen the TXT in a system text editor and check its content and line breaks. The example saves
recognized-goal.txt; reopening it showsStartandGoalon separate lines.
The image editor's recognition result does not provide a Show original image toggle. That button in “Compare and edit” below belongs to screenshot recognition. To retain the picture itself, follow the image-saving steps in Image editing. Saving TXT does not overwrite the original picture.
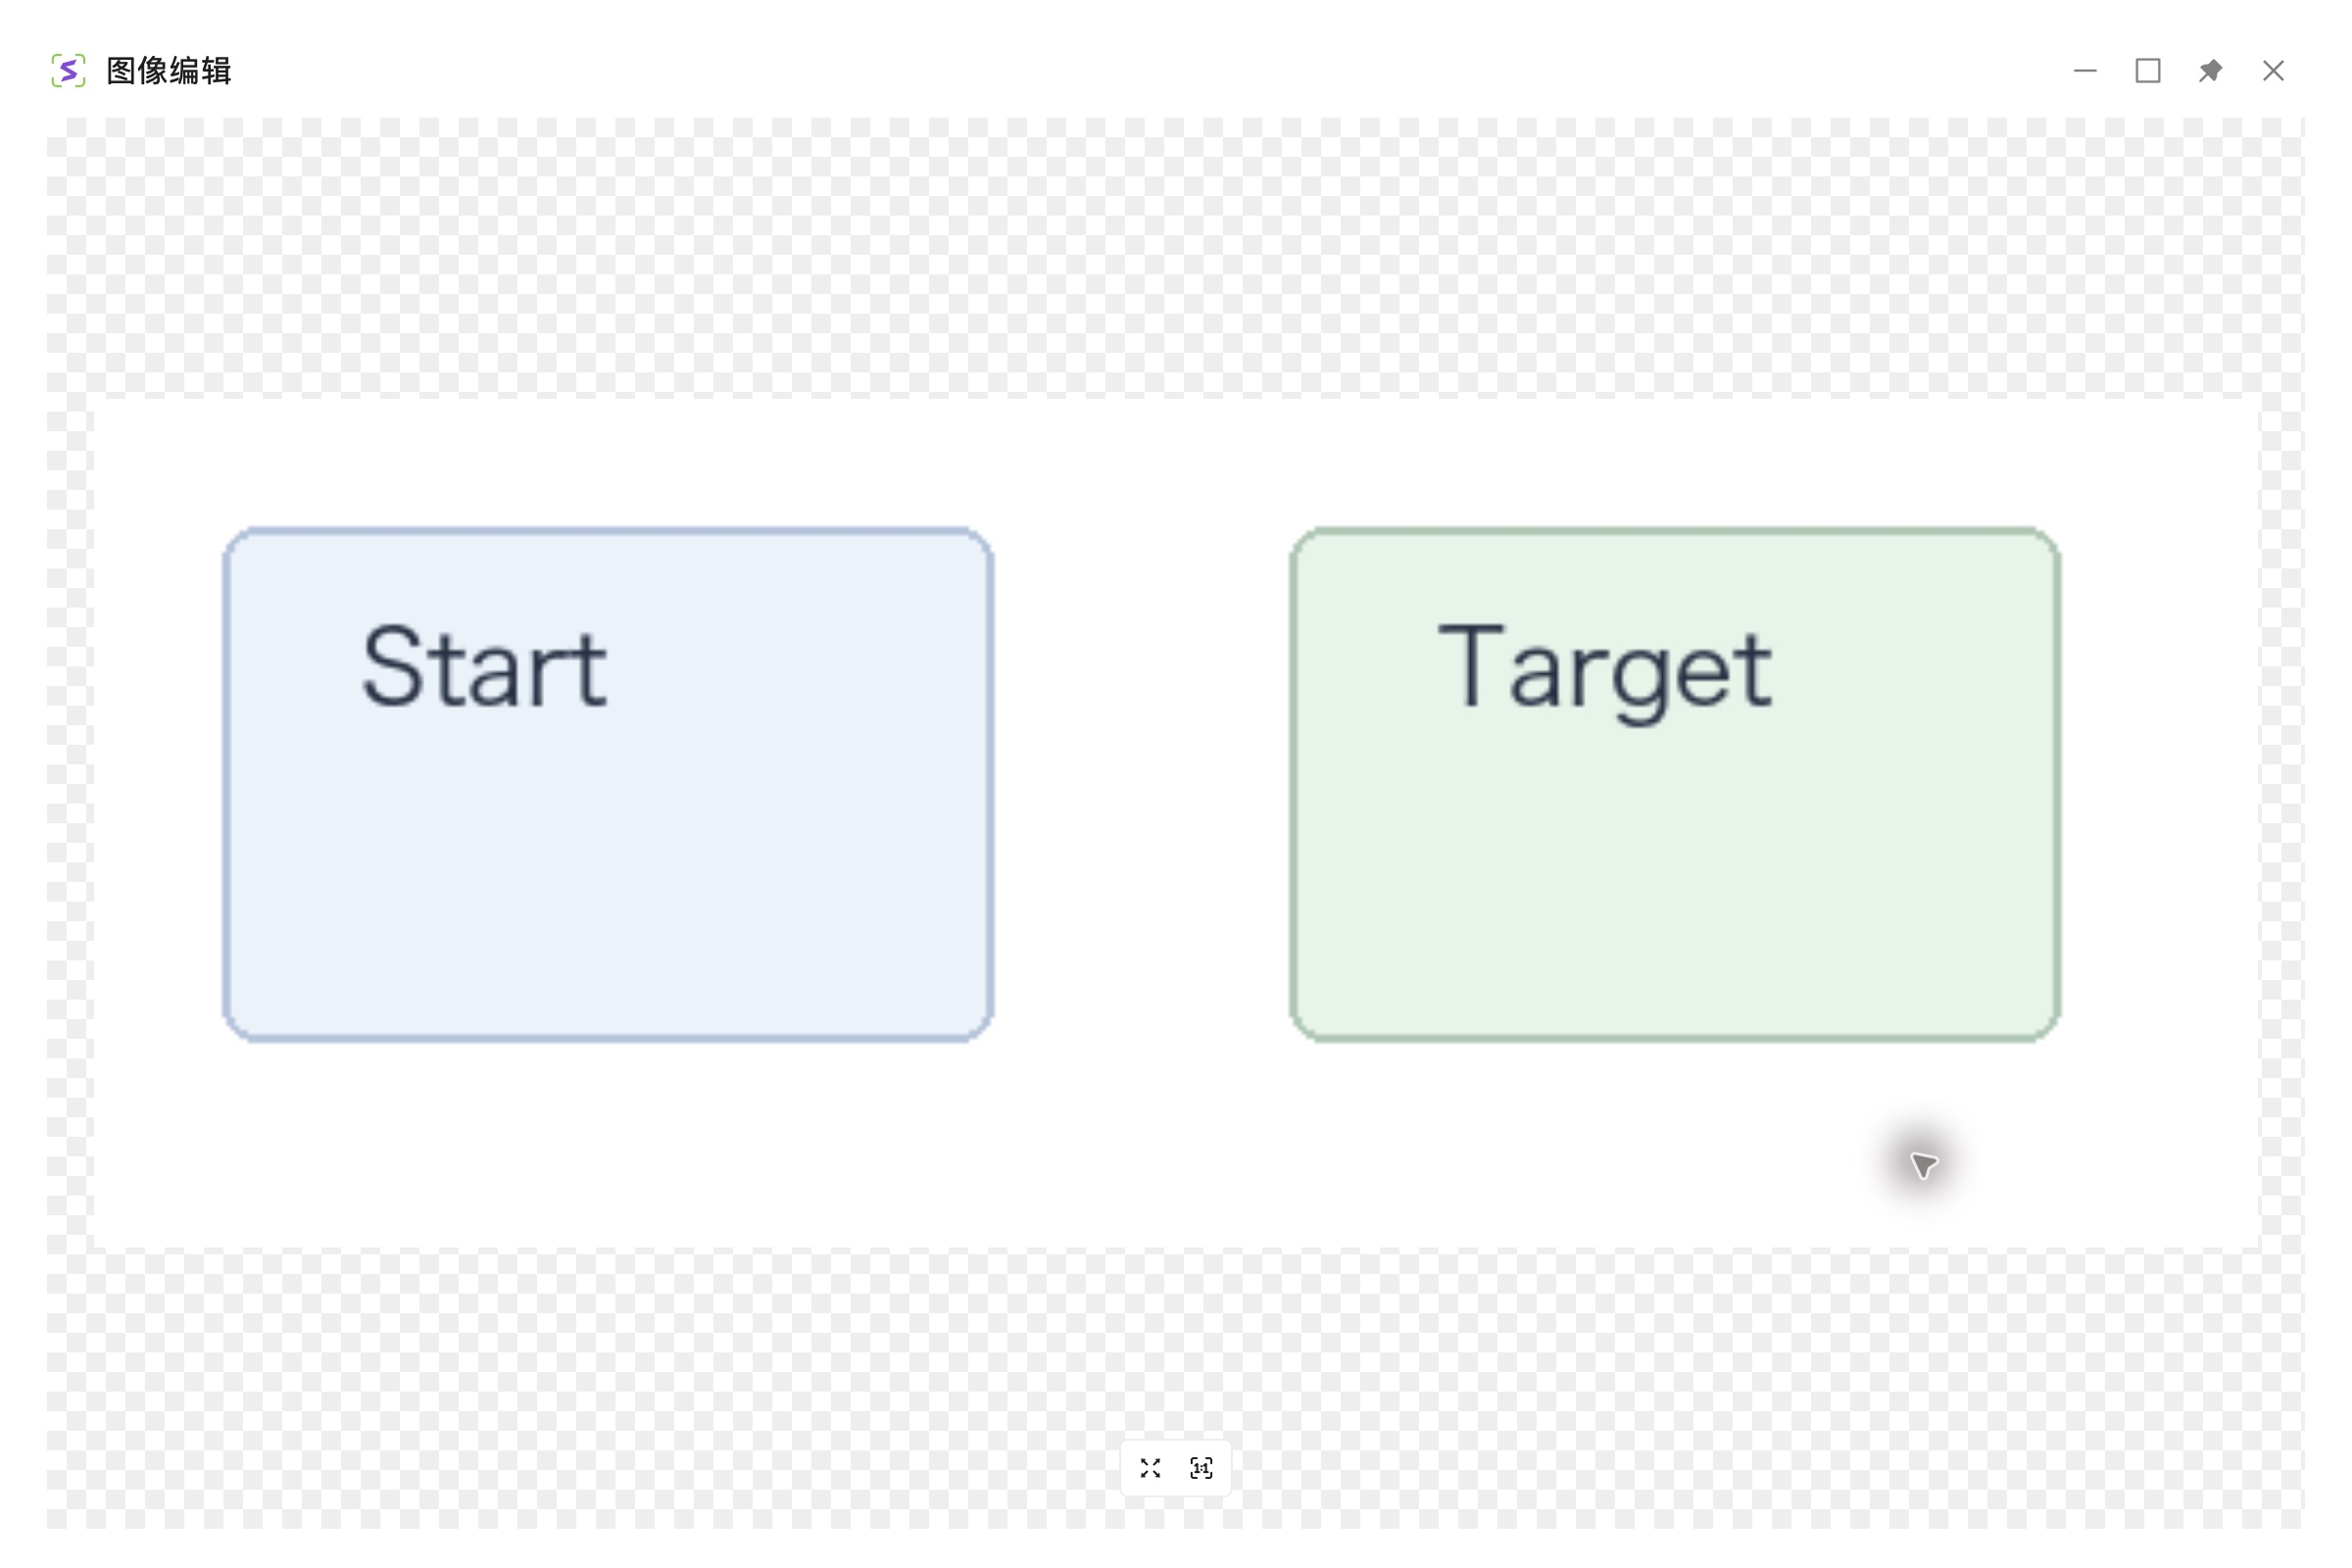
1. Open an existing image — Check that Start and Target are complete and clear before starting Text recognition.
- — Check that Start and Target are complete and clear before starting Text recognition.
- — When recognition completes, locate the word or character you want to correct.
- — Change the second line to Goal. Check the first line and line break before copying or saving.
- — Open recognized-goal.txt after saving and check that it contains both corrected lines.
Compare and edit
For recognition launched from the screenshot toolbar, use the following steps to display the original and correct the result. Check digits, letter case, path separators, and similar-looking characters against the original. Verify commands, amounts, and account details before copying them.
- Click Show original image in the recognition property bar to hide the text result temporarily and inspect the input image; click again to return to the result. To keep a separate original-image reference beside the result, enable Settings → Text recognition & translation → Recognition output → Show original image preview. This is a separate display option, not the initial state of the Show original image button. Mini calls the settings page Text recognition.
- Click Edit, locate a mistake in the editable result, and replace it. This changes the current recognition result, not the text in the source application.
- Use Undo to reverse an edit or Redo to restore it. Keep focus in the current result so another application does not receive the shortcut.
- Click Reset to restore the initially recognized text and clear the current Formatting and Punctuation choices. This does not recognize the image again. If Reset was a mistake, Undo restores the preceding text. Exit the screenshot and select a new area to change the source.
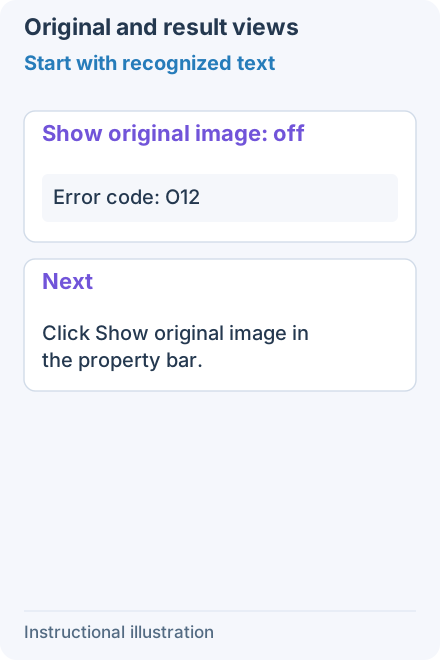
1. Start with recognized text — This is a screenshot-recognition result. Show original image is off. Note the character to check before switching to the input image.
- — This is a screenshot-recognition result. Show original image is off. Note the character to check before switching to the input image.
- — Show original image hides the text result temporarily. Check 012 in the input, then click the same button again to return to the text result for editing.
- — Enable Show original image preview under Recognition output. Return to the text result and compare it with the separate input reference. This does not turn on the Show original image button by default.
See the formatting, Reset, and Undo examples below.
Line breaks and punctuation
Use Formatting and Punctuation in the property bar to clean up the whole recognized passage, not just selected text. Choosing a rule enters text editing and applies the result; clear it or choose “None” to remove that conversion. Choose formatting before proofreading, and recheck manual corrections after Smart typesetting. Use Undo if the result is unsuitable. These tools do not decide whether punctuation in a command should change.
Set Default formatting and Default punctuation under Settings → Text recognition & translation → Recognition output. Mini calls the settings page Text recognition. Defaults apply when editing or copying recognized text; test a short passage to confirm the output suits your task.
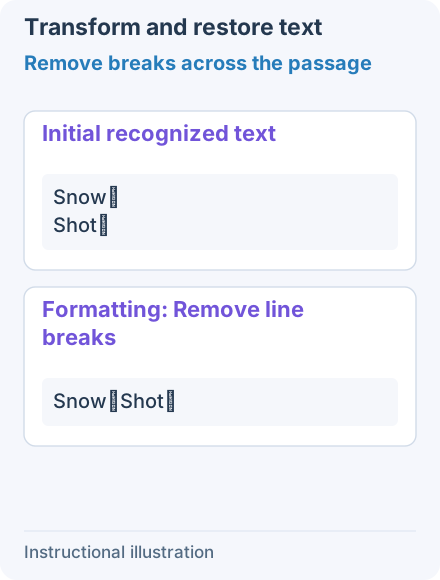
1. Remove breaks across the passage — The original sample is two lines: Snow, and Shot!. The property-bar rule affects the passage even with a partial selection. Removing the line break does not insert a space.
- — The original sample is two lines: Snow, and Shot!. The property-bar rule affects the passage even with a partial selection. Removing the line break does not insert a space.
- — Choose Half-width to convert the supported full-width comma and exclamation mark. Check the resulting passage before copying it.
- — Reset restores the initial two lines and full-width punctuation and clears both transform choices. It does not submit the image again.
- — Undo restores the preceding text Snow,Shot!. It restores content without reselecting the earlier Formatting and Punctuation rules.
Copy text and save an image
Copy to clipboard transfers the current text result to a text editor. Check the copy range when a partial text selection exists. Paste into the destination once to check for missing characters or unwanted line breaks.
For recognition launched from the screenshot toolbar, interpret Save as file together with the current result and output settings. Save recognition results as an image controls whether displayed recognition text is rendered into screenshot image exports. For editable text, copy into a text editor and save it. When recognizing an existing file in the image editor, you can save TXT directly as described above. For cell structure, use Table recognition.
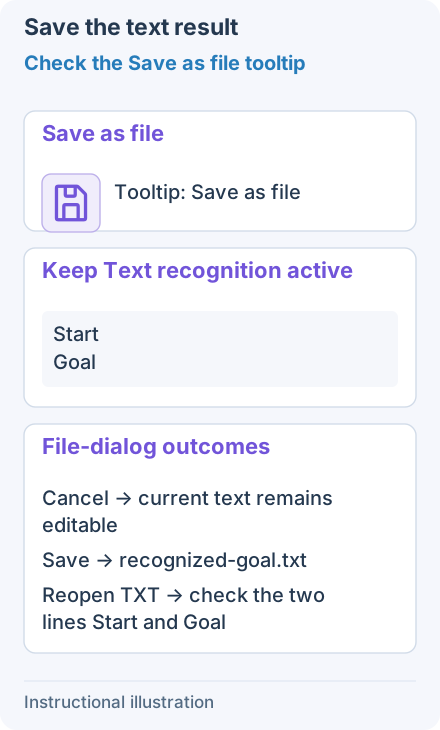
Hover to check Save as file. With image-editor OCR active, save TXT and reopen it to check the text.
Text background and highlighting
The background and highlighting options below apply to screenshot recognition. The image editor's independent text result does not show these overlays on the original image.
Under Settings → Text recognition & translation → Text background—the Text recognition page in Mini—you can change how recognized text appears over the original:
- Fill style offers Blur and Background fill. Compare the same passage on a textured background and choose the more readable treatment. This is separate from annotation mosaic or blur filters.
- Show text highlighting adds a mask around recognition results to emphasize the text. Compare it with the original; turn it off when that emphasis is unnecessary.
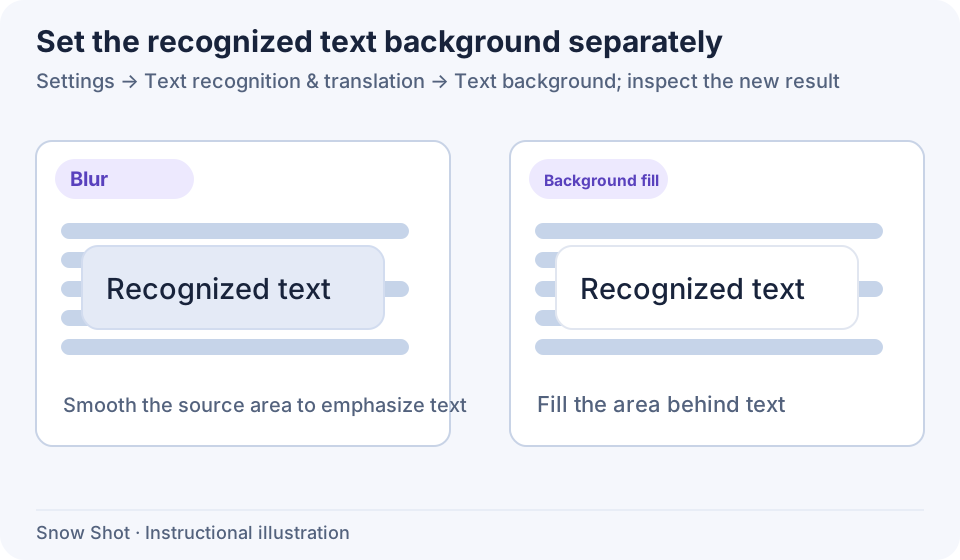
Instructional illustration. Compare two treatments for recognized-text backgrounds.
Changing the display style does not correct recognition errors. Continue to compare the text before copying it or exporting a rendered image.
Automatically act after recognition
To copy automatically or enter correction immediately, open Settings → Screenshots → Interaction → Auto execute after text recognition. Select a behavior and try a short sample sentence. Existing custom settings can change the manual-copy workflow above.
“Global” describes the entry point; it does not turn ordinary keys such as C into system-wide shortcuts. The separate Copy after text recognition action is itself designed to copy and end the screenshot. Choose it separately from ordinary toolbar recognition.
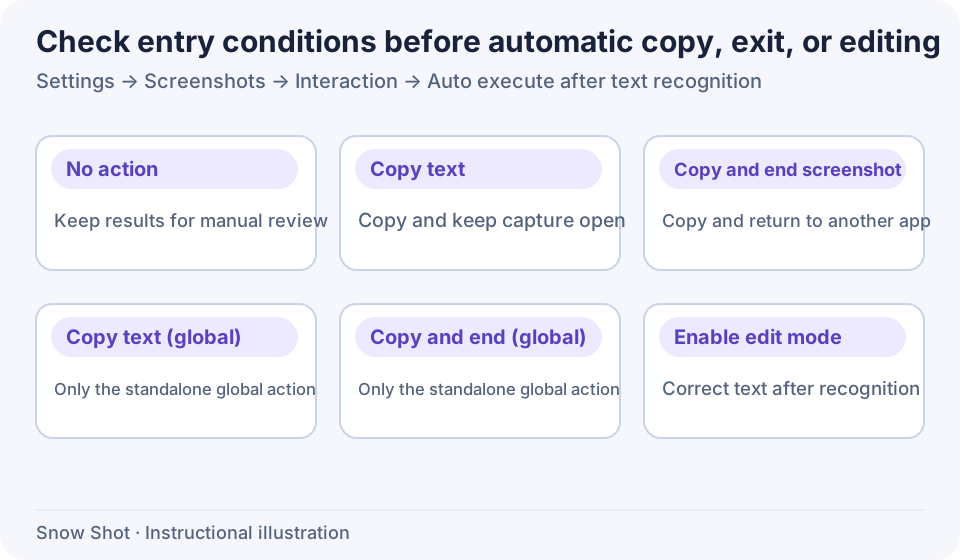
Instructional illustration. Choose No action or Enable edit mode when you want to check text first.
If the screenshot disappears after recognition, check whether a copy-and-end option is selected. If the behavior occurs only through the separate recognition action, check for a “global” option. Verify the clipboard before continuing so you do not use a previous result accidentally.
Troubleshooting
If OCR never returns a result or repeatedly misreads clear text, use the OCR troubleshooting guide to check the model setup, selection, and detection settings.
Continue with OCR models, Screenshot translation, or Text and annotations in pins.