
Multiple regions and region combinations
Combine regions in one capture when you need only several pieces of a window, or want to exclude part of a selection. Every region comes from the current captured screen. To combine different files or content from different times, use collage.
Add a second region
- Use the screenshot shortcut (F1 on Windows or Control+1 on macOS by default) and select the first piece. Switch to Move. Its style bar shows add, subtract and region-shape controls.
- Click Add screenshot region and choose Rectangle region. Hold the left button to select the second piece, then release to add it. For a polyline or curve, click successive points and double-click the endpoint to finish; for freehand, hold and drag, then release. See irregular regions.
- Check that both pieces remain. Drag inside a retained region to move that piece. To move the whole group, hold the default Space key during the drag, then release it.
- Continue adding regions, or return to Move to arrange them. If you change your mind during an add operation, press Esc to cancel that operation; the existing regions remain available.
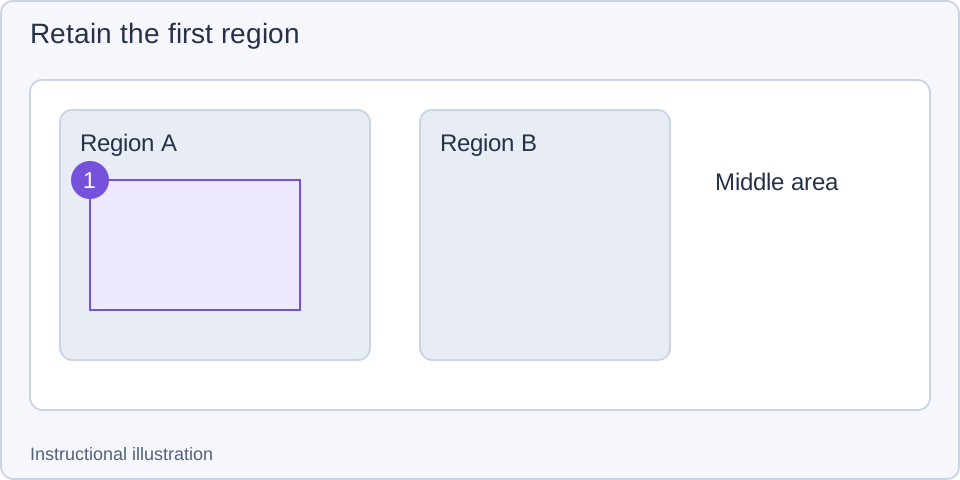
1. Select the first piece — Create a selection, then use the region controls in Move.
- — Create a selection, then use the region controls in Move.
- — Click Add screenshot region and select B. Both areas contribute to output.
- — Choose Subtract screenshot region, then draw the area to exclude.
- — Enable compact layout and adjust spacing. Check the arrangement before copying.
Subtract unwanted content
Click Subtract screenshot region and draw the area to exclude inside the current selection. Once complete, that area no longer belongs to the retained regions. Rectangles, polylines, curves and freehand regions have different completion gestures; see irregular regions.
Subtracting an area that does not intersect a retained region will not produce the expected change. To restore content, cancel an unfinished region operation first. For a committed change, reselect or add the content you need. Region combinations do not recognize or replace the background of an excluded area.
Move and quickly duplicate a region
In multiple-region mode, Move targets individual retained regions. A gap between pieces is not automatically a draggable region. Put the pointer inside a piece to move it. Hold the Move entire selection key (Space by default) while dragging to move the group; release it to return to individual movement. Hold Ctrl on Windows or Command on macOS while moving one region to enable snapping, and watch for edge alignment before releasing.
Put the pointer where you want a copy, then press the default R key. This duplicates the shape and bounds of the most recently created region, centers it near the pointer and keeps it within screen bounds. Moving or duplicating changes the capture bounds: the region shows screen content at its new position, rather than carrying the old region’s image pixels with it. It works only with multiple regions, Move active, and no drawing or drag in progress. In an ordinary single selection, R has a previous-selection reuse context; its behavior depends on the current state.
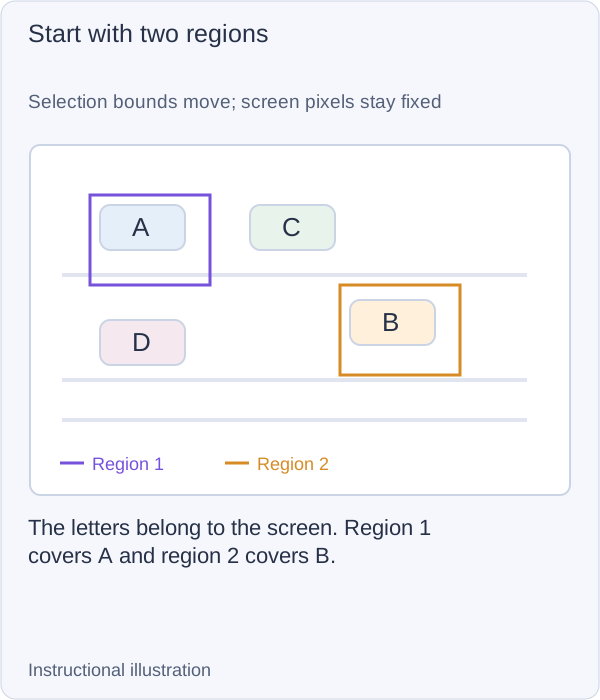
1. Start with two regions — The letters belong to the screen. Region 1 covers A and region 2 covers B.
- — The letters belong to the screen. Region 1 covers A and region 2 covers B.
- — Drag region 1 over C and release. Region 2 stays put; region 1 now captures C, without carrying A along.
- — Hold Space while dragging a retained region. Both regions move by the same offset; their shapes stay unchanged.
- — Release Space. Hold Ctrl on Windows or Command on macOS while dragging region 1 near region 2’s left edge; release at the guide.
- — With Move idle, point at D and press R. The new bounds copy region 2, the most recently created region, and capture D at the new position.
Compact layout, spacing and background
Compact layout brings retained content together to reduce the gaps from its original positions. With it enabled, scroll over Layout spacing to adjust the gap from 0–100, using the px or dp unit shown on the control. Click the value to reset it to 0. This control is adjustable only with multiple regions. Compact layout changes the output arrangement without moving the sampled areas on the screen.
Selection background opacity controls the background outside the regions but inside the combined bounding area. Scroll over the value to adjust it from 0–100%; click to reset to 0%. For transparency, save in a format that supports it and inspect the image in a viewer. A chat or document app may display transparent areas using its own background color.
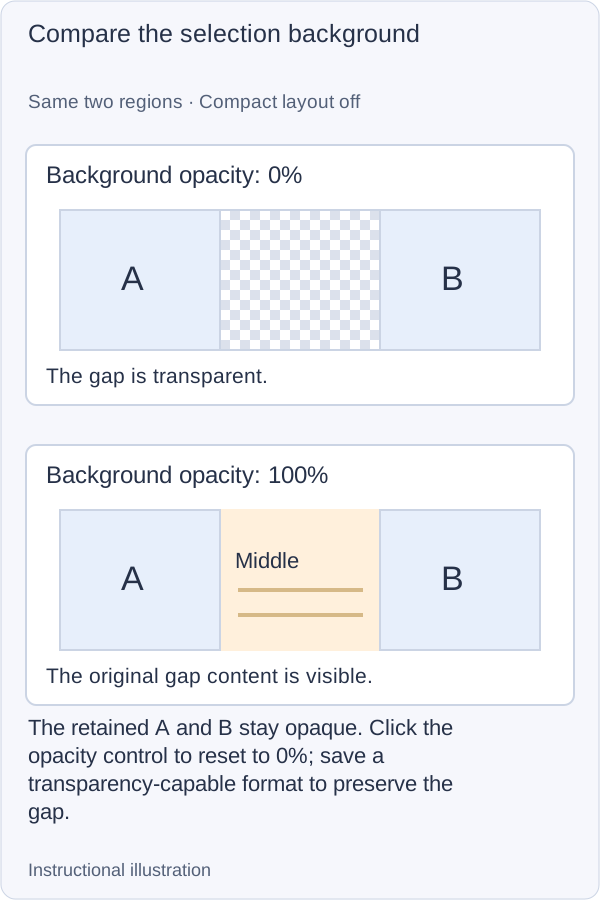
Instructional illustration: Compact layout is off for this comparison; the checkerboard represents transparency. View full size.
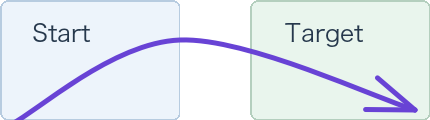
Both regions appear in one image, with the original content between them excluded.
Check before exporting
Before Copy to clipboard or Save as file, check that text is not clipped, spacing is suitable and excluded content is absent. Export produces one combined image; an ordinary image file cannot restore the regions as independently editable objects.
For complex arrangements, flips or several source images, continue with collage. To add an arrow or note to one piece, finish arranging the regions, then use the annotation tools.