
1.5.2: Open and Edit Images from Your File Manager
Snow Shot 1.5.2 lets you open images selected in Windows File Explorer or macOS Finder in the image editor. Configure the action, select a PNG, add annotations and save a checked result. This walkthrough also covers the release's floating-toolbar entries and diagnostic archives, with links to collage, PDF and history changes.
The product was released on November 8, 2026 (UTC). See the original 1.5.2 Release for notes and packages.
What changes in everyday use
Use the following workflow to check your everyday tasks after updating.
Open an existing file
- Find Edit selected images under Global shortcuts. It has no default binding. Assign an unused combination if you want to invoke it from a file manager.
- Select a PNG in Windows File Explorer or macOS Finder, keep the file manager focused, and invoke the combination. Multiple images open separate editor windows.
- Check that the loaded content matches the file. macOS may need permission to automate Finder. On Windows, File Explorer or the desktop must be foreground when invoking the action.
- To try the editor directly, search for the action in the main window, select the result and click the action row. With no selection available, use Add image in the empty window.
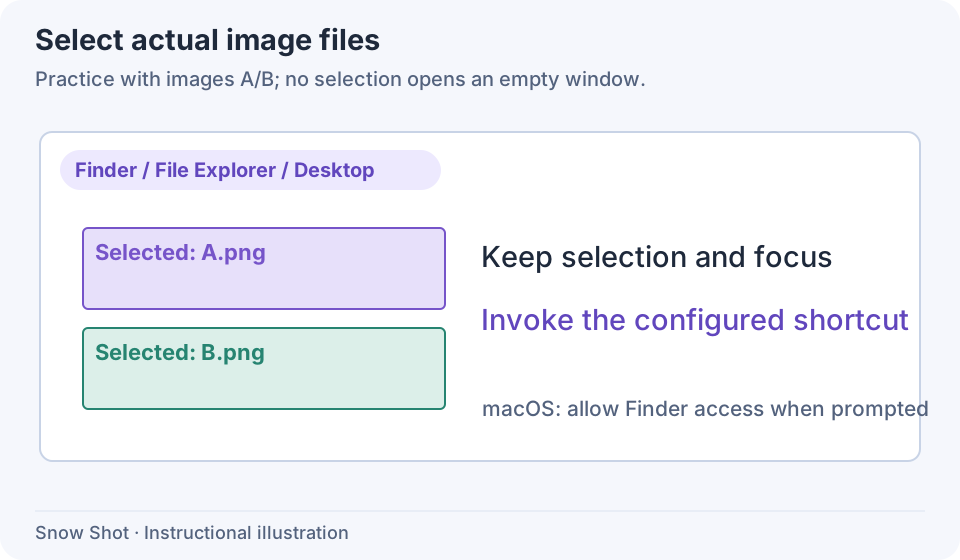
Teaching diagram. Selecting a file and invoking the correct action are both necessary; the capture shortcut does not import that file.
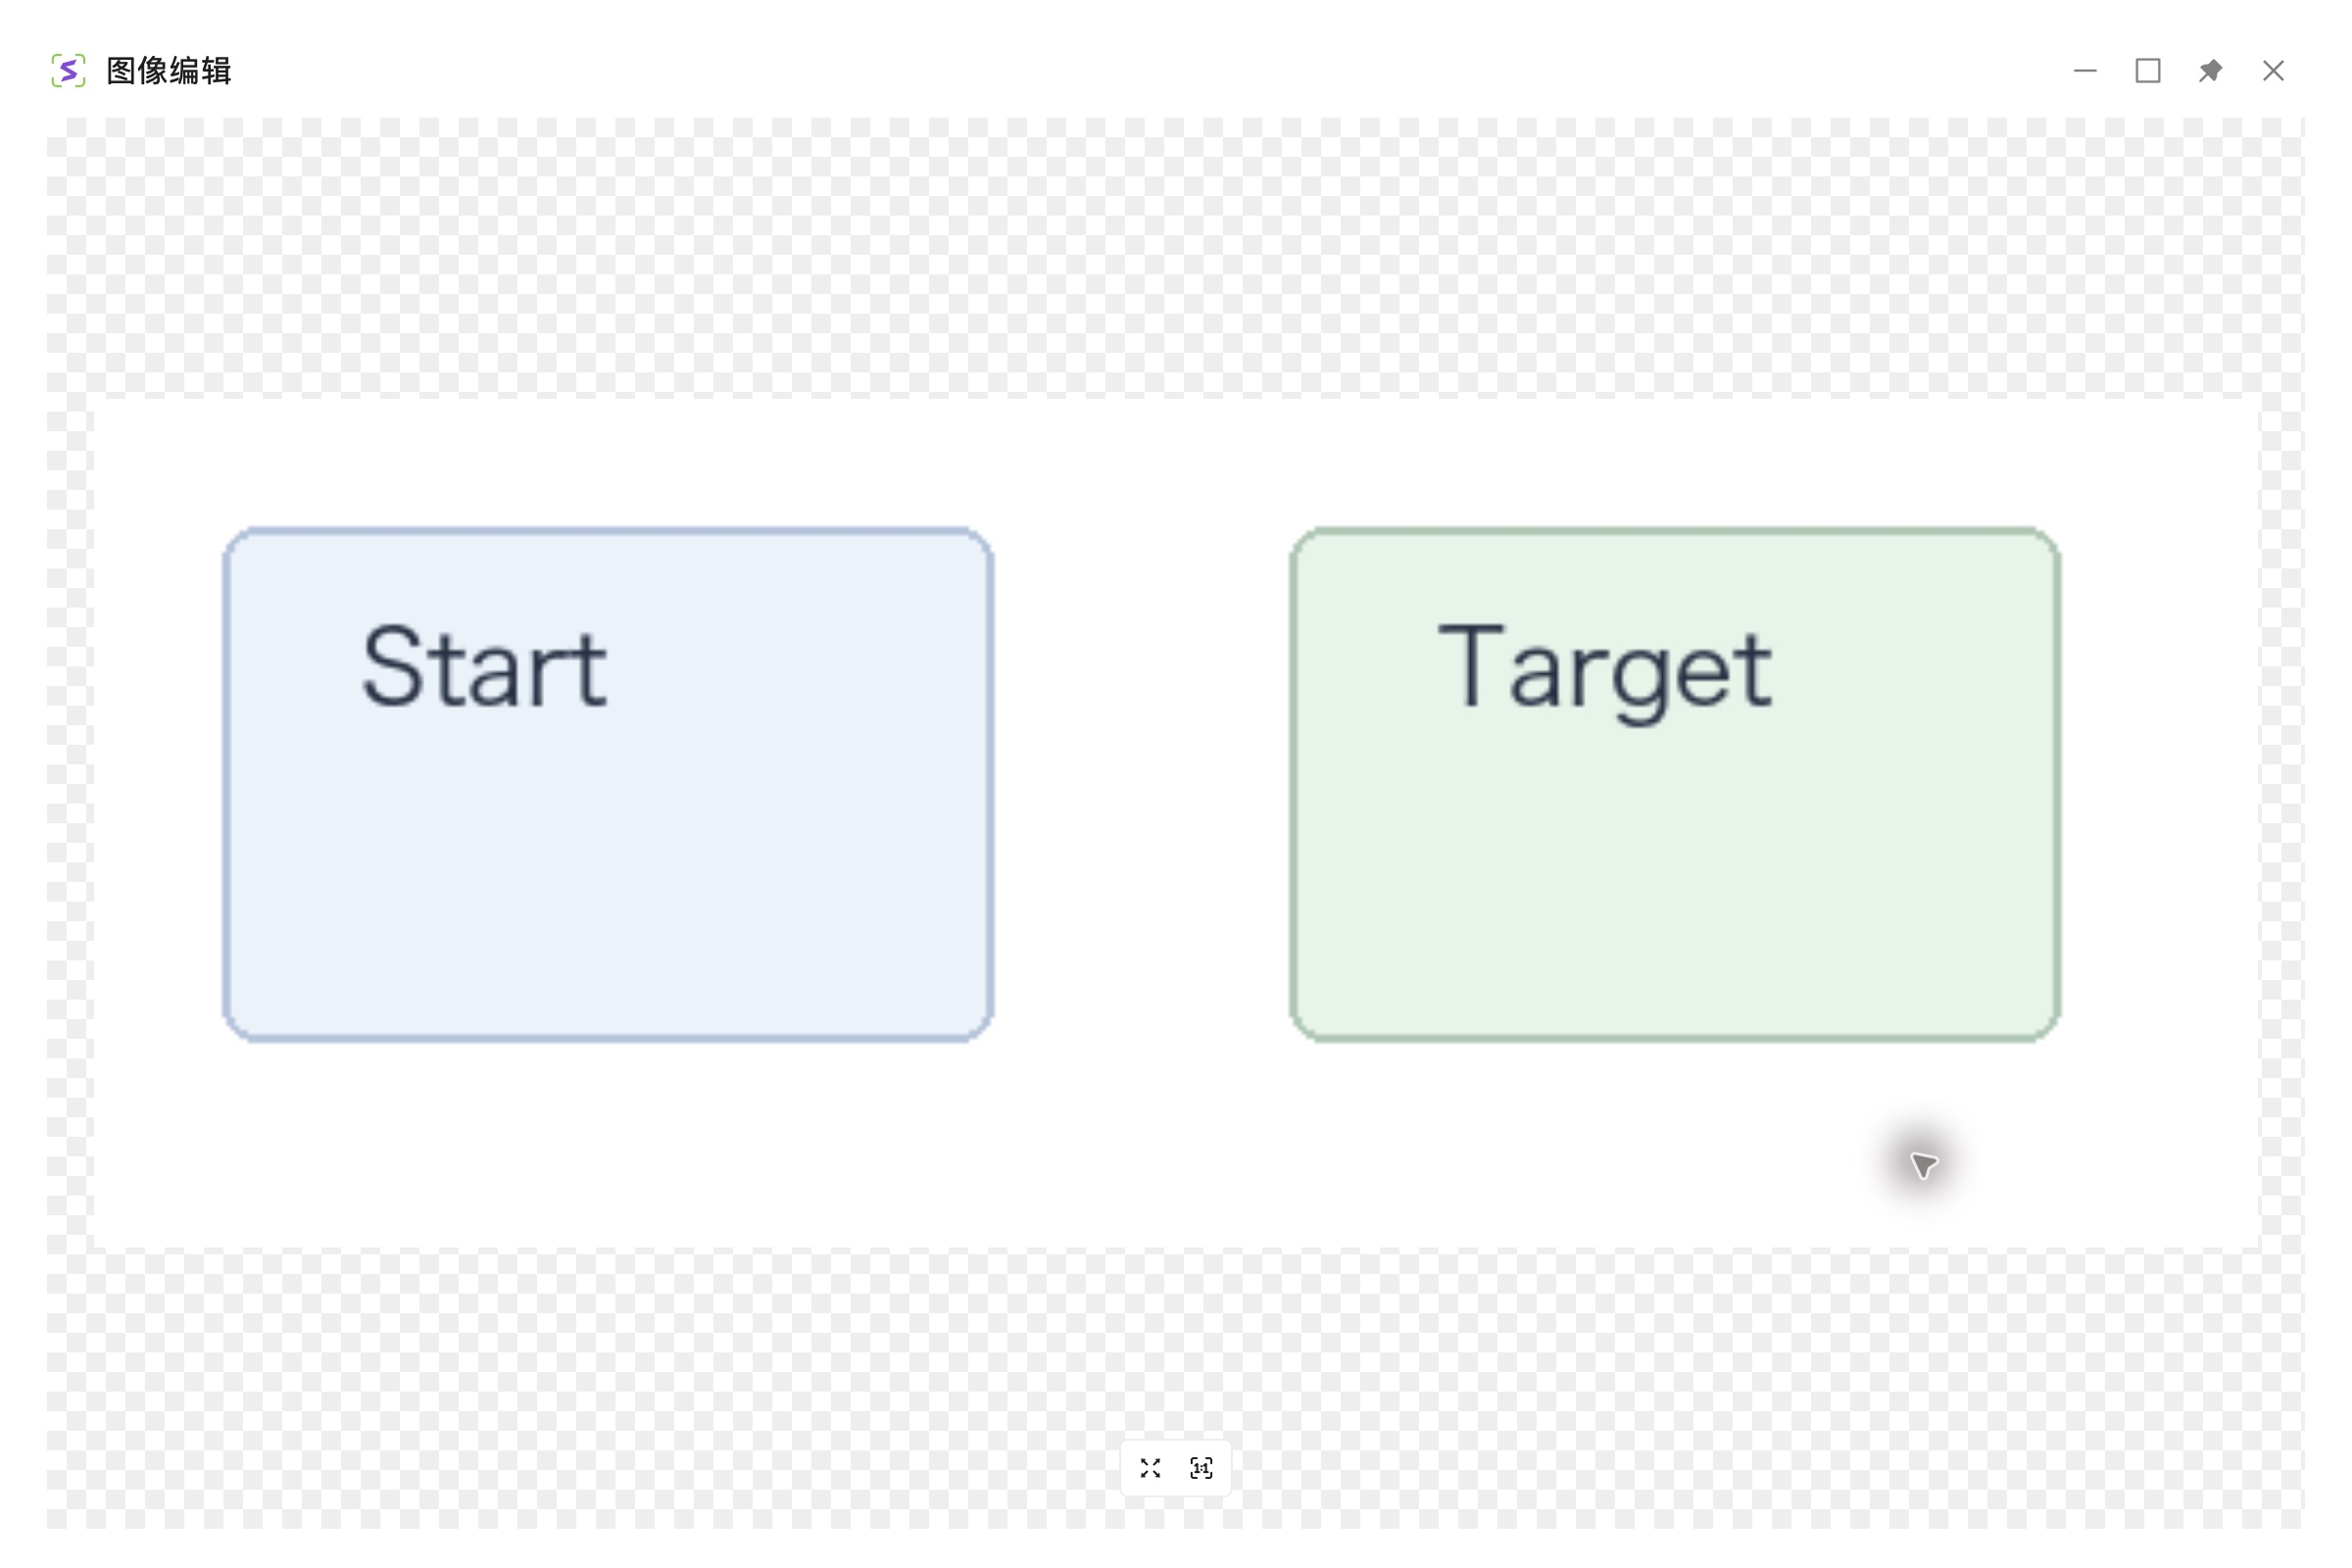
Add image is 添加图像 in the Chinese interface. Check the source before annotating.
Check the viewing scale, then edit and save
At the bottom center, Fit to canvas is on the left and 100% on the right. Fit shows the complete boundary; 100% helps inspect small text. These change the view, so a smaller on-screen image does not establish that pixels were removed.
Choose the arrow tool and drag toward the relevant detail. Use the text tool to add an explanation in an empty area. Finish text input and check that the label does not cover the original problem. Select the existing object to correct it rather than covering an incorrect label with another one.
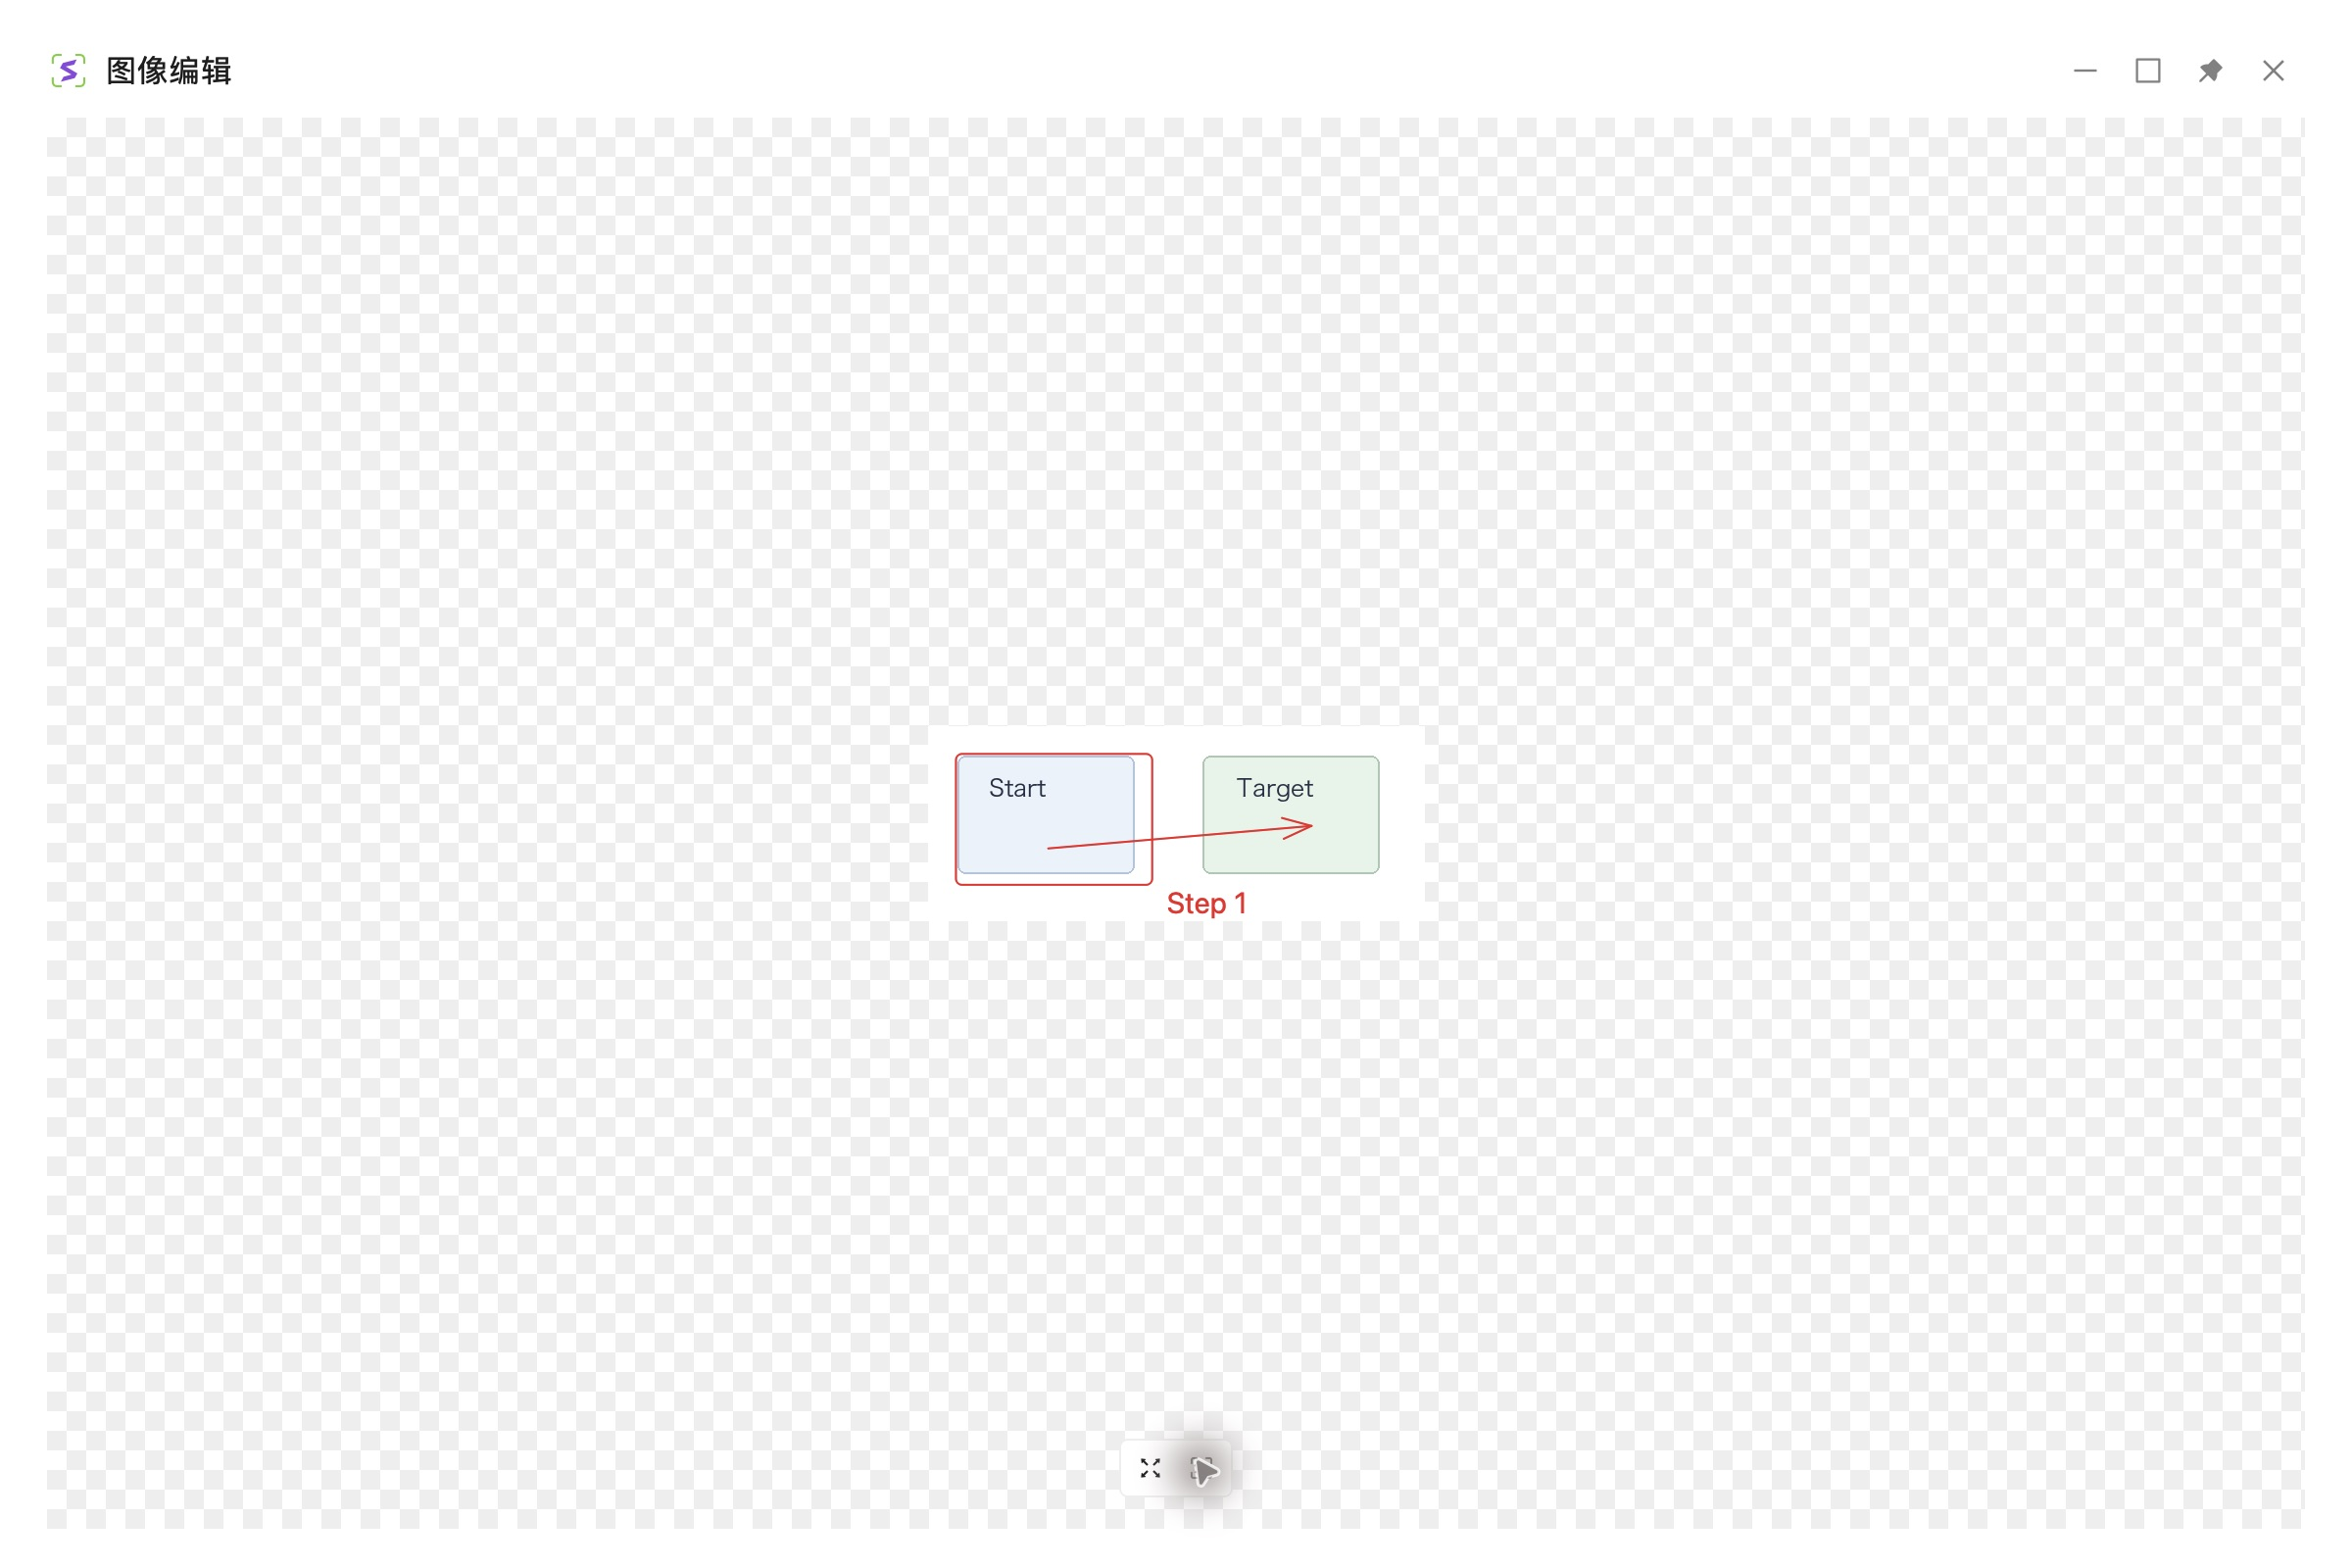
Actual app screenshot. The image boundary and bottom controls distinguish viewing scale from output dimensions.
Click Save as file, use a new name, then reopen it. Check the arrows, text, edges and pixel dimensions. A flattened PNG does not preserve arbitrary annotation objects. For continuing with editable pins, read the 1.5.0 article. For multi-image documents, see collages and image-to-PDF layouts.
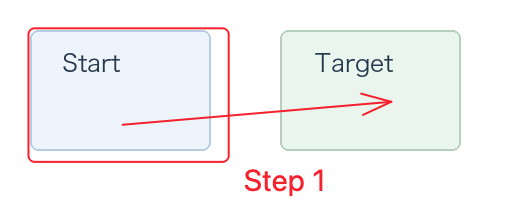
Actual output example. Reopen the saved file and check its annotations and all four edges.
Prepare frequent entries and useful reports
Under Settings → General → Floating toolbar, open its configuration and move the history, full-screen canvas or image-editing action you need into a visible position. Close configuration and test it. Customized layouts change ordering; identify actions by their tooltips. See toolbar settings.
For failures, open Settings → Export & storage → Data storage, click Copy under Export logs, and paste the ZIP into a file manager. This archive contains logs and crash reports. Keep it separate from configuration backups and image output. Review it and personal paths before submitting an issue with OS, edition, app version, entry point, expected result and actual result.
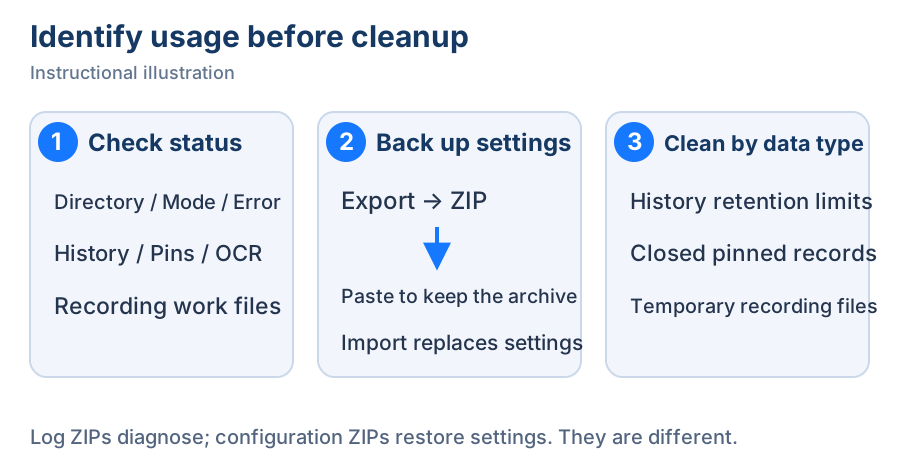
Teaching diagram. Keep configuration and diagnostic archives separate so the correct file accompanies a report.
Upgrade boundaries and checks
Use the installation guide to match platform and architecture. Avoid troubleshooting by downgrading over your only data copy. Automatic installer-cache cleanup does not mean clearing history or replacing an independent backup of important images.
- Open a non-sensitive image and check display, editing and saved output.
- Repeat from your usual entry to distinguish entry failures from editing failures.
- If selected-file import alone fails, test Add image, then inspect file-manager focus and Finder permission.
Get released packages from Download and the full notes from Changelog.